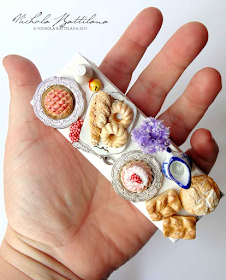
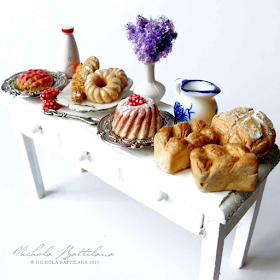
I'm going to show you how I created these little treats for my Miniature Floral Tea Cottage using these silicone molds.
You can use polymer clay with the molds but I made my little treats with Creative Paperclay. You WILL need to plan ahead to allow for drying time (make the pieces the day before you need them) but the actual 'working' time is just minutes.
I begin by pressing the clay into the mold. Give it a good push to ensure all the details are imprinted. I allow the clay to become firm before removing from the mold, then allow the pieces to dry completely before the next step.
Using some REALLY watered down yellow ocher acrylic paint I cover all of my pieces.
Wipe off any excess paint. Apply another coat of the wash if the coverage is too light.
Breads are often darker than pastries and cakes, and are darker still on their top crust and bottoms. Add a wash of dark burnt umber or other dark earth colour. (Note: You can also colour your pieces with powdered chalk pastel by applying with a dry brush.) As a final step I've dusted a little corn starch to the surface.
You can use Diamond Glaze to create a few different finishes on your pieces. Some breads have a light sheen on their surface (i.e. croissants). This look can be achieved by adding some water to the glaze and applying sparingly. To create a 'glazed' look just brush on a good layer.
You can also add colour to diamond glaze and apply thickly to look like a jammy glaze or filling.
Let all those bits and bobs dry and their ready to go! So simple. So effective.
Happy making!


