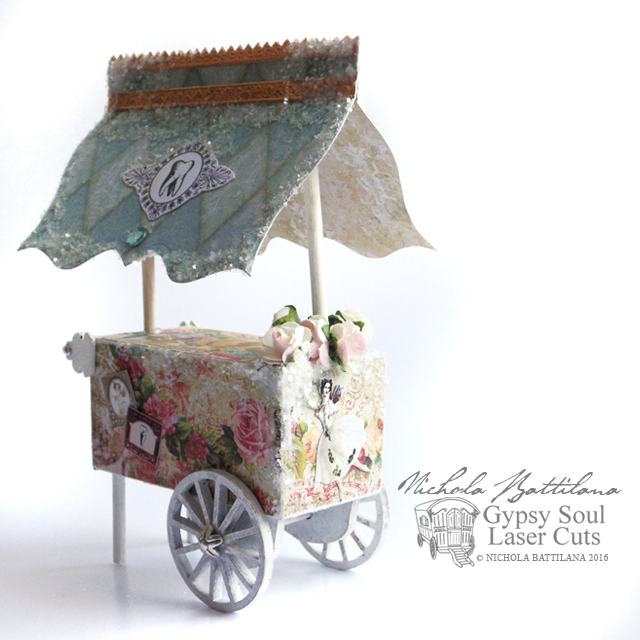
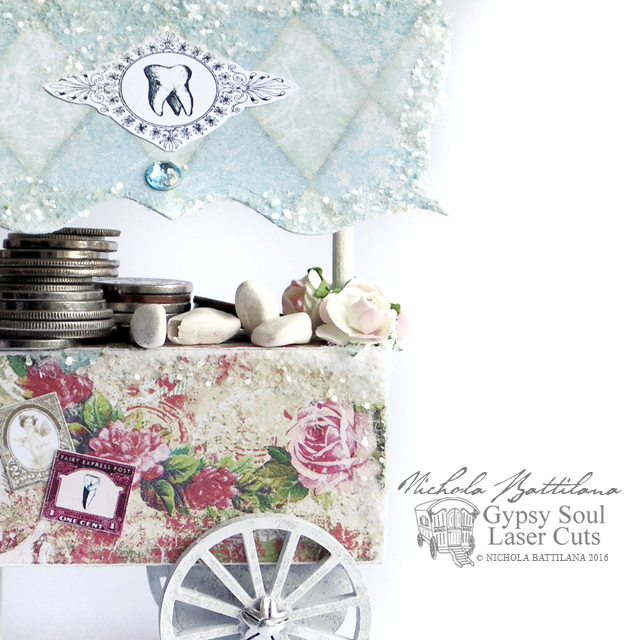
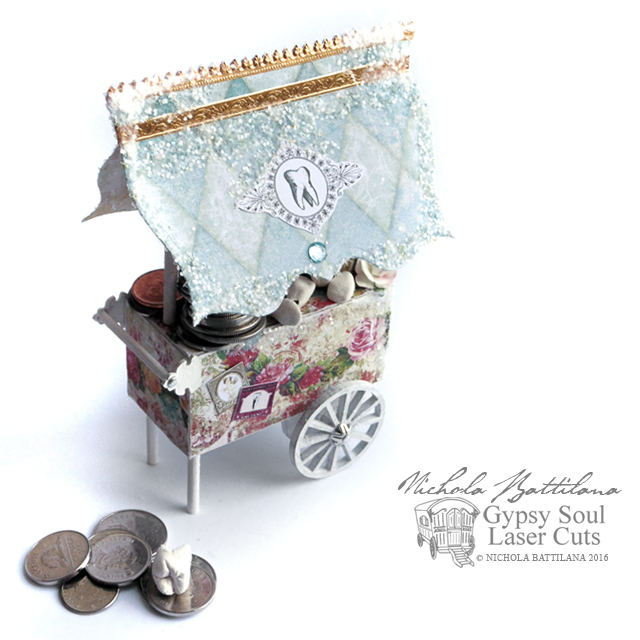
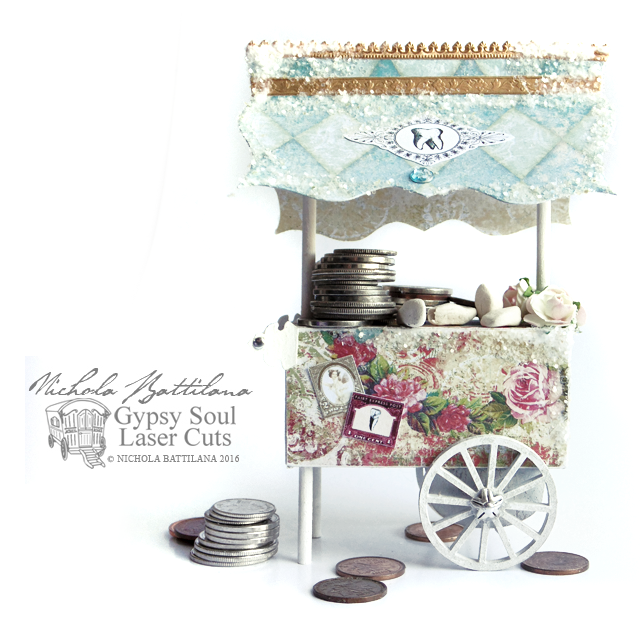
Last week I had a very interesting letter from the Department of Tooth Fairy Affairs. It seems that there is spike in tooth loss and the Tooth Exchange Fairies (the troop who preform the tooth/reward transactions) are having a hard time keeping up with the demand.

They asked very nicely if I might come up with a wee cart design, something to help with the transporting of goods, while remaining true to the Tooth Fairy Dress, Appearance and Conduct Code. (Fairies like to be very official.) I was happy to oblige.
With a Bagatelle Box, Wheels, and Keys & Plates Shape Set from Gypsy Soul, some scrapbook paper, doweling, glitter and trims... I set to work.
In no time at all I had assembled a tiny cart fit for a fairy! And while this one is intended to assist the Tooth Fairy Department with distribution and exchange, I'm sure that it would come in handy for other fair folk to exchange sweets, flowers, seeds, and cake crumbs too.
To create your own little cart, hop over to the YouTube Tutoral to see how I put this simple little cart together. Or just jump down to the very bottom of this post.
Supply round up!
Bagatelle Box (I used the Bagatelle Box 1.5 by 3 inch but don't let that limit you! Use different sizes to create an assortment of looks)
Wheels 1.5 inch Straight
Keys & Plates Shape Set
Thin wood doweling or bamboo skewars
Glue
Glitter
Blush Charmed Scrapbook Paper (or paper of choice)
1/2 Inch Pale Pink Paper Roses*
3mm Silver Nailheads*
Mini Floral Dresden Borders - Antique Gold
Narrow Gold Fleur Dresden Borders*
Miniature Tooth Fairy Letter PDF collage sheet (used for graphics on cart)


