Showing posts with label collage sheet. Show all posts

Friday, March 29, 2019

The Butterfly Conservatory for Gypsy Soul Laser Cuts

On my trip to London last year I made certain to time my visit with the butterfly exhibit at the Natural History Museum. I made it just in time, squeezing in on the afternoon of the very last day. It was magic. Then again, how could walking among butterflies not be?!

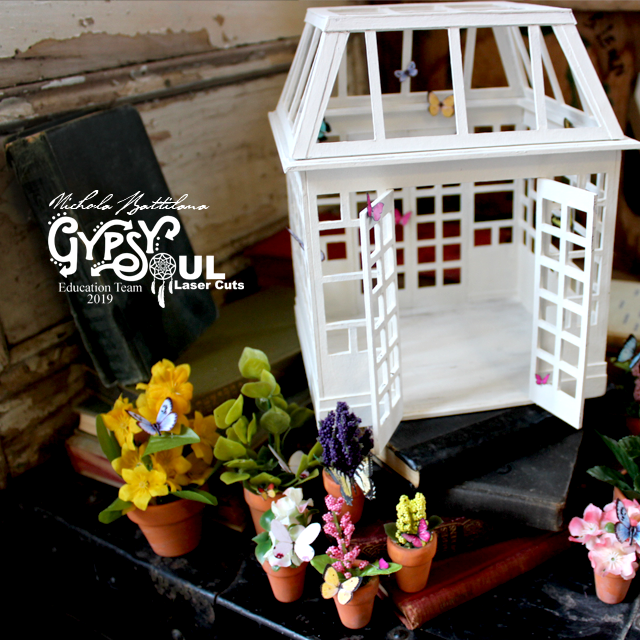
Small Conservatory - Butterfly House - gslcuts.com

This project, is a sort of homage to that memory. A pretty space filled with flowers and fluttery things.

Small Conservatory - Butterfly House - gslcuts.com

This project may take time, but it uses  only a handful of supplies. The structure is a Small Conservatory. That's it. I haven't added any fancy embellishments (but don't let that stop you from adding some dramatic flair!)

Small Conservatory - Butterfly House - gslcuts.com

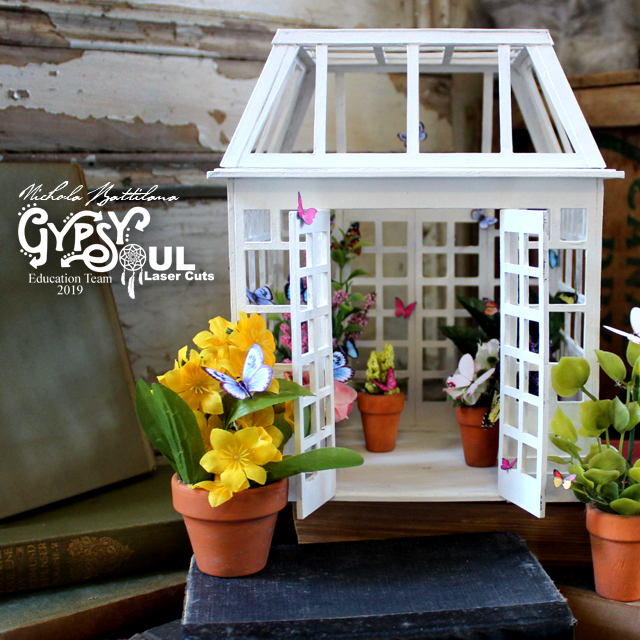
Inside I've added miniature wooden pots packed with faux flowers and leaves. They aren't properly scaled and they don't even look like any particular sort of 'real' plants, but they give a nice floral feel and provide lots of texture.

Small Conservatory - Butterfly House - gslcuts.com

Those paper butterflies inside are all from my English Fairy Garden collage sheet. I printed it out at 50% to scale the butterflies down to a more appropriate size.

Small Conservatory - Butterfly House - gslcuts.com

I haven't glued any of the pots in place so that I can move those potted pretties around, and even change up the Small Conservatory completely if I want to!

Small Conservatory - Butterfly House - gslcuts.com

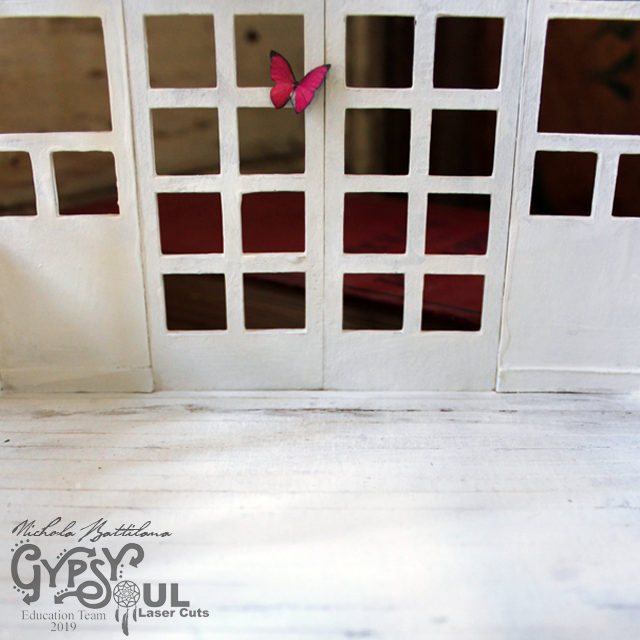
Besides paint and glue, the last supply I used was a plain sheet of cardboard. I've used strips to create the 'wood' floor and baseboards inside the conservatory.

Small Conservatory - Butterfly House - gslcuts.com

Outside, again, I used layered strips of plain card to create a subtle architectural element to the bottom of the structure. I also used the card on the roof of the building to hide the slot and tabs that hold the piece together.

Small Conservatory - Butterfly House - gslcuts.com

And that's it! Just those few little bits to make something quite pretty. If you'd like to see how I put this project together, follow along with this walkthrough video

Small Conservatory - Butterfly House - gslcuts.com

And here is your supply list:
Small Conservatory

Miniature plant pots
Faux flowers
English Fairy Garden collage sheet
Sheet of cardstock
White acrylic paint
Glue (white and hot glue)

Happy making!

Monday, July 24, 2017

Stars and Dreamers FREE Collage Sheet

“What Is Love? I have met in the streets a very poor young man who was in love. His hat was old, his coat worn, the water passed through his shoes and the stars through his soul”
― Victor Hugo, Les Misérables

Stars and dreamers. Oh, so important.

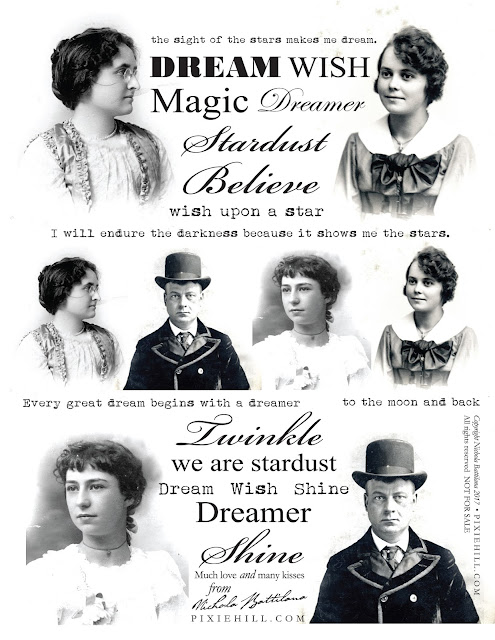
Here's a free* collage sheet for you. Because.

Stars and Dreamers FREE Collage Sheet from pixiehill.com


*Seriously, it's free but don't be a dink and pass this off as your own, or sell it, or redistribute it. Enjoy it and make good arty shit with it!

Wednesday, July 13, 2016

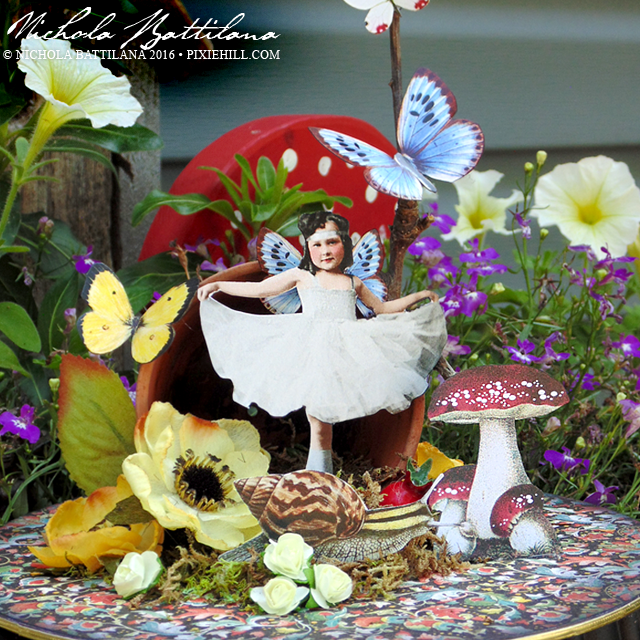
A Bell Jar Fairy and English Fairy Garden Collage Sheet

A couple of weeks ago these two imps helped me out during preparations for my open house.

Imp and Fairy Jar - Nichola Battilana

This week I have a new little helper.

Bell Jar Fairy - Nichola Battilana

She prefers a bit of space to prance around, so she has a large bell jar to play in and keep her safe.

Bell Jar Fairy - Nichola Battilana

Of course she can get out whenever she likes, but it's cool in there and she's not a fan of the current hot humid weather. (Neither am I to be honest.)

Bell Jar Fairy - Nichola Battilana

If you're thinking you might like your own winged darling, I have two new collage sheets available. 

Little People and English Fairy Garden Collage Sheets - Nichola BattilanaThe Little People Collage Sheet and English Fairy Garden Collage Sheet are currently available as digital downloads or printed sheets from AlphaStamps.com

Bell Jar Fairy - Nichola Battilana

I mean, who doesn't need a little winged fairy to play with snails between the toadstools?!

English Fairy Garden Collage Sheet
Tiny Embossed Gold Dresden Borders
Tiny Paper Roses*

Graphic 45 - Enchanted Forest > Sumptuous Floral
Petaloo - Anenome flowers 1176-103


Monday, November 02, 2015

Fairy Christmas Card Advent Calendar

Ok, I've let Halloween pass and now it's full steam ahead with the Christmas posts. I have a few projects coming up that I KNOW you're going to want to try so I'm posting nice and early to give you plenty of crafting time. Today, a totally freaking adorable advent calendar alternative.

Fairy Christmas Cards, an alternative Advent calendar - Nichola Battilana

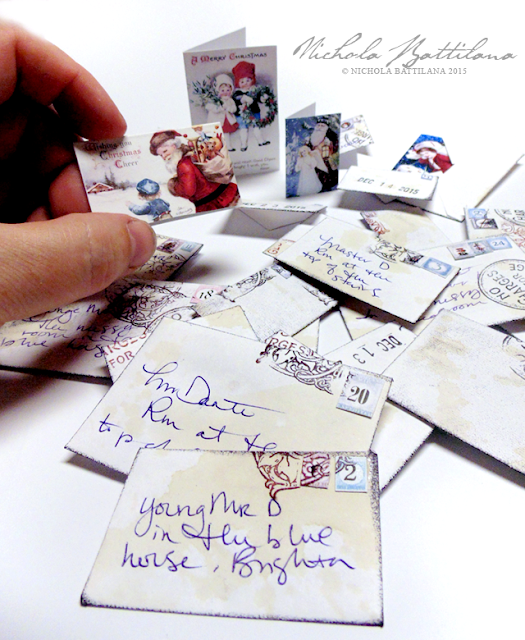
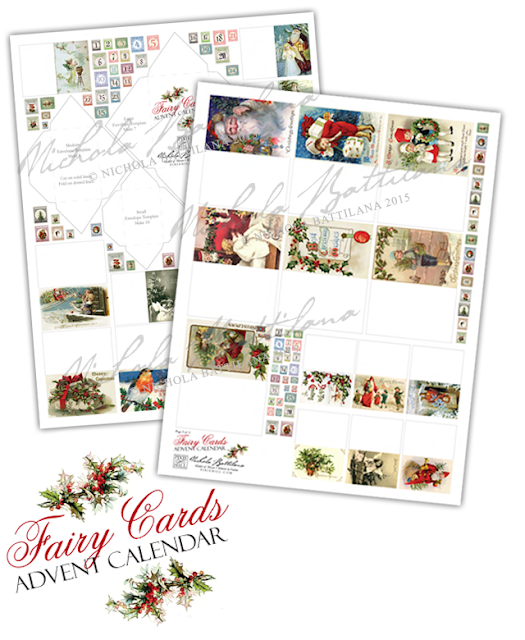
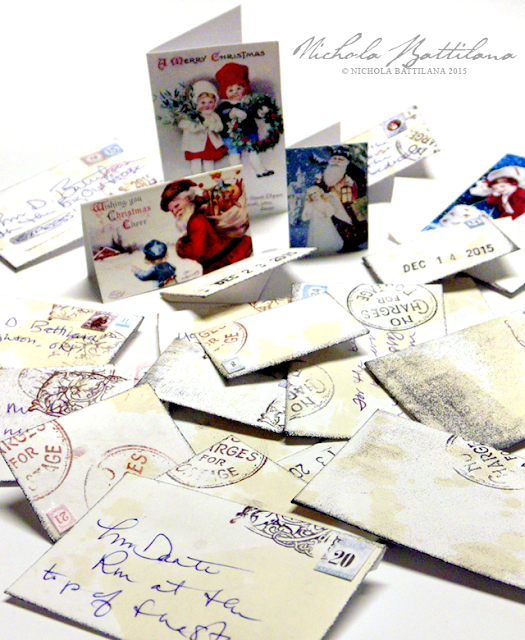
Imagine waking up each day to find a card from the fairies helping you count down to Christmas! I've put together a Fairy Card Advent Calendar, a 2 page download that includes 25 miniature cards with vintage holiday imagery, numbered postage stamps and three envelope templates to fit the various sized cards.

Fairy Christmas Cards, an alternative Advent calendar - Nichola Battilana

Now, when I showed this project to my kiddo he said "Yeah, but what about the treat?" The wheels in my mind starting turning and I thought of all the little things that would fit in those envelopes... letters, notes, coins, buttons, glitter, jokes, stickers, charms... then the light bulb above my head lit up. 

Fairy Christmas Cards, an alternative Advent calendar - Nichola Battilana

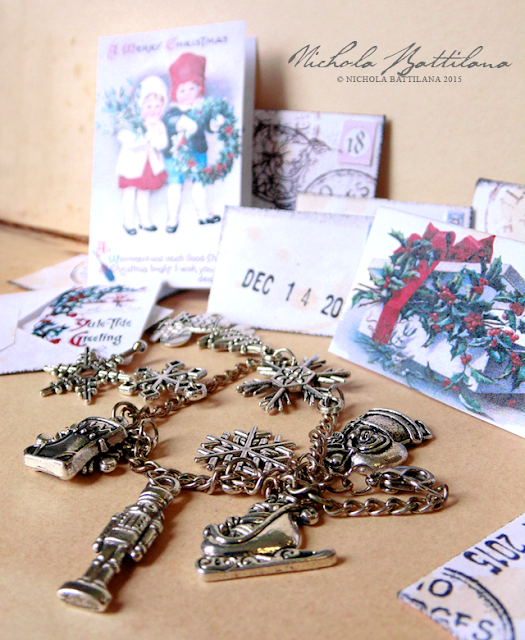
Every few days a charm could be included in the tiny card and your little pixie could make their own Christmas charm bracelet! The sets I've used here are the Santa Sleigh Silver Charm Set and the Silver Snowflake Charm Set from Alpha Stamps.

Fairy Christmas Cards, an alternative Advent calendar - Nichola Battilana

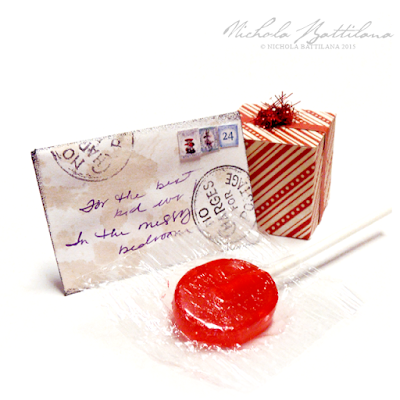
Cute as buttons and sugar free! Although if you do like the sweet stuff you could always give a lolly or chocolate kiss.

Fairy Christmas Cards, an alternative Advent calendar - Nichola Battilana

Don't do the advent calendar thing? No worries! You could always make these up and pass them out to the people in your life who need a little extra fairy magic around the holidays.

Fairy Christmas Cards, an alternative Advent calendar - Nichola Battilana

Now, as for decorating the outside of those envelopes, here's what I suggest:

1. Using the templates from the Fairy Cards Advent Calendar, trace the envelope shapes onto a piece of regular white paper.


2. Cut the shapes.
3. Fold the two short sides, then fold the bottom (the one with the flat edge) and glue into place. Be careful not to glue the envelope shut!


4. Sprinkle both sides with a bit of tea or coffee. I prefer tea as it doesn't leave a lingering scent. Allow to dry. NOTE: You can age your paper before creating the envelopes, but I found that doing it in this order results in a flatter, smoother finished piece. See wrinkles above.

5. Add little postage stamps and 'cancel' them using a rubber stamps. Any patterned stamp will do. Place a scrap bit of paper beneath so as not to ink your work surface.


6. Address the envelopes, personalizing them for the recipient.


7. Add the wee cards and any tiny surprises you'd like to include.


Fairy Christmas Cards, an alternative Advent calendar - Nichola Battilana

Lastly, and this is kind of important, these can NOT go through the regular postal system. Their size requires that they be handled only by Royal Faerie Post. If you want to send them to someone far away, I suggest mailing them within a larger card with a note of explanation.

Supply round up:
scissors
glue
tea/coffee for staining*
rubber stamps*
ink pad*
*optional

Do-dads for the charm bracelet:
Chain, clasp and jump rings / or pre-made bracelet
Santa Sleigh Silver Charm Set

Silver Snowflake Charm Set


Friday, September 04, 2015

Old Bird ATC Pocket Letter with tutorial

It's the first Friday of September (already!) which means it's my turn to share a tutorial using magnifique products from Gina's Designs Lasercuts. Woo hoo! This month I thought we'd do some nitty gritty paper crafting and create a sort of pocket letter.

ATC Pocket Letter for GinasDesigns.net - Nichola Battilana

I've been seeing these pop up all over my timeline and wanted to give it a try. 

What is a pocket letter, you ask? Janette Lane, the creator of Pocket Letters™, explains on her site:

"Basically, you fill all the pockets of a 9 Pocket Trading Card Protector and send the whole page to someone who wants to swap with you... You fill the pockets with anything you like (stickers, tea bags, a note, washi tape samples, pictures, etc.) A short note or letter is included and tucked into one of the pockets. Then the Pocket Letter is folded up and sent in a standard 10 size envelope."**


ATC Pocket Letter for GinasDesigns.net - Nichola Battilana

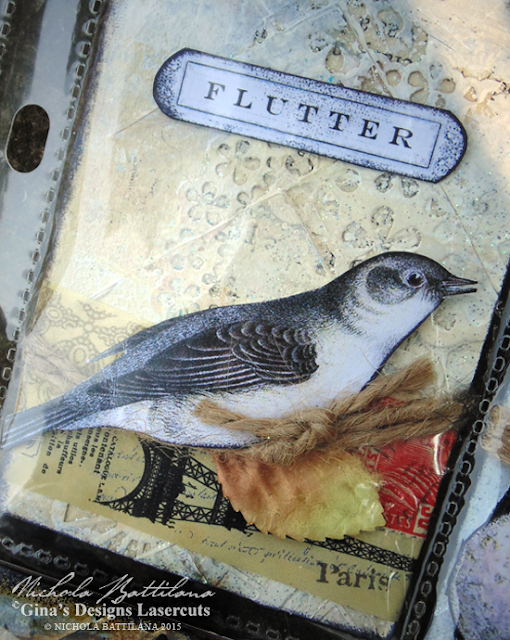
I am a huge fan of ATC's (Artist Trading Card: miniature works of art measuring 2.5" x 3.5") so I've created a cohesive set of birdy themed cards to fill those little pockets with. You can source your own public domain images, or purchase a collage sheet with all of those vintage birds and sentiments available HERE.

ATC Pocket Letter for GinasDesigns.net - Nichola Battilana

When creating your own piece, consider other little bits and pieces to tuck into those sleeves. Stamps, ephemera, feathers... little bits that match the theme or look of your cards.

ATC Pocket Letter for GinasDesigns.net - Nichola Battilana

Also consider the sleeves themselves. I've added clear stickers to the exterior.


Of course you could just create these pretty ATC's and trade/give them separately. There's nothing wrong with spreading the crafty love around.

ATC Pocket Letter for GinasDesigns.net - Nichola Battilana

If you're not keen on making these little bits of art, you may want to check out the tutorial anyway as it includes creating the textured background seen below.

ATC Pocket Letter Tutorial for GinasDesigns.net - Nichola Battilana

But enough blabble! HERE is the video tutorial. If you have any questions, don't hesitate to give me a shout. I'm happy to lend a hand or answer any questions you have. Seriously. Don't be shy ;)

ATC Pocket Letter Tutorial for GinasDesigns.net - Nichola Battilana


THE SUPPLY LIST
From Gina's:
Cardstock Doily Set 1
Cardstock Doily Set Intricates
Steampunk Fan
Ornamental Birdcages Shape Set
Pen & Ink Shape Set
Faux Metal Number Plates
Herringbone Stencil (available soon!)

Other things you'll need:
For the Birds Collage Sheet
Cardstock
Paper (I used pages from an old book)
Decorative scrapbook paper
Glue
White acrylic paint
Watercolour paint
Stamp pad
Clear stickers
Tim Holtz Long Mini Brads
Foam spacers
Ultra fine glitter
Jute twine

Washi tape
Buttons, stamps and other small embellishments and trinkets
ATC Pocket Pages

**For more information on Pocket Letters you can visit Janette Lane's YouTube Channel or join the Pocket Letter Pals Network


Wednesday, April 01, 2015

Two small somethings

Small Thing Number 1
I've created an entire collage sheet of teeny Fairy and Pixie Dust labels which are available exclusively via AlphaStamps. The sheet contains over 100 labels in a variety of styles and sizes to fit all sorts of little glass vials. Some of them are extremely tiny. A great buy (if I do say so myself) if you're planning on making multiple fairy dust pendants as gifts or for sale.

Fairy and Pixie Dust labels for miniature vials - Nichola Battilana

These cute little vials will be featured in my first project for Gina's Designs this Friday. If you believe in magic I think you'll like what I have in store! Be sure to check back for the adorable project and step by step video tutorial.

Small Thing Number 2
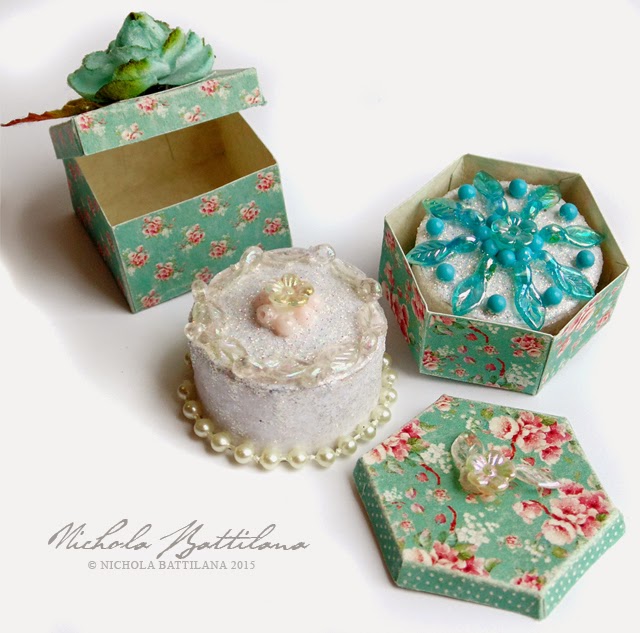
I jumped at the chance to play with the new Little Rococo Boxes Collage Sheet. The sheet includes miniature boxes suitable for tiny fancy hats, fairy crowns, shoes and cakes. Being a fan of sweets I opted for the latter.

Miniature cake boxes and paper & bead cakes - Nichola Battilana

Believe it or not, those cakes are made form paper. I simply made a sort of stubby tube, capped the end, and applied tiny beads and acrylic accents. A healthy slathering of Diamond Stickles for the icing and you've got yourself a fancy fairy cake ;)