Showing posts with label diy. Show all posts

Monday, June 06, 2016

A Tin Can Kingdom

I have a new project.

It's cute. Really cute.

AND there's a tutorial.

Are you ready?

I think you're going to like this.

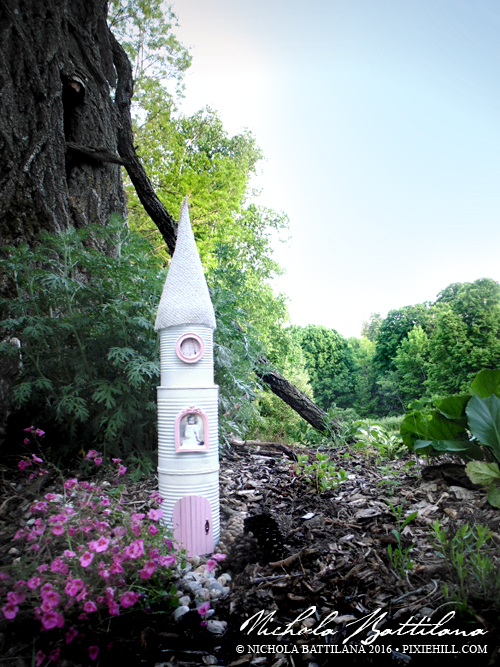
Recycled Tin Castle Towers with tutorial - Nichola Battilana pixiehill.com

Can castles! Tin turrets! Recycled fairy garden towers!

Recycled Tin Castle Towers with tutorial - Nichola Battilana pixiehill.com

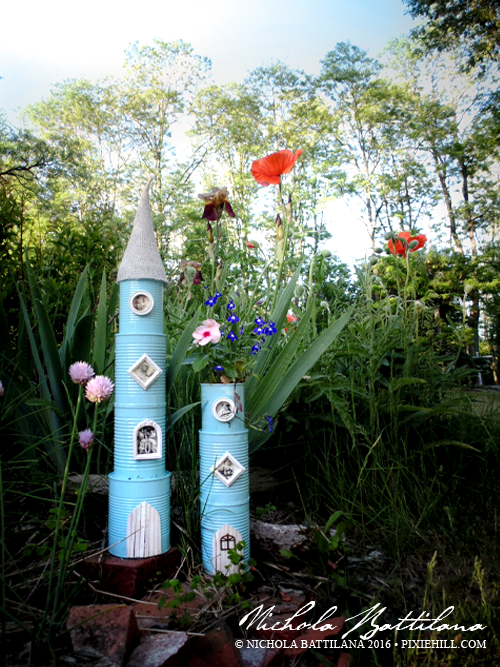
The biggest struggles setting up the summer fairy garden have been the battles with the weather and the critters. This year I was determined to come up with something a little more sturdy to survive the summer and the squirrels. These are the result of all that thinkin'.
Recycled Tin Castle Towers with tutorial - Nichola Battilana pixiehill.com

I'm kinda in love with them and want to make them in all the colours to dot around my garden. Just look at those blue beauties next to the tall poppies.

Recycled Tin Castle Towers with tutorial - Nichola Battilana pixiehill.com

Some are topped with roof top gardens (which fairies love btw). Others have really simple pointy cone roofs which are just a bit of burlap sewn into a cone shape, then spray painted. The paint adds some stiffness and helps to prevent fraying. Pretty sure that any stiff fabric would do. My initial thought was to use reusable grocery bags (reusing the reusable!) but the burlap was on hand so I'll do that next time.

Recycled Tin Castle Towers with tutorial - Nichola Battilana pixiehill.com

And speaking of 'next time'... 

I've made a video tutorial for the basic version of this project so if you haven't already, hop over and subscribe to my Youtube channel.

Recycled Tin Castle Towers with tutorial - Nichola Battilana pixiehill.com

The video tutorial is below, and below that you'll find the supply round-up. If you're inspired to make your own tin can kingdom and show it off, tag me in your post! I'd love to see what you made. Want to recreate this project for your own blog? Have at it! Just be sure to link back here please-and-thank-you. The credit for the inspiration is appreciated, and it encourages me to share more free projects.


Here's everything you'll need:

Tin cans of all sizes and shapes
Silicone
Spray paint (I recommend using a paint w/ primer)
Bits and bobs for windows & doors

Cardboard
Stir sticks
Burlap
Stones
Soil
Plants and moss

*GooGone for removing label glue from tins
*Nail polish remover will remove SOME ink stamps

Friday, April 01, 2016

The Goblin Throne

Spring is finally creeping into our neck of the woods. My faithful furry buddy and I have been taking advantage of the nice weather, wandering through the dried grasses and meandering next to the little stream that edges our property.

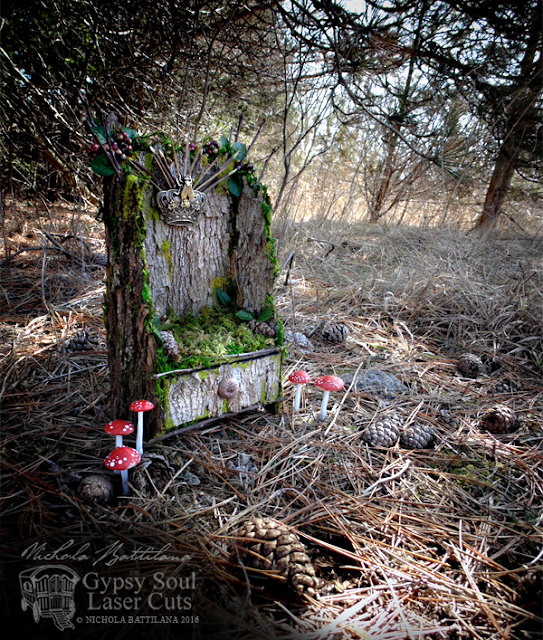
The Goblin Throne and tutorial - Nichola Battilana

While these conditions are ideal for fairy sightings, it was a goblin we first encountered on our stroll the other day. Normally I don't mix with goblins (I don't have anything against them in particular, but avoiding them seems like the best practice) but we regarded each other respectfully and engaged in a little chatter.

The Goblin Throne and tutorial - Nichola Battilana

He shared his ideas with me for a sort of goblin throne. I agreed to make one, in exchange for permission to share the project with others. He grumbled that he didn't much care, so long as the throne was made, and here we are.

The Goblin Throne and tutorial - Nichola Battilana

There were four elements of utmost importance to be included:

1) It must not look out of place in the goblins den.

2) The seat must be well cushioned, because even goblins do not like sore bottoms.

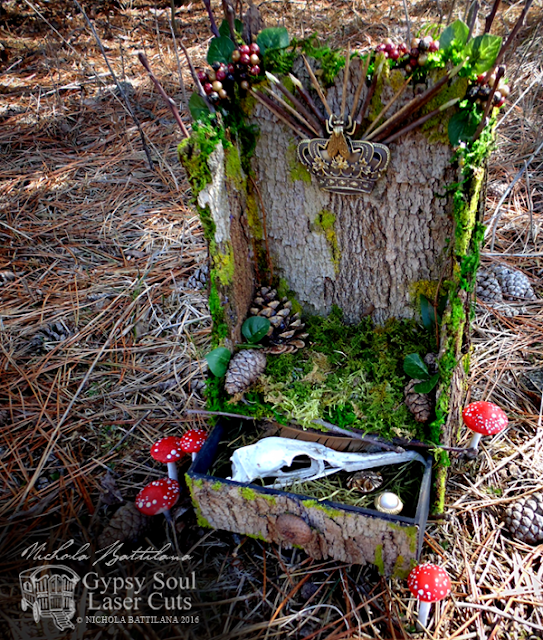
3) It should be embellished with poisoned berries and pointy things. (Note: The design didn't have to BE dangerous, but if it looked as though you might prick your finger that would be a very good thing indeed. And poisoned berries because goblins like to nibble throughout the day.)
4) It must contain a secret chamber for goblin treasures.

The Goblin Throne and tutorial - Nichola Battilana

As soon as he mentioned the secret chamber my mind turned to this Trinket Drawer Stand and I gathered up some bark and moss and set to work.

This isn't a complicated project, and the supplies are few, but our goblin acquaintance was well pleased with the results. If goblins aren't your cup-of-tea, add flowers rather than spikes, and hide jelly beans in the secret drawer to make a regal chair for a fairy queen.

Here's the story of the Goblin Throne and how I put it together.


And here is a list of all the goods used:
Trinket Drawer Stand
Black acrylic paint
Moss
Bark
Pinecones
Acorns
Faux berries and leaves
Sticks and twigs
Toothpicks
Large metal crown
Metal bee
FlowerSoft in "Moss" and "Sage"
LOADS of glue

The Goblin Throne and tutorial - Nichola Battilana

Monday, November 02, 2015

Fairy Christmas Card Advent Calendar

Ok, I've let Halloween pass and now it's full steam ahead with the Christmas posts. I have a few projects coming up that I KNOW you're going to want to try so I'm posting nice and early to give you plenty of crafting time. Today, a totally freaking adorable advent calendar alternative.

Fairy Christmas Cards, an alternative Advent calendar - Nichola Battilana

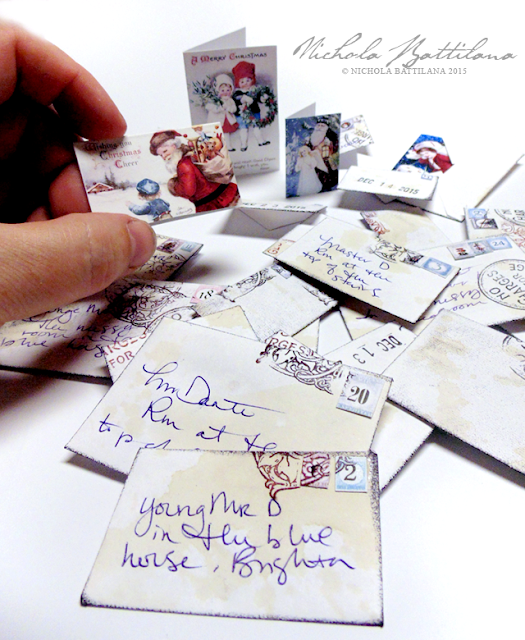
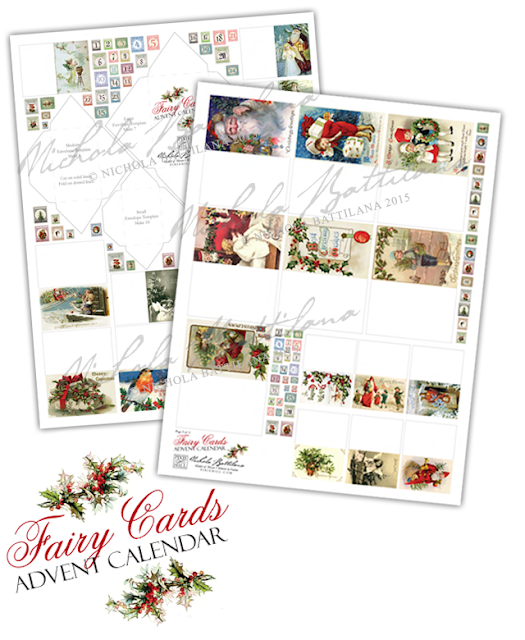
Imagine waking up each day to find a card from the fairies helping you count down to Christmas! I've put together a Fairy Card Advent Calendar, a 2 page download that includes 25 miniature cards with vintage holiday imagery, numbered postage stamps and three envelope templates to fit the various sized cards.

Fairy Christmas Cards, an alternative Advent calendar - Nichola Battilana

Now, when I showed this project to my kiddo he said "Yeah, but what about the treat?" The wheels in my mind starting turning and I thought of all the little things that would fit in those envelopes... letters, notes, coins, buttons, glitter, jokes, stickers, charms... then the light bulb above my head lit up. 

Fairy Christmas Cards, an alternative Advent calendar - Nichola Battilana

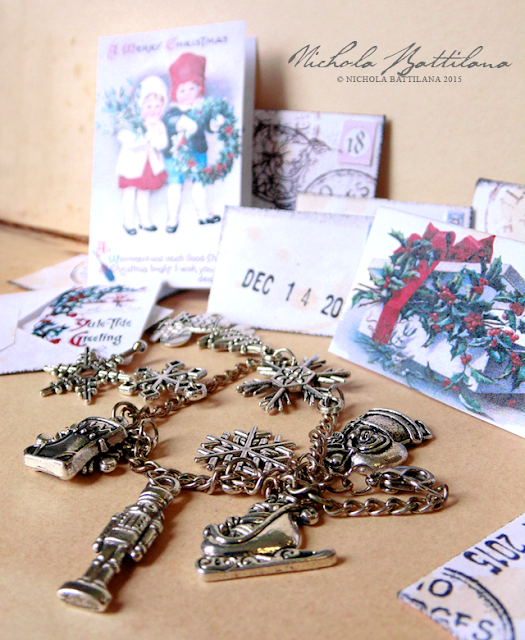
Every few days a charm could be included in the tiny card and your little pixie could make their own Christmas charm bracelet! The sets I've used here are the Santa Sleigh Silver Charm Set and the Silver Snowflake Charm Set from Alpha Stamps.

Fairy Christmas Cards, an alternative Advent calendar - Nichola Battilana

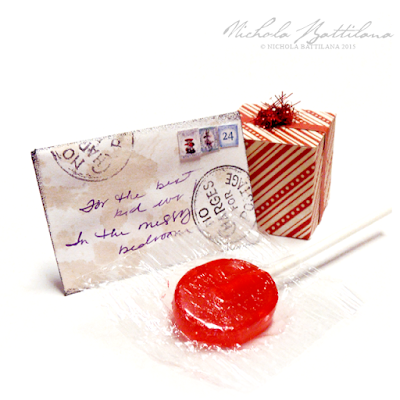
Cute as buttons and sugar free! Although if you do like the sweet stuff you could always give a lolly or chocolate kiss.

Fairy Christmas Cards, an alternative Advent calendar - Nichola Battilana

Don't do the advent calendar thing? No worries! You could always make these up and pass them out to the people in your life who need a little extra fairy magic around the holidays.

Fairy Christmas Cards, an alternative Advent calendar - Nichola Battilana

Now, as for decorating the outside of those envelopes, here's what I suggest:

1. Using the templates from the Fairy Cards Advent Calendar, trace the envelope shapes onto a piece of regular white paper.


2. Cut the shapes.
3. Fold the two short sides, then fold the bottom (the one with the flat edge) and glue into place. Be careful not to glue the envelope shut!


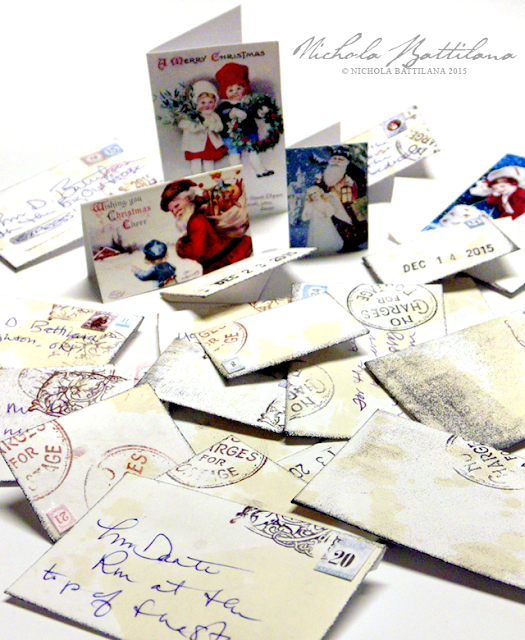
4. Sprinkle both sides with a bit of tea or coffee. I prefer tea as it doesn't leave a lingering scent. Allow to dry. NOTE: You can age your paper before creating the envelopes, but I found that doing it in this order results in a flatter, smoother finished piece. See wrinkles above.

5. Add little postage stamps and 'cancel' them using a rubber stamps. Any patterned stamp will do. Place a scrap bit of paper beneath so as not to ink your work surface.


6. Address the envelopes, personalizing them for the recipient.


7. Add the wee cards and any tiny surprises you'd like to include.


Fairy Christmas Cards, an alternative Advent calendar - Nichola Battilana

Lastly, and this is kind of important, these can NOT go through the regular postal system. Their size requires that they be handled only by Royal Faerie Post. If you want to send them to someone far away, I suggest mailing them within a larger card with a note of explanation.

Supply round up:
scissors
glue
tea/coffee for staining*
rubber stamps*
ink pad*
*optional

Do-dads for the charm bracelet:
Chain, clasp and jump rings / or pre-made bracelet
Santa Sleigh Silver Charm Set

Silver Snowflake Charm Set


Sunday, August 02, 2015

Sparkly Floral Crown with Petaloo

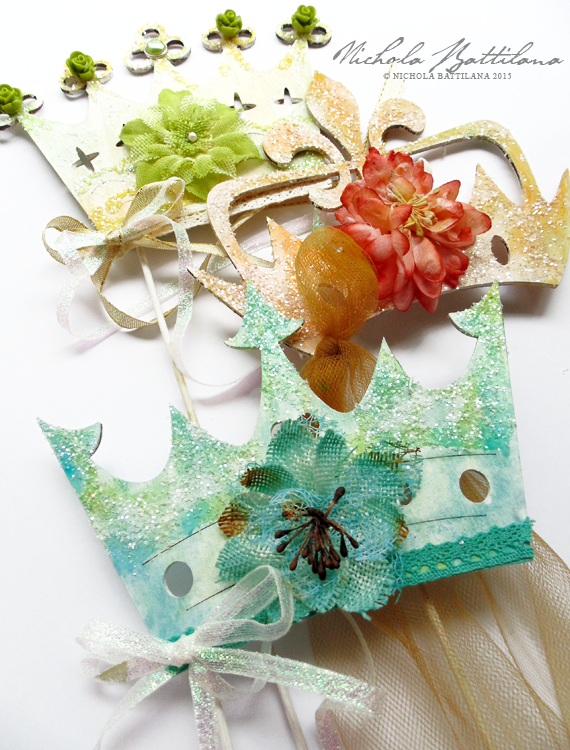
I found some simple wooden crown cut outs at Michaels. They have a little stick to hold the crown shape above your head during photographs or when meeting crown worthy dignitaries, all the while preventing unsightly 'crown head' hair.
Sparkly Floral Crown with Petaloo Blooms - Nichola Battilana

I thought the shapes were cute and a great kids project. After all, even if you can't find these wooden cutouts at your local craft store, it would be easy enough to create your very own from some cardboard and a bit of doweling. They would make a totally adorable "make and take" for birthday parties.
Sparkly Floral Crown with Petaloo Blooms - Nichola Battilana

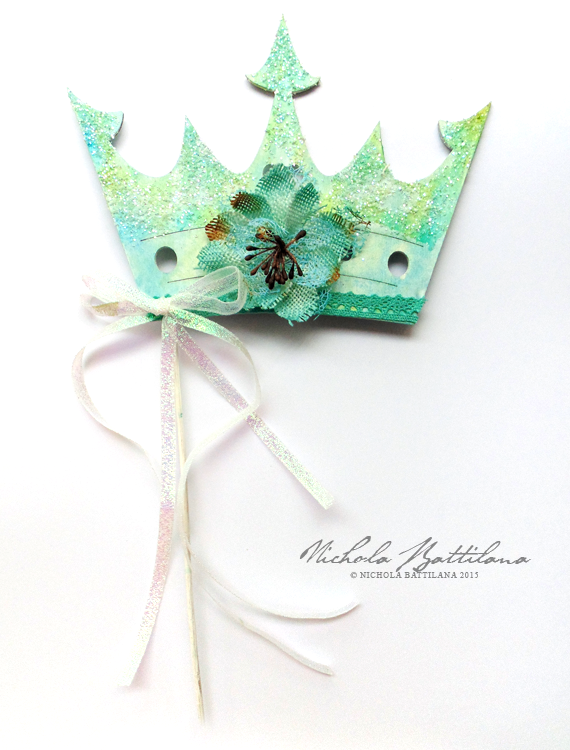
I began by painting all of the pieces white, then sploshing some paint on them. Sploshing doesn't require being neat or tidy so it is perfectly appropriate for little hands. Eat a cookie or fresh fruit salad and wait for that sploshing to dry before adding some glitter (Tip: good quality glue will help avoid glitter from loosening). For this crown I've added Fancy Trimsalong the bottom edge and a coordinating Teal Burlap Blossom
Sparkly Floral Crown with Petaloo Blooms - Nichola Battilana

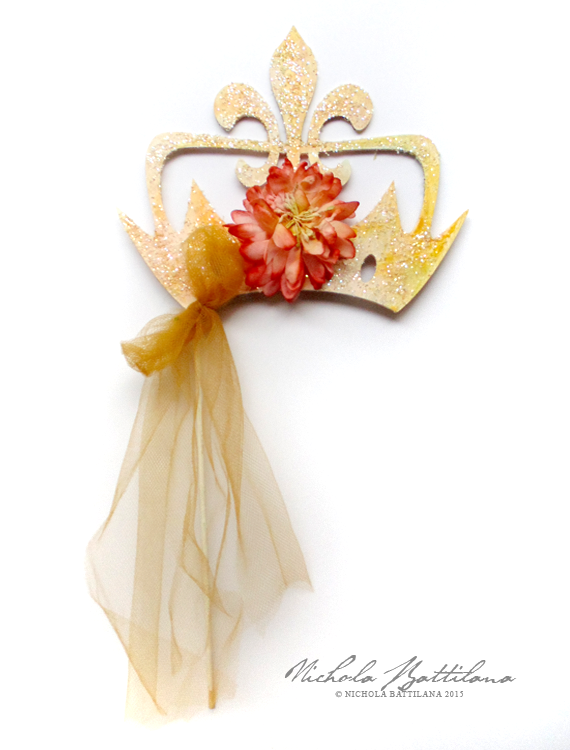
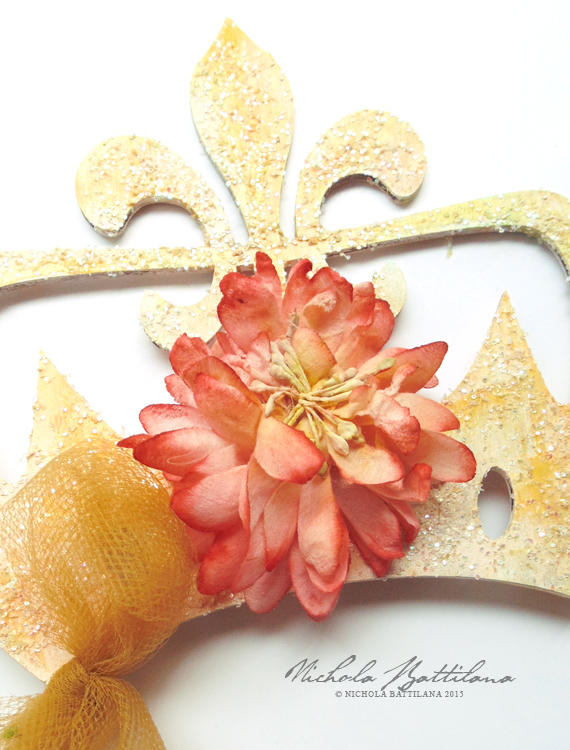
For this crown I've used a DIY-Mum which you can colour to match your project. (Note: I coloured this blossom with watercolour paint then dipped it in tea to soften the colour) Then I added a length of tulle to gussy up the handle.
Sparkly Floral Crown with Petaloo Blooms - Nichola Battilana

Those DIY blooms are pretty amazing and colouring them could be a fun project for kiddos in and of itself.
Sparkly Floral Crown with Petaloo Blooms - Nichola Battilana

Working with kids can be a lot of fun and there are many ways to include them in crafting. Let them make decisions about colour and trims. Let them do the sploshing. You can set limits if you like "Let's pic three flowers to add" but let them have some control. Be sure to have those little people help clean up afterwards too.
So get out there and make some crowns with your littles. And don't forget the tea party photo shoot afterwards.

Supply List:
Misc ribbons and trims
Wooden Crown cut outs or DIY crown shapes

Saturday, August 01, 2015

Tooth Fairy Letters

The other day I happened to run into the Tooth Fairy and we had a little chat. She said that she has been very busy lately and run ragged with all of the tooth collecting. Her schedule is so jam packed that she doesn't have time for any other fairy activities! Such a shame. I asked if there was anything I could do to help...

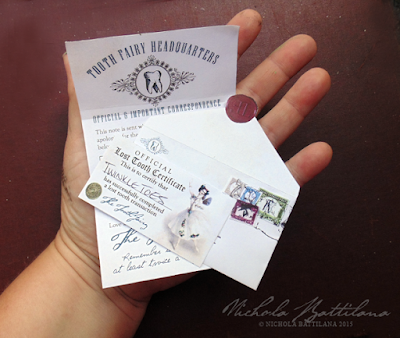
Tooth Fairy Letters - Nichola Battilana

I am asked about Tooth Fairy letters fairly regularly. While I do enjoy creating little the letters, they often take up quite a bit of precious limited time. Toothy and I (that's what I call her, we're pretty tight) came up with an idea.

Tooth Fairy Letters - Nichola Battilana

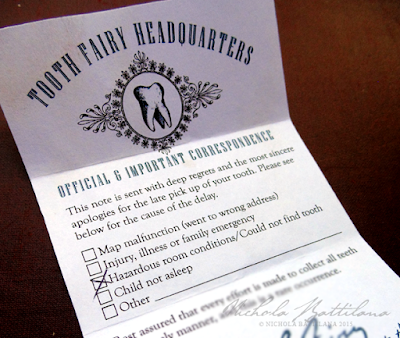
We created a template, an 'official Tooth Fairy sanctioned' correspondence, that parents and caregivers can print and assemble to give Toothy a bit of relief and help her get caught up.


Tooth Fairy Letters - Nichola Battilana

The PDF includes two letters (a 'thank-you' note and an apology for late tooth pick up) envelope template, tiny stamps, seals and a wee certificate for tooth collection completion.

The download is available in the etsy shop HERE.

P.S. Toothy asked me to remind you to brush at least twice a day and don't forget to floss.

Tuesday, July 07, 2015

Adorable Floral Cake Topper for Petaloo

I was asked to create a wedding themed something for Petaloo. You can now add cake topper to your DIY wedding list. 
Adorable Petaloo Cake Topper - Nichola Battilana

I've used pink burlap flowers and daisy layers to top this cake while imagining a sweet, simple backyard wedding. But if your 'I do's' are a little more fancy, you could absolutely consider Botanica blooms atop a prettily iced cake, or vintage velvet blossoms for a shabby chic wedding.
Adorable Petaloo Cake Topper - Nichola Battilana

To create my topper I simply cut out thick decorative paper and affixed a mound of florists foam/oasis to the top. I added coordinating trim to hide the bottom edge, then simply applied the flowers to the foam. I printed the sentiment on thick card, applied a painted bamboo skewer and pushed into place. If you're worried about your topper moving, simply push toothpicks in the bottom to hold your piece in place.
Card Stock
Oasis
Bamboo Skewer
Butterflies