Showing posts with label kids. Show all posts

Saturday, September 30, 2017

Halloween Hotrods with Tutorial

One of my very favourite projects from last year were the Mad Max hot rods built with my buddy Paula Mould. It's one of those projects that is just so much messy fun. I mean you COULD be neat and proper and make something stunning... or you can let loose and just glue crap to other crap and have a grand old time doing it.

Halloween Hotrods: Dollarstore project with video tute • Nichola Battilana

There's Halloween junk all over the Dollarstore aisles and it made me nostalgic and inspired to revisit that project. This time with a video tute (see below) for you to make your own monster machines.

Since this is a dollarstore, stash busting project, it's not going to break the bank.

Halloween Hotrods: Dollarstore project with video tute • Nichola Battilana

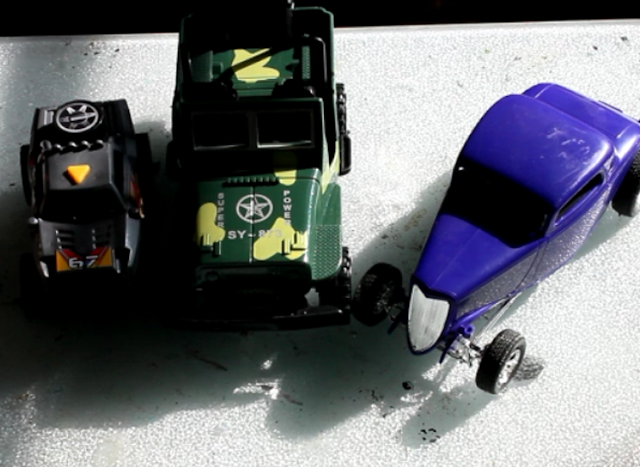
We're starting out with simple plastic toy cars and trucks.

Halloween Hotrods: Dollarstore project with video tute • Nichola Battilana

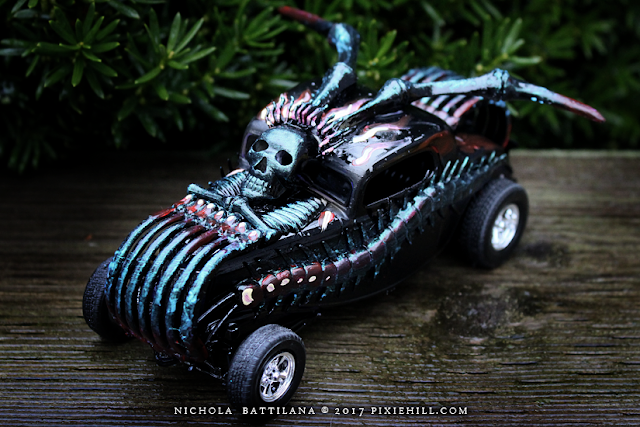
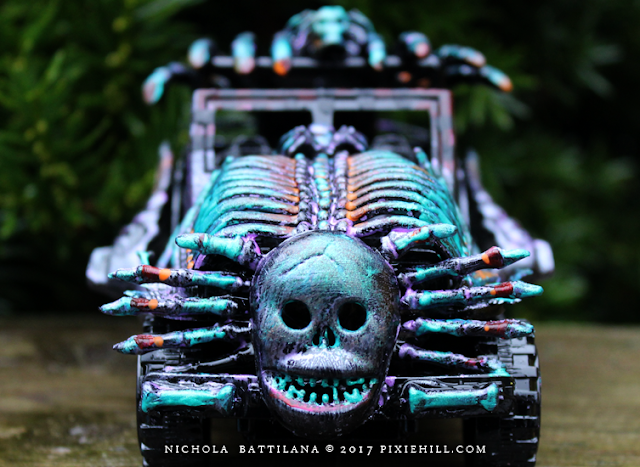
Embellishing the heck out of them. Giving them a knock out paint job. And ending up with something like this...

Halloween Hotrods: Dollarstore project with video tute • Nichola Battilana

They check off most of the boxes for a kid friendly project. They're cheap, fun, neatness isn't exactly a factor. You WILL need to supervise/modify the project depending on age appropriateness (i.e. glue guns are the devil) but it's do-able for and little hotrodders you know.

Halloween Hotrods: Dollarstore project with video tute • Nichola Battilana

I've just used my trusty old hot glue gun for this project. If you want something that can be handled (crashed? raced?) and remain somewhat intact, you'll need to invest/experiment with a better method of adhesion. Or, you know, let them be the $3 works of art they are and just enjoy the destruction.

Halloween Hotrods: Dollarstore project with video tute • Nichola Battilana

Here's your supply list:

Toy cars: trucks, busses, boats, planes... whatever strikes your fancy!
Halloween swag: skeletons, bugs, beads, bones, skulls, spiders, bats
Black spray paint: I used gloss in the tute... I MUCH prefer flat/matte

Acrylic paint: I mostly used a product from Colourarte called Silks Acrylic Glaze It has a nice pearlescent finish and it was in my stash. Metalics looks super cool.
Paint brush
Sponge brush
(for blending)
GLUE: I used hot glue because it's fast and easy. Do what works for you!
Cutting tools: for chopping up spiders and plastic skeletons
Tape: for covering any bits you don't want spray painted

Halloween Hotrods: Dollarstore project with video tute • Nichola Battilana

That's it weirdos! Go make something hotroddy!

Here's how to put them together.

Tuesday, January 19, 2016

Paper Pirate Ships (and How to Be Inspired Update)

My fairy lantern post and tutorial have been pretty dang popular over the past week or so. I'm very happy that it prompted parents, grandparents, and caregivers to craft with (and for) the little people in their lives. I thought I'd post another project and tute that might encourage that sort making to continue.

If you know me, you know that I'm not only a fairy fanatic but that I'm also smitten with pirates. I've made paper sky pirate ships in the past as well as a nifty paper Sky Pirate Zeppelin. I have them hanging from my ceiling and I love the idea that there are little fairy sized buccaneers keeping any goblins at bay.


ANYWAY, it's a fun little project. You can get as simple or complicated with it as you like. Loads of opportunity for little people to help... picking paper, measuring, bending and curling the paper, placing the sails just-so. What you'll need:

• thick scrapbook paper (I've used Typography from Graphic 45)
• paper straw
• jute/twine
• large bead / pony bead
• charms and embellishments
• trims (I used THIS ONE for the above sample)
• glue!

The tutorial can be found HERE on my YouTube channel (or below) and just in case you need some clarification, here is diagram of what your boat folds should look like:


___________________________________________

Finally, a quick check in for those following along with the "How to Be Inspired" posts:

After the initial think, I've collected and pinned loads of images over on the Inspiration Board. Now it's time to form some ideas and let them brew. 

I've got a couple of thoughts floating around in my head, directions that I'm considering. I'm loving the medieval tents I've come across. Their shape, colour and decoration are amazing. I also really like the circus tents that I've seen - so whimsical. But I think it's those simple camping tents that are calling my name so that's where I'm headed.

How are you coming along? Have you given it any thought? Do you have a clear vision what you want to create? It might be helpful to consider WHAT it is you want to make. Yes, you're making a tent... but is it a functional thing? big? little? decorative? ornate? simple? permanent? movable? Does it have a theme? a story? Figuring out these sorts of details will help to narrow down the vision for the final project.

I'll check in again next Tuesday with a few more details about my idea, what I'll be making and how I go about making it.

_________________________________________


Sunday, August 02, 2015

Sparkly Floral Crown with Petaloo

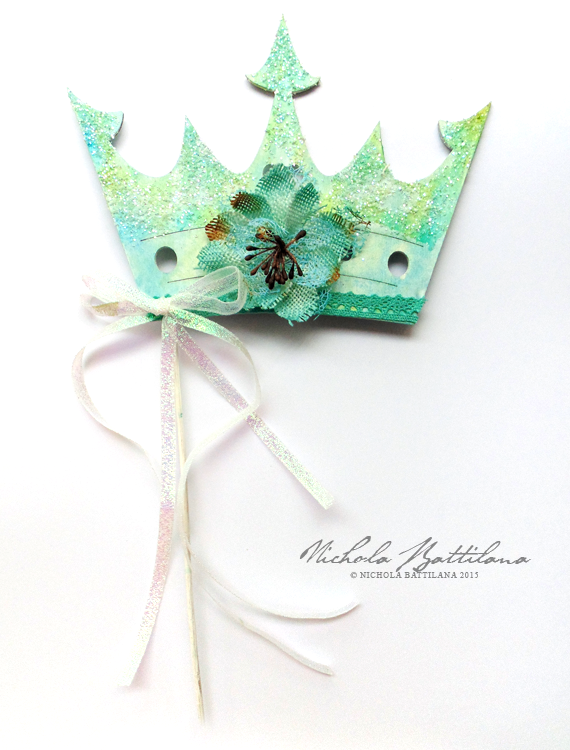
I found some simple wooden crown cut outs at Michaels. They have a little stick to hold the crown shape above your head during photographs or when meeting crown worthy dignitaries, all the while preventing unsightly 'crown head' hair.
Sparkly Floral Crown with Petaloo Blooms - Nichola Battilana

I thought the shapes were cute and a great kids project. After all, even if you can't find these wooden cutouts at your local craft store, it would be easy enough to create your very own from some cardboard and a bit of doweling. They would make a totally adorable "make and take" for birthday parties.
Sparkly Floral Crown with Petaloo Blooms - Nichola Battilana

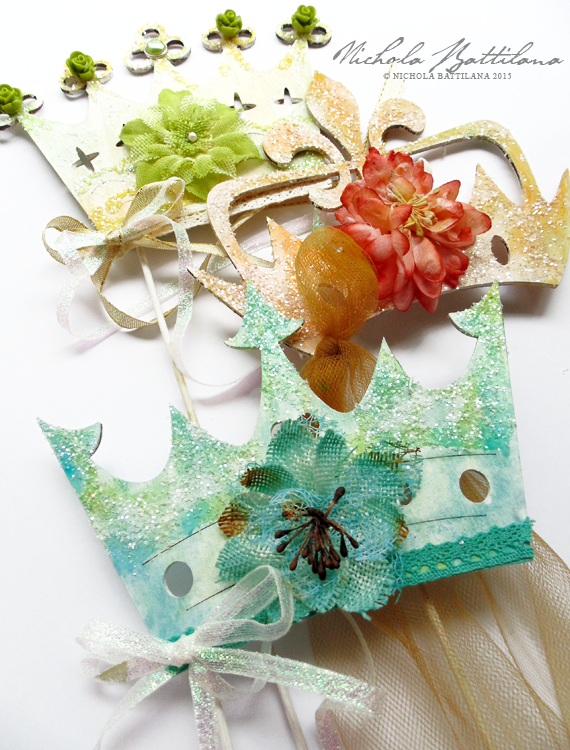
I began by painting all of the pieces white, then sploshing some paint on them. Sploshing doesn't require being neat or tidy so it is perfectly appropriate for little hands. Eat a cookie or fresh fruit salad and wait for that sploshing to dry before adding some glitter (Tip: good quality glue will help avoid glitter from loosening). For this crown I've added Fancy Trimsalong the bottom edge and a coordinating Teal Burlap Blossom
Sparkly Floral Crown with Petaloo Blooms - Nichola Battilana

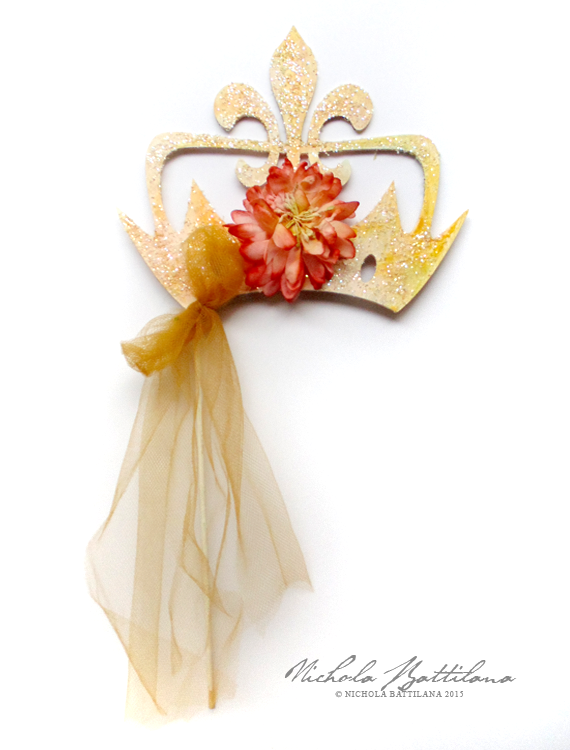
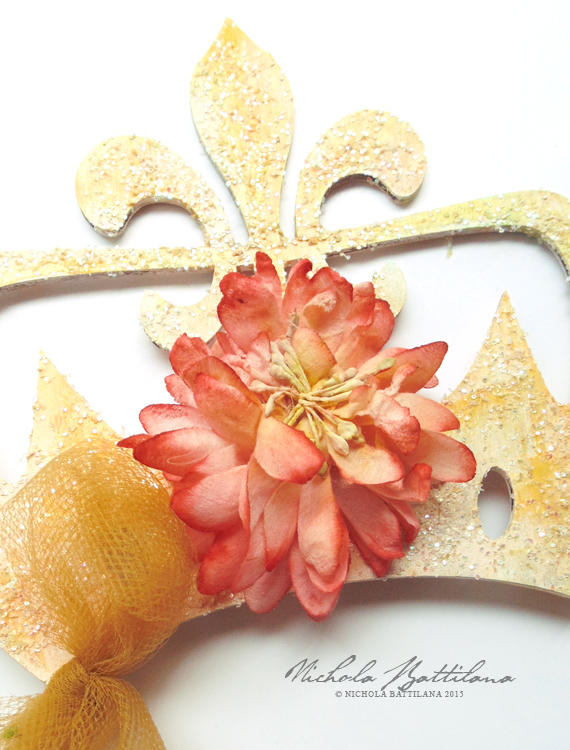
For this crown I've used a DIY-Mum which you can colour to match your project. (Note: I coloured this blossom with watercolour paint then dipped it in tea to soften the colour) Then I added a length of tulle to gussy up the handle.
Sparkly Floral Crown with Petaloo Blooms - Nichola Battilana

Those DIY blooms are pretty amazing and colouring them could be a fun project for kiddos in and of itself.
Sparkly Floral Crown with Petaloo Blooms - Nichola Battilana

Working with kids can be a lot of fun and there are many ways to include them in crafting. Let them make decisions about colour and trims. Let them do the sploshing. You can set limits if you like "Let's pic three flowers to add" but let them have some control. Be sure to have those little people help clean up afterwards too.
So get out there and make some crowns with your littles. And don't forget the tea party photo shoot afterwards.

Supply List:
Misc ribbons and trims
Wooden Crown cut outs or DIY crown shapes