Wednesday, September 21, 2016

Unsticking the Stuck and The Road Less Traveled

I've been trying to push my boundaries and try new things. There was a time that I was quite fearless, but comfort seems to have softened that edge. Don't get me wrong! There's a goodness to that comes with softening, but I think that a certain amount of courage is needed to live with enthusiasm.


One of the things I've been doing is leaving the house. Every day I go for a walk, long or short, something to get me out into the world. Today I saw this sign.


I have seen the sign before, but today I decided to go down that road. This, by the way, is the road...


It is a road in the very loosest sense, it is a way, but I followed it nonetheless.


Every so often the trees to the sides would clear, showing off views of the surrounding farm land.


Wildflowers sprouted here and there in a showy display.


I even found what I believe to be an honest to goodness faerie house.


It was beautiful and quiet (except for my terrible singing). The temperature was perfect. The breeze made the greenery dance.


And before I knew it, I had reached the end of the road.


As with all of the other things I've pushed myself to do, the road less traveled wasn't that scary.


That path even gave up a few nice surprises to think about on the comfortable road back home.

Tuesday, September 20, 2016

Internet Strangers and Mad Max Contraption Crafting

My internet buddy and I decided to jump in with both feet and meet in person with two days of drinks, giggles and crafting. It was just the greatest experience. There's a lot of weirdos on the internet, and apparently that's just my type ;) Seriously! I love all of you nuts.


I was trying to think up a craft we could do together and when Paula mentioned wanting to see Mad Max I knew exactly what to do. 

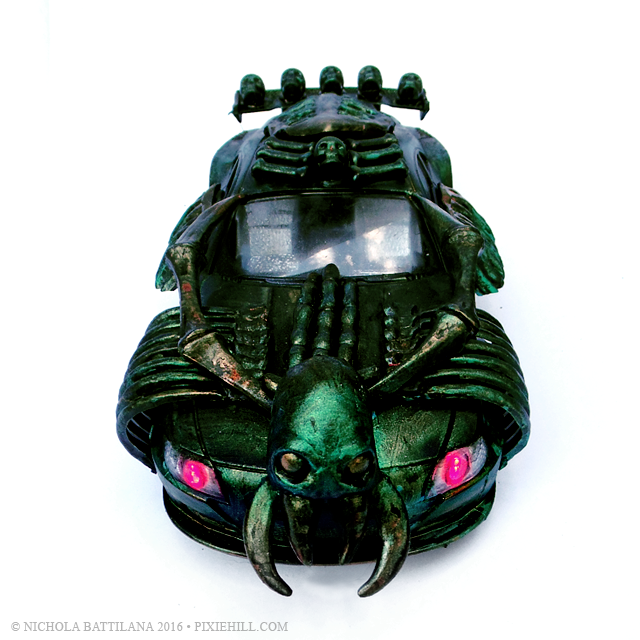
Creeptastic Dollarstore Hot Rods - Nichola Battilana

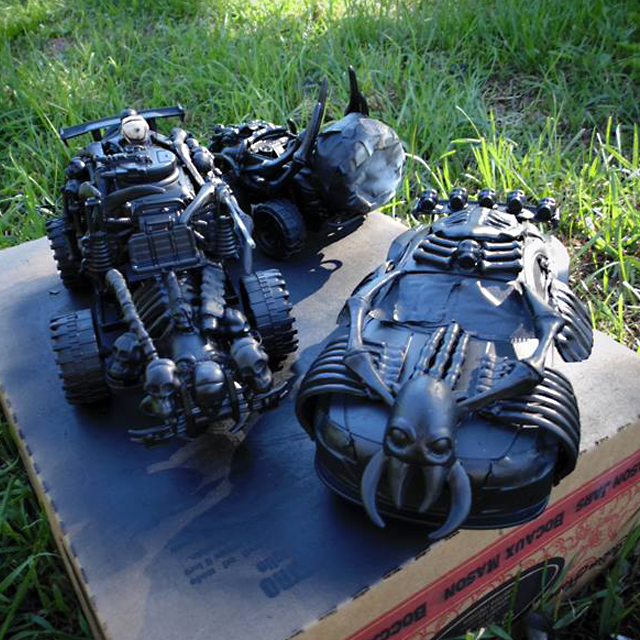
Ever since seeing Mad Max in the theatre I've had the urge to make little versions of those fantastical vehicles. So we headed to the Dollarstore and bought some plastic cars and a boatload of Halloween skeletons...

Creeptastic Dollarstore Hot Rods - Nichola Battilana

We disassembled, reassembled, and glued this to that. It was serious business!

Creeptastic Dollarstore Hot Rods - Nichola Battilana

Then a good coat of matte black spray paint. As soon as that paint is on there, things start to take shape and we felt like total bad asses!

Creeptastic Dollarstore Hot Rods - Nichola Battilana

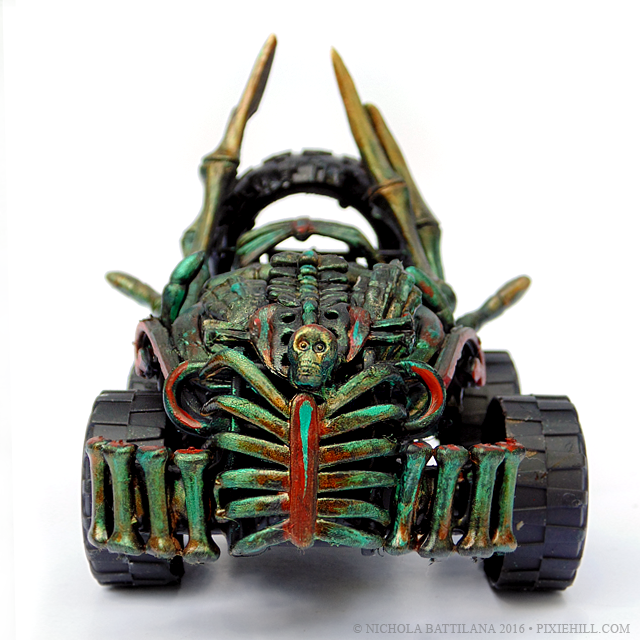
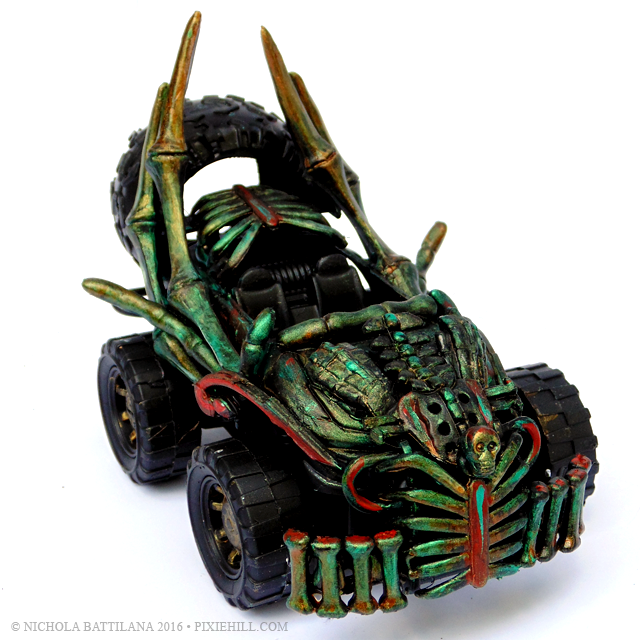
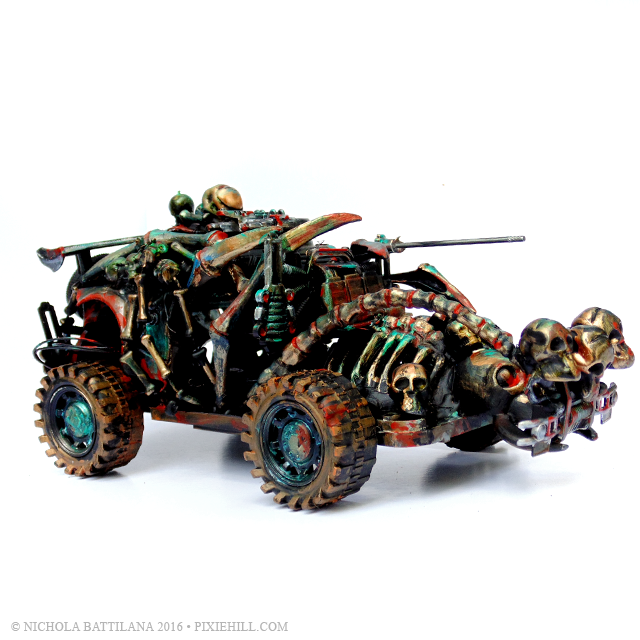
Finally we added layers and layers of colour. I am absolutely thrilled with how these turned out.

Creeptastic Dollarstore Hot Rods - Nichola Battilana

Such a fun project that really lends itself to being messy and just enjoying the process of making and tinkering.

Creeptastic Dollarstore Hot Rods - Nichola Battilana

The final pieces are sort of Mad Max meets Geiger meets DeMeng and I'm crazy about all of those things so I'm a-ok with that.

Here's Paula's fantastic contraption...
Creeptastic Dollarstore Hot Rods - Nichola Battilana

 Isn't it just so great? And she claims she's not a crafter! Pffft!

Creeptastic Dollarstore Hot Rods - Nichola Battilana

I am particularly smitten with this car because it lights up and makes vrooomy noises.

Creeptastic Dollarstore Hot Rods - Nichola Battilana

Such a fun project. Such a good time.

Yay for internet strangers that become good buddies.


Friday, September 16, 2016

Taking over Graphic 45 with fairy flare

This week the Graphic 45 blog has been taken over by it's Alumni Design Team members and today it's my turn!

I am totally tickled to be playing with gorgeous goodies from G45. While I was sorely tempted to make some spooky Halloween goodness with Rare Oddities I couldn’t help but create some fairy magic with Enchanted Forest. Sooo, I’ve created three enchanting projects fit for a fairy princess.

(Note: jump all the way to the bottom of this post for the supply lists.)

Fairy Tale Projects with G45's Enchanted Forest - Nichola Battilana

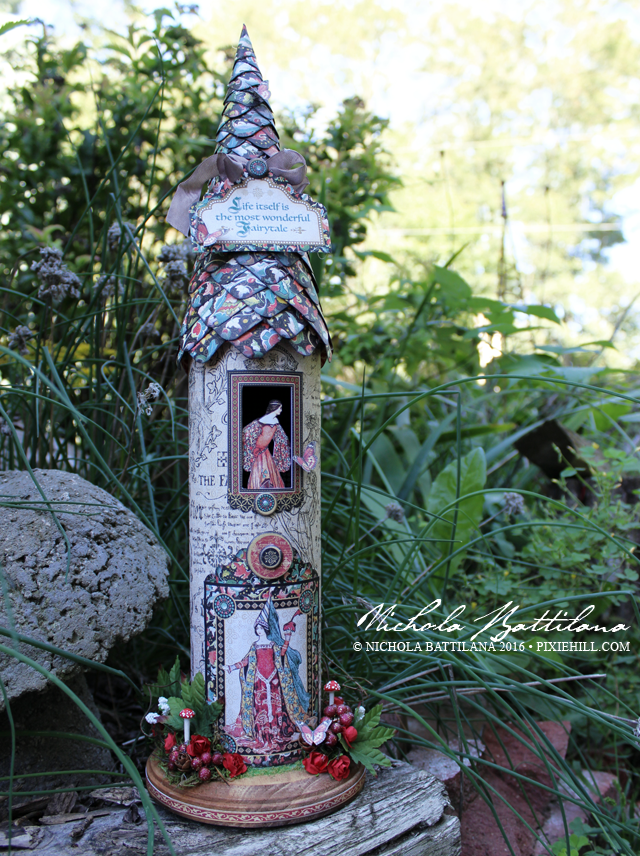
Recycled Fairy Tale Tower

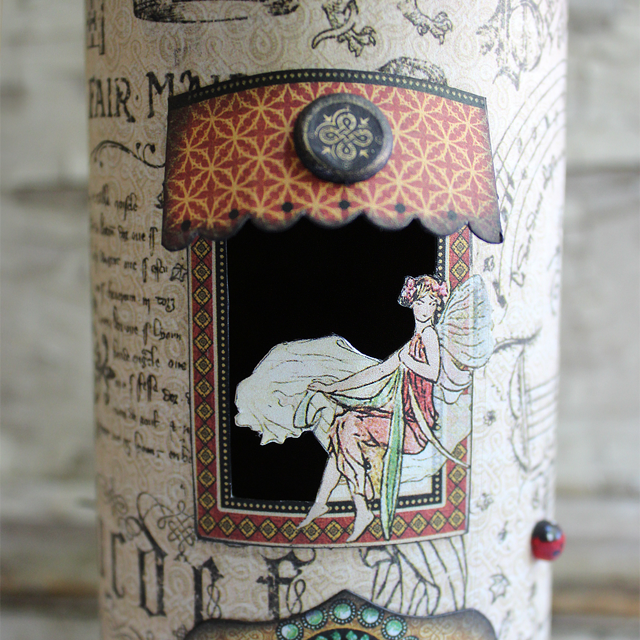
Fairy Tale Tower with Tutorial - Nichola Battilana

This tower is made with an old potato chip can as the base. I’ve used Medieval Splendor for the tower portion and elements from the Enchanted Forest Tags & Pockets are used for the window and door. Additional decorations are added with Enchanted Forest Journaling Chipboard

Fairy Tale Projects with G45's Enchanted Forest - Nichola Battilana

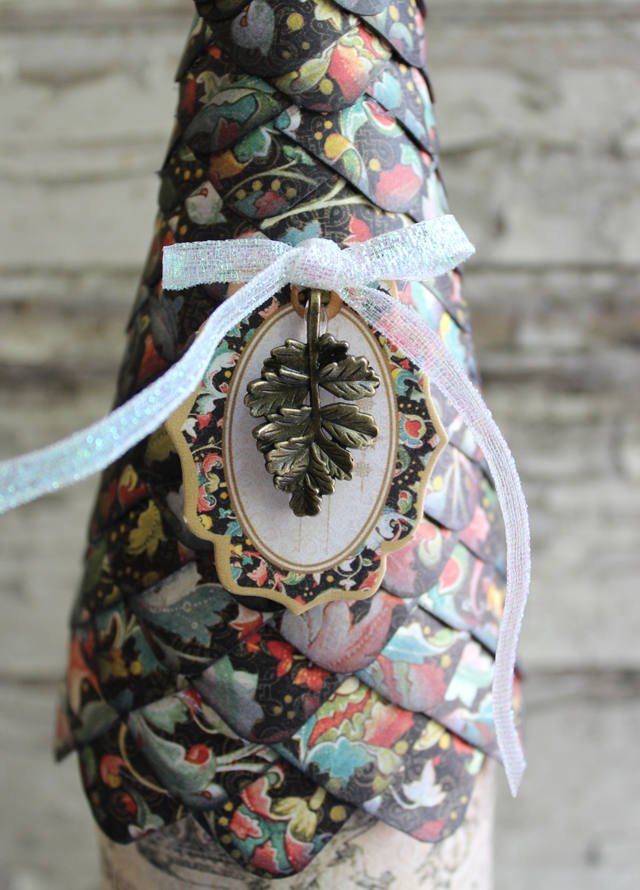
To create the roof, I simply created a cone and then glued rounded squares of Sumptuous Floral in place like shingles. It does take a while to complete, but I think the effect is totally worth it.

Fairy Tale Projects with G45's Enchanted Forest - Nichola Battilana

The tower is placed on a wooden plaque base and finished off with moss and faux berries and flowers.

Fairy Tale Projects with G45's Enchanted Forest - Nichola Battilana

AND I have a tutorial to create this version of the fairy tale tower.

Fairy Tale Tower with Tutorial - Nichola Battilana


Here is the template to create the cone roof (click for full size)


Paper Crown

Fairy Tale Projects with G45's Enchanted Forest - Nichola Battilana

Every princess needs a crown… even if it’s made of paper. With Dazzling Damsel I created a paper crown using A Gilded Life - Petite Monarch Crown Long Die and some strips of paper. A 1/4 Inch Gold Metallic Braid and Lace trim were added which gave some additional stability. 
Fairy Tale Projects with G45's Enchanted Forest - Nichola Battilana

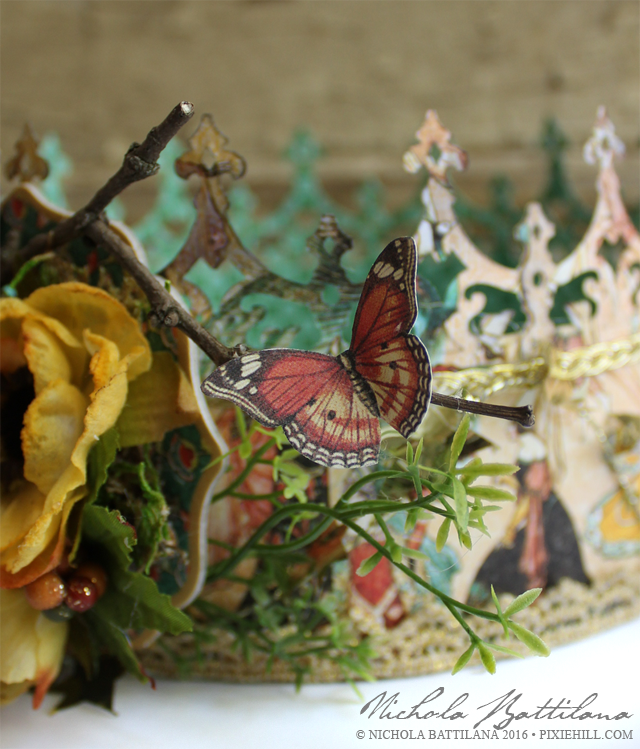
Next, a piece from the Enchanted Forest Journaling Chipboard was added to the front centrepiece and moss and flowers added. Finally, a tiny fussy cut fairy is nestled in the moss and two butterflies from Botanical Tea are fluttering about too. 

Fairy Tale Projects with G45's Enchanted Forest - Nichola Battilana

Dragon Egg Box

Fairy Tale Projects with G45's Enchanted Forest - Nichola Battilana

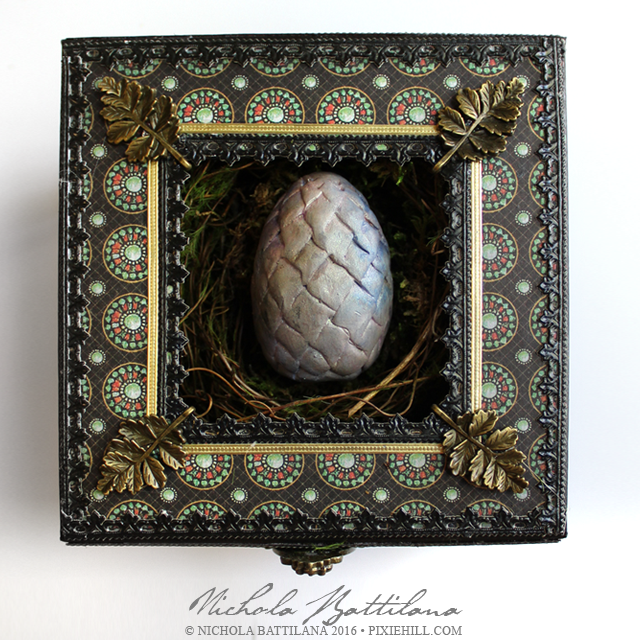
Some people may think dragons are for boys but I say pish-posh to that. Dragon Eggs should be on every princesses ‘must have’ list. I’ve nestled a handmade dragon egg inside of a Mixed Media 5x5 Box-Black, which is basically a perfect dragon egg display. 

Fairy Tale Projects with G45's Enchanted Forest - Nichola Battilana

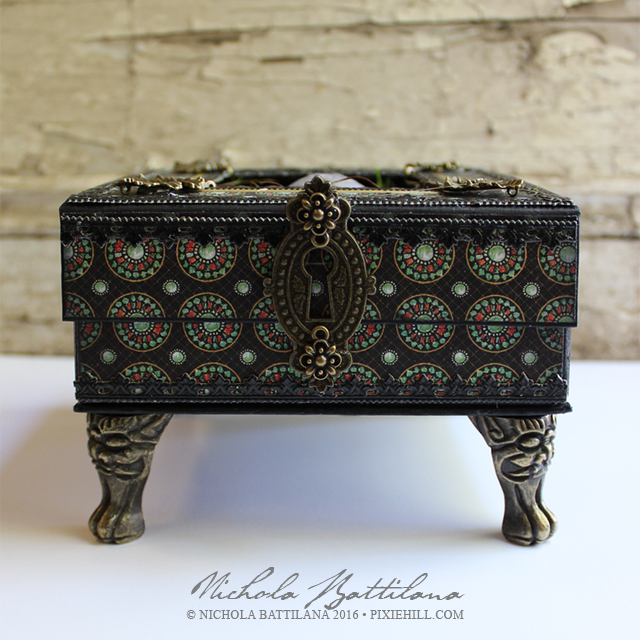
You can keep your eye on the egg to watch carefully for hatching, but also display it most regally. Brilliant Gem paper, loads of dresden trim and metal embellishments and you’re ready to hatch a Romanian Longhorn or Hungarian Horntail!

Fairy Tale Projects with G45's Enchanted Forest - Nichola Battilana

Phew! That's an awful lot of princessing., but I enjoyed every minute and am totally grateful to G45 for inviting me to play. It's been a fun week and I'm glad to be in such good company.

Now here's your supply lists... start a-makin'!

Recycled Fairy Tale Tower Supplies
Graphic 45Enchanted Forest
Sumptuous Floral
Medieval Splendor
Gilded Grandeur
Enchanted Forest Tags & Pockets
Enchanted Forest Journaling Chipboard
Enchanted Forest 6x6 Patterns & Solids
Empty chip can (ie. Pringles)
Wooden Plaque
Moss
Twig Vine Garland
Faux berries and eggs
Embellishments
Ribbon
Leaf Charms

Paper Crown Supplies
Graphic 45: Enchanted Forest
Dazzling Damsel
Enchanted Forest Journaling Chipboard
"Botanical Tea"
1/4 Inch Gold Metallic Braid
Lace trim
Twigs
Moss
Faux Leaves
Petaloo Anenome Flowers
A Gilded Life - Petite Monarch Crown Long Die

Dragon Egg Box Supplies
Graphic 45Enchanted Forest
Brilliant Gem
Medieval Splendor
Mixed Media 5x5 Box-Black
Ornate Metal Key Holes
Thin Fleur Dresden Borders - Black
Tiny Embossed Gold Dresden Borders
Leaf Charms
Metal Feet
Moss
Handmade Dragon Egg


Thursday, September 15, 2016

Found Bones

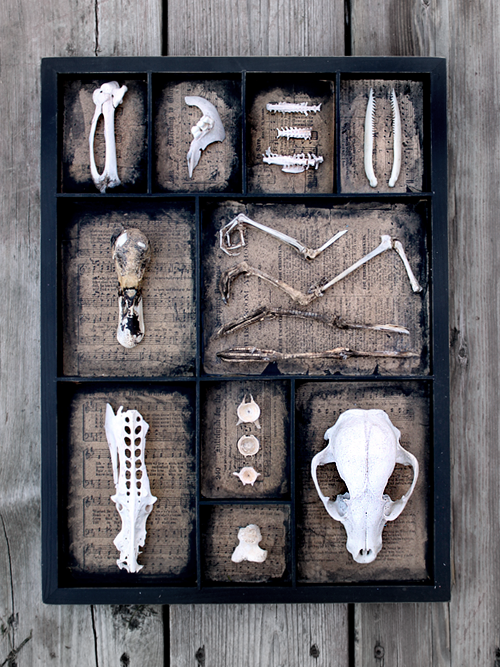
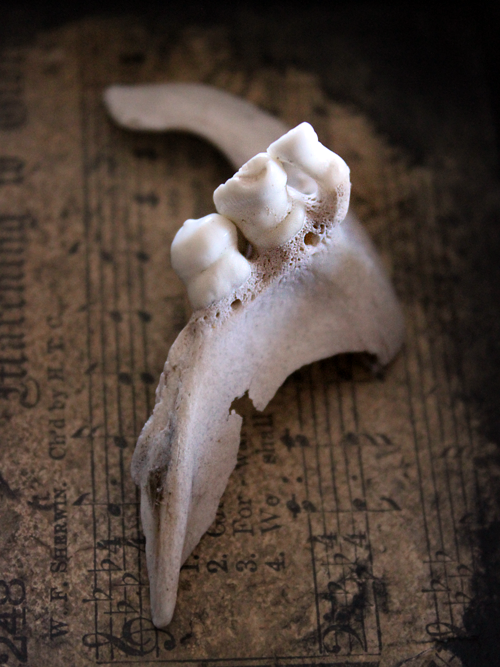
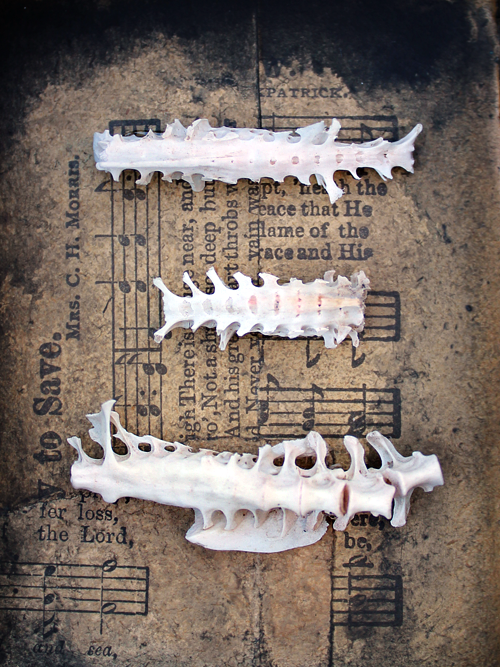
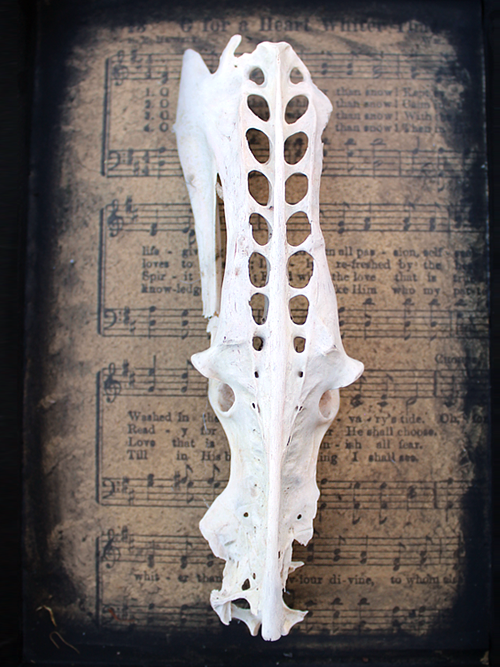
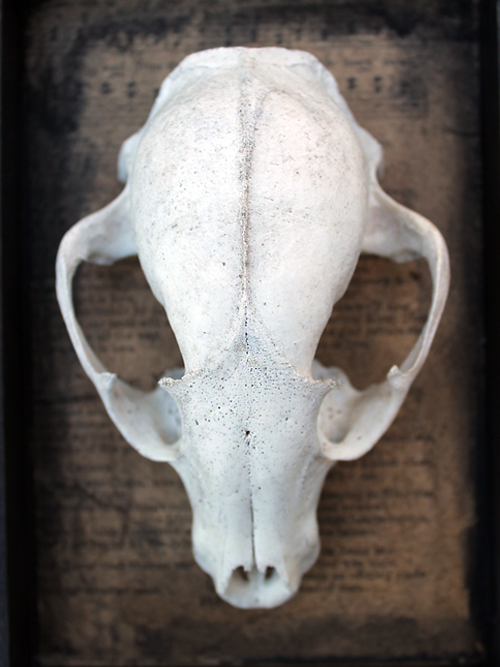
I've been working a bit manically lately. Grabbing this, gluing it to that, adding a dash of such-and-such. Last night I had my way with this shadowbox tray from 7 Gypsies, deciding to FINALLY do something with the fat jar of bones I've been collecting.

Found Bones - Nichola Battilana

We dig up and find a lot of bones on the property. It used to be farm land so we get a few cow bits here and there. We also live in an area with loads of wild life and nature does take it's course.

Found Bones - Nichola Battilana

Found Bones - Nichola Battilana

A number of these bones were found on Gull Island. It's a strangely magical place with bones and holed stones, and rare birds.

Found Bones - Nichola Battilana

Found Bones - Nichola Battilana

I didn't do much to the base shadowbox, preferring to let the bones sing for themselves. The pages that provide the backdrop are from hymnals from around 1900-ish. I used THIS Fast Finish Decoupage adhesive from Beacon. It darkened the pages significantly, I didn't mind and darkened them even further, but it's something to keep in mind if you decide to try it yourself.

Found Bones - Nichola Battilana

Found Bones - Nichola Battilana

I find myself on a bit of kick, wanting to get beloved stuff out of my stash, to use it and celebrate  it and appreciate it and show it off. Fat lot of good it does sitting in a box or jar. Am I right?

Found Bones - Nichola Battilana

That's sort of the story with these bones. I've picked them up because I saw value and beauty in them... and then they sat in a pile, and that's just not good enough.

Maybe I'm feeling a bit like that too. Tucked away. Hidden beneath a pile. And I'm trying to climb my way up and out. And some days that's really hard, but I keep trying. 

Found Bones - Nichola Battilana

I suppose I find comfort in these bones. They are mementos of strength and delicacy all at once. Reminders that we're all built from the same strange magic.


Wednesday, September 14, 2016

Devilish Charm Tags

Rooting through my box of chipboard, these little tag/charms just sort of threw themselves together.

Devilish Charm Tags - Nichola Battilana

I had a short struggle with what to put inside... lovelorn vintage ladies? saintly images? weird snips from Hieronymus Bosch paintings? In the end I decided that some vintage devils were just the thing.

Devilish Charm Tag - Nichola Battilana

The winged pieces contain vintage photos of people costumed in devilish attire.

Devilish Charm Tag - Nichola Battilana

Ok, these guys are actually circus performers, but we'll pretend we don't know that...

A couple of the pieces include these great White Turquoise Skull Beads.

Devilish Charm Tag - Nichola Battilana

I sort of love this photo of a fairy, and devil costumed together. While at first it may seems a silly to pair them, I think it's perfect.

What most people think of when they hear 'Devil' (the horns, the cloven feet) is a bastardisation of the god Pan. Pan, the free and wild god of nature. Heck, in some versions of Pan's mythology his mother is a wood nymph! And just like fairies and nature spirits, he is not entirely 'good' and can be quite the scamp. So the pairing of devils and fairies doesn't seem too ridiculous.

Devilish Charm Tag - Nichola Battilana

The above image is from the 'Devil' card of an old tarot deck. I know it looks a bit menacing, but this card isn't about evil at all, just like the 'Death' card isn't actually about death. (To be honest, I find the 'Tower' card most frightening.)

Devilish Charm Tag - Nichola Battilana

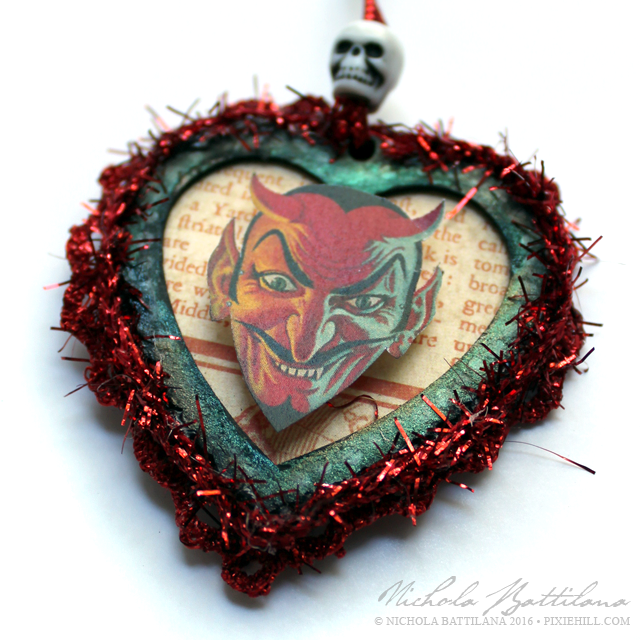
Finally this sparkly dude. This devil face graphic was printed on boxes of Kellogg's Corn Flakes in the 1950's for kiddies to cut out and wear as a mask. I did a quick look about for more information (the artist?) but couldn't find much. I think it's a great image, definitely deserving of a sparkly crimson border.

That's the whole devilish she-bang! I hope you're enjoying all the Halloween-ish posts because I'm having a grand time making them. If you'd like to create your own little charms/tags here's my supply list:

Die Cut Heart Frames from Family Tree**
Wings Assortment
Small Resin Skull Beads
White Turquoise Skull Beads
Bronze Pentagram Charms

Colourarte Silks Acrylic Glaze
Ornate Metal Keys - Antique Brass 

Sparkly red trims from Petaloo (discontinued?)
Assorted vintage images

**Ugh! I didn't realize until compiling my supply list that I used the hearts from a larger kit. The hearts aren't available separately BUT you could always use these House ShapesCircles or Domes

Tuesday, September 13, 2016

The Bride - A Frankenstein Recon

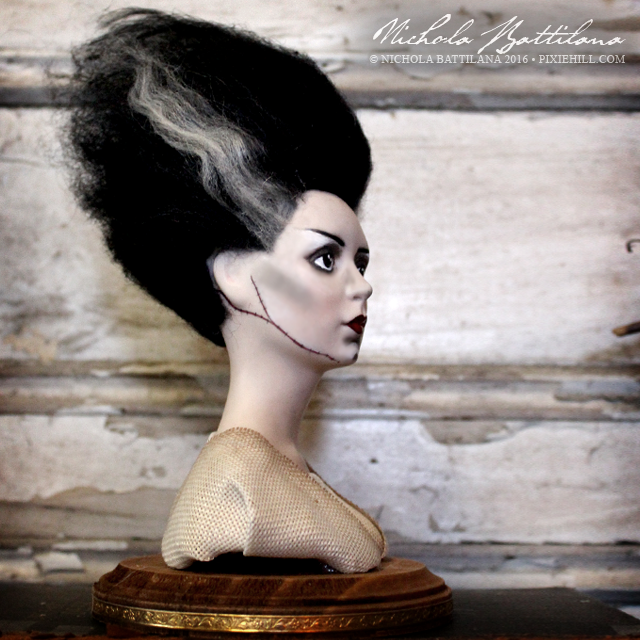
I've mentioned it numerous times, so pardon me if you've heard it before, but I am a big fat horror fan. And this gal? The Bride. Well, I love her to bits. I'm well chuffed with this project because it is a bit Frankensteinien itself, hobbled together from this and that, put together using things already in my stash.

The Bride: A Frankenstein Recon - Nichola Battilana

The head was gifted to me a couple of years ago. She's been sitting around waiting for something to happen (like sooo much stuff in my stash). Maybe it's the recent Halloween brain, but the other night I caught sight of her and knew what she was going to become.


So I cleaned her up a bit and started working on her face. I did a little contouring to more closely resemble Elsa Lanchester who played the role of 'The Bride' in Bride of Frankenstein.

The Bride: A Frankenstein Recon - Nichola Battilana

The lips were darkened and reshaped just a bit, as were the eyes. And I couldn't forget those amazing eyebrows!

The Bride: A Frankenstein Recon - Nichola Battilana

For her hair, once again I just used what was in my stash. The bulk of it is fly fishing fur, with black and white raw wool to fill it out. I know those streaks should be a little more wavy, but I'm ok with them as they are... for now.

The Bride: A Frankenstein Recon - Nichola Battilana

Finally, her clothes are just strips of tea stained cross stitch canvas. Easy peasy!

Now, I know she's not a perfect match to Elsa Lanchester's 'Bride', but given that I'm not a doll recon artist and that she is a bit of a Frankenstein's monster made with scraps, I'm quite proud to tuck her in with my collection weird and wonderful things.

P.S. Hope you have a gorgeous day. I love you to bits.


Monday, September 12, 2016

Grim ATC Reliquaries

I feel like I've missed out on Halloween for the past couple of years. I've skipped right past it, diving head first into holiday making. Not this year. This year I'm determined to fully enjoy the haunting season.

Today I'm showing off these grim chipboard reliquaries.


I've used these Miniature Reliquaries for the base, which are just about ATC sized, measuring around 2.5" x 3.5" (give or take a smidge).


To embellish, Latin Stone Scrapbook Paper is used to cover the front and back of the pieces.


The images used are from the Skeleton Slide Mailers Collage Sheet and Skull & Bones Collage Sheet .


I've added loads of black Dresden snippets, and some teeny weeny 'crystals', dots normally used for decorating finger nails.


A length of seam binding is tied into wee bows to add one final touch.

So what about you? Anything spooky on your work table?


P.S. If you're interested in making these little bits, you might want to consider the swap that AlpahStamps is currently hosting.