Wednesday, April 04, 2018

Fairies and bunnies and gnomes OH MY!

This is a post Easter easter post for AlphaStamps.com The consensus being that these lovelies are cute enough to be used beyond bunny day.


These sweet fairy pieces were actually an after-thought to use the extra bits in my kit but Im smitten with them. The background is just a square of cardboard (I literally cut off chunks from the shipping box!). I used pages from damaged hymnals to make them pretty.


I used foam squares behind painted Easter Covers for Mini Shadowboxes to provide some depth. I chose to paint the covers to make this a super easy painless little project..


Sheet Moss and paper flowers and leaves are tucked into the edges.


And finally fussy cut wee winged imps from the Pink Childrens Theater Collage Sheet and paper butterflies from the English Fairy Garden collage sheet are added! So cute!


And some other cute as buttons easter-ish pieces...


I just love this wee gnome buddy! Isn't he the cutest?! Topped with a 14mm Clear Flat-Back Acrylic Rhinestone Star.

(P.S. Don't tell AlphaStamps but that adorable colourful rhinestone trim is just from the craft aisle at the DollarStore!)


How perfect is the White Dresden Border here?


And that Pink Acrylic Bunny Cabochon! Can you even stand the cuteness?

If you'd like to make something similar, here are a few tips...


I am not a fan of trimming edges so instead I painted the lid white...


...then covered the edges to the scalloped edge...


 Cover the top of the box.


And use dresden trims to hide the edges.

You can see above that Ive also used paint on the exterior sides of the bottom of the box. I knew that the lid would fit snugly and did not want to add extra bulk with thick paper.


To add a bit of height to the interior you can use florist foam...


... and cover with moss.


And that adorable bunbun? I added a chunky bead to the back to help keep the wee thing in place.


Then just glue all those other fun bits into place. So much adorableness!

Think you're up to it? Here's the supplies I used for the above projects...

Mini Shadowbox Lid - Easter Egg
Mini Shadowbox Lid - Small Bunny
Mini Shadowbox Lid - Chocolate Bunny
Mini Shadowbox - 2x3
Mini Shadowbox - 3.5x5.5
Mini Shadowbox - 2.5x4
English Fairy Garden Collage Sheet

Pink Childrens Theater Collage Sheet
Gold and White Lace Sticker Sheet
Sheet Moss
Paper flowers and leaves
14mm Clear Flat-Back Acrylic Rhinestone Star
2 inch gnome
Pink Acrylic Bunny Cabochon
White Dresden Border
Tiny Wicker Basket with Handle
12mm Bird Eggs
Double Dot Passion Fruit Pink Scrapbook Paper
Double Dot Mint Green Scrapbook Paper
Double Dot Powder Blue Scrapbook Paper

Acrylic paints
Glue
Florist foam


Thursday, March 29, 2018

Floral Fairy Diormama

I've had my eye on the Dimensional Diorama from Gypsy Soul Laser Cuts for a while and finally got my hands dirty and made a pretty something with it.

Floral Fairy Dimensional Diorama - gslcuts.com Nichola Battilana

This diorama box frame sits on a spinner to show off 4 different segments. I had thought about creating a diorama dedicated to each of the seasons... but it's far too spring-like to think back to winter.

Floral Fairy Dimensional Diorama - gslcuts.com Nichola Battilana

I've forgotten about snow and Autumn leaves and instead filled each section with moss, flowers, butterflies and pretty paper fairies.

Floral Fairy Dimensional Diorama - gslcuts.com Nichola Battilana

Inside I've used pages from damaged hymnals and the exterior is decorated with Graphic 45's Once Upon a Springtime collection.

Floral Fairy Dimensional Diorama - gslcuts.com Nichola Battilana

I've added a simple wooden plaque as a base for the lazy susan mechanism (which comes with the diorama box).

Floral Fairy Dimensional Diorama - gslcuts.com Nichola Battilana

On top of the box I've added Tudor Rose Singles and created a handle with a wooden spool and a large staples door knob from Graphic 45. Final touches include a little handmade bunting and flat back pearls.

Floral Fairy Dimensional Diorama - gslcuts.com Nichola Battilana

If you'd like to create your own version of this project I have a video walk through with some tips and hints you might find helpful.

And here are all the bits you'll need!

Dimensional Diorama
Tudor Rose Singles 

Decorative papers (I've used Graphic 45 papers)
Paper flowers
English Fairy Garden Collage Sheet
Fairy Wings Collage Sheet
Moss
Wooden plaque
Flatback pearls (or other embellishments)
Florist Oasis
Vintage Images (I downloaded them free from thegraphicsfairy.com)
Glue
Acrylic Paint
Wooden toothpics or stir sticks

Wednesday, March 28, 2018

Two Tiny Things

Two itty bitty paper fairy shrines today.

Tiny Paper Fairy Shrines - Nichola Battilana pixiehill.com

Each just 3" wide. They are the weeee-ist things!

Tiny Paper Fairy Shrines - Nichola Battilana pixiehill.com

This wee girl is available HERE

Tiny Paper Fairy Shrines - Nichola Battilana pixiehill.com

These two tiny dancers are HERE

Hope your week is going swimmingly!
xo

Tuesday, March 27, 2018

Wee Framed Floral Collages

More little things that remind me of fluttering things and the blooms of warmer days!

Framed Floral Collage - Nichola Battilana pixiehill.com
Listed HERE

Five new collages. Each sitting in a wee resin frame on a background of vintage hymnal pages and textured acrylic medium. 

Framed Floral Collage - Nichola Battilana pixiehill.com
Listed HERE

Inside a vintage image, moss and papery flowers.

Framed Floral Collage - Nichola Battilana pixiehill.com
Listed HERE

The frame stand has been removed and replaced with a length of hanging ribbon.

Framed Floral Collage - Nichola Battilana pixiehill.com
Listed HERE

So these pretties are ready to be tucked in a tiny place, to remind you too of spring and fluttery things.

Framed Floral Collage - Nichola Battilana pixiehill.com
Listed HERE


Sunday, March 18, 2018

Longing for spring and a paper fairy collage.

I do this thing where I buy nice old frames and then let them collect dust in my stash. To be fair, it's not just frames... it's books and boxes and so many other things. I've been trying to show restraint and make my way through that dusty stash. I mean, what fun is all that glorious junk in a pile unloved and unused?


So here's a wee thing I made on the fly. A wee fairy collage in a a very nice vintage octagonal frame.


I'm pretty sure she's bringing spring with her. I HOPE she's bringing spring with her. As much as I love the snow, I'm longing for green and warm sunbeams and open windows. 


If you're interested in this wee lass, she's waiting right HERE.

Have a beautiful day, gorgeous!

Friday, March 16, 2018

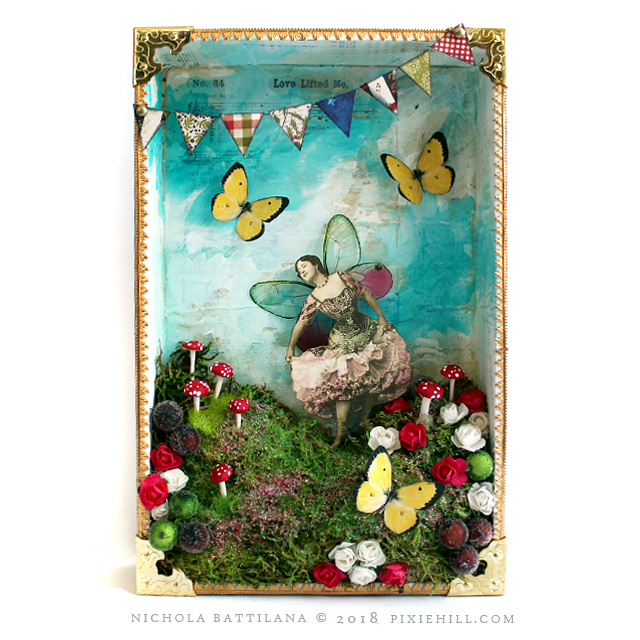
Pretty Paper Fairy Shadowboxes

I've been working away on a few design team projects that I have to remain mum about... but I have managed to squeeze in a few things even though we've had a mad March break with the kid this week.

Paper Fairy Shadowbox - Nichola Battilana pixiehill.com

I'm really pleased with these six shadowboxes. They're just singing springtime... and I think a lot of us are ready for that.

I'm going to be a bit cheeky here and just post one pic of each with a link to their listing for additional photos. Or, follow me on instagram where you can the WIP pics, or facebook where I'll be posting additional pics of these pretties.

Paper Fairy Shadowbox - Nichola Battilana pixiehill.com
Etsy shop listing HERE

Paper Fairy Shadowbox - Nichola Battilana pixiehill.com
Listing HERE

Paper Fairy Shadowbox - Nichola Battilana pixiehill.com
Listing HERE

Paper Fairy Shadowbox - Nichola Battilana pixiehill.com
Listing HERE

Paper Fairy Shadowbox - Nichola Battilana pixiehill.com
Listing HERE

Paper Fairy Shadowbox - Nichola Battilana pixiehill.com
Listing HERE


Have a sweet weekend lovelies! xoxox

Friday, March 02, 2018

Rustic Spoon Star a Kitchen Witch Pentagram

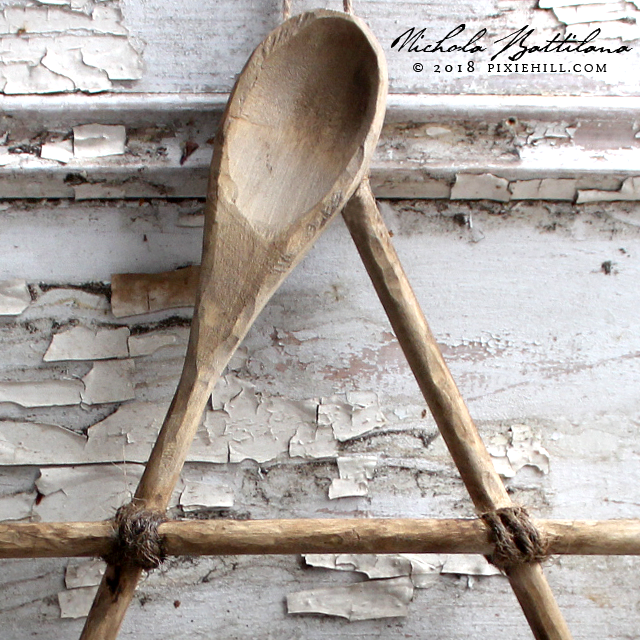
If you've followed me for a while you might know that I have a thing for spoons. Its not just because they're good for eating soup! I think they're lovely objects and perfectly crafted for stirring up magic.

Rustic Spoon Star a Kitchen Witch Pentagram with Tutorial - Nichola Battilana pixiehill.com

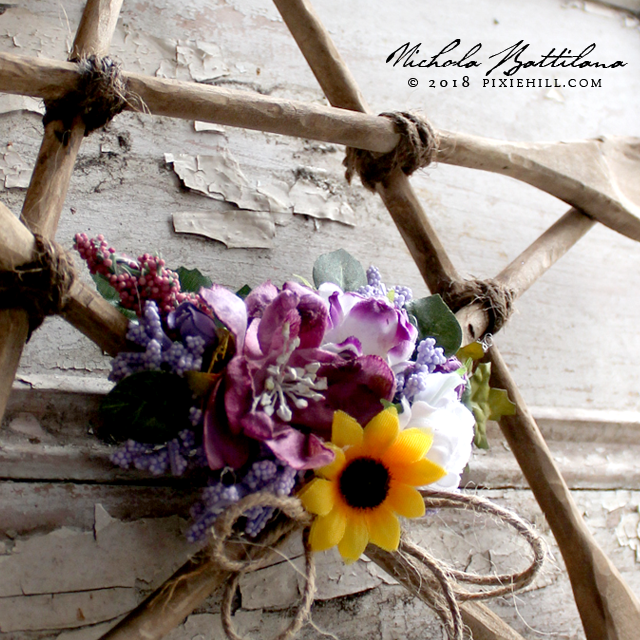
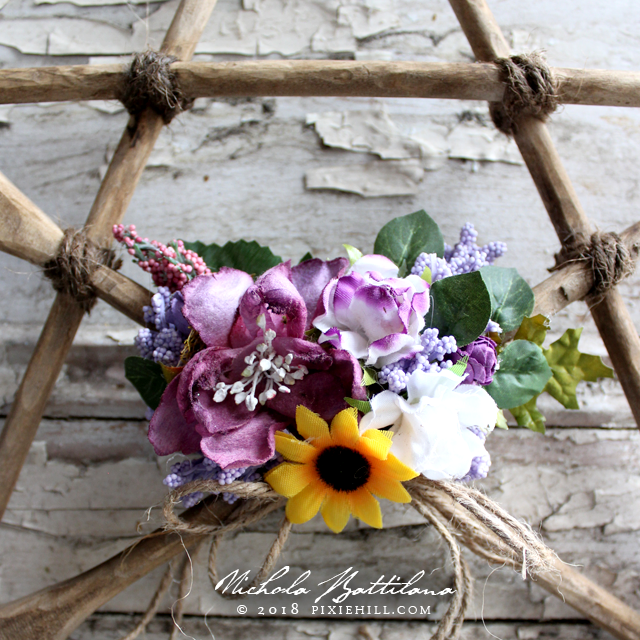
And with that in mind, I've made a kitchen witch pentagram. If you're not witchy in the least don't fear - you are very welcome to create this is a simple pretty star.

Rustic Spoon Star a Kitchen Witch Pentagram with Tutorial - Nichola Battilana pixiehill.com

Best of all the materials for this project are few and simple. Spoons, twine, glue, paint, flowers. That's it! Heck, you probably have that in your house already.

Rustic Spoon Star a Kitchen Witch Pentagram with Tutorial - Nichola Battilana pixiehill.com

A package of wooden spoons usually comes with three in various sizes. Now, you could just cut them all to the same length... or buy five packages and make a set of three different sized stars. BUY THEM ALLLLLL!!!!!

I've carved the edges of the spoons to give an old, weathered, almost handmade look to them. I think it makes a BIG difference, but please be careful when whittling away.

Rustic Spoon Star a Kitchen Witch Pentagram with Tutorial - Nichola Battilana pixiehill.com

The flowers and leaves I used were grabbed from the bottom of my stash bin. If you're making a pentagram as opposed to a star, you might want to consider the magical properties of the colours you use. You could go so far as to incorporate dried herbs, flowers and other natural elements with magical intent. A pretty pentagram with protective qualities perhaps?

Rustic Spoon Star a Kitchen Witch Pentagram with Tutorial - Nichola Battilana pixiehill.com

AND... there's a video tute. Pop over to my YouTube channel to see it HERE or check below.

Please use it. Please share it. Please tag me if you create this project. It's so encouraging to see your work and it's absolutely appreciated when you link back to me.

The List of Bits:
5 wooden spoons
Twine (or other binding material)
Acrylic paint
Hot glue
Instant/Crazy glue
Dried flowers and embellishments