Friday, September 04, 2015

Old Bird ATC Pocket Letter with tutorial

It's the first Friday of September (already!) which means it's my turn to share a tutorial using magnifique products from Gina's Designs Lasercuts. Woo hoo! This month I thought we'd do some nitty gritty paper crafting and create a sort of pocket letter.

ATC Pocket Letter for GinasDesigns.net - Nichola Battilana

I've been seeing these pop up all over my timeline and wanted to give it a try. 

What is a pocket letter, you ask? Janette Lane, the creator of Pocket Letters™, explains on her site:

"Basically, you fill all the pockets of a 9 Pocket Trading Card Protector and send the whole page to someone who wants to swap with you... You fill the pockets with anything you like (stickers, tea bags, a note, washi tape samples, pictures, etc.) A short note or letter is included and tucked into one of the pockets. Then the Pocket Letter is folded up and sent in a standard 10 size envelope."**


ATC Pocket Letter for GinasDesigns.net - Nichola Battilana

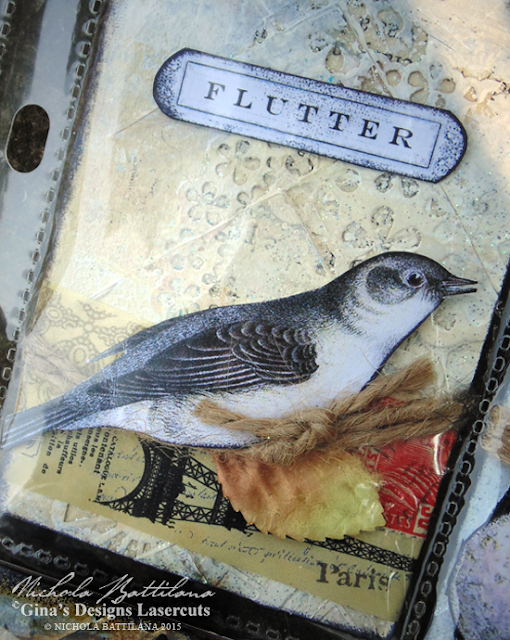
I am a huge fan of ATC's (Artist Trading Card: miniature works of art measuring 2.5" x 3.5") so I've created a cohesive set of birdy themed cards to fill those little pockets with. You can source your own public domain images, or purchase a collage sheet with all of those vintage birds and sentiments available HERE.

ATC Pocket Letter for GinasDesigns.net - Nichola Battilana

When creating your own piece, consider other little bits and pieces to tuck into those sleeves. Stamps, ephemera, feathers... little bits that match the theme or look of your cards.

ATC Pocket Letter for GinasDesigns.net - Nichola Battilana

Also consider the sleeves themselves. I've added clear stickers to the exterior.


Of course you could just create these pretty ATC's and trade/give them separately. There's nothing wrong with spreading the crafty love around.

ATC Pocket Letter for GinasDesigns.net - Nichola Battilana

If you're not keen on making these little bits of art, you may want to check out the tutorial anyway as it includes creating the textured background seen below.

ATC Pocket Letter Tutorial for GinasDesigns.net - Nichola Battilana

But enough blabble! HERE is the video tutorial. If you have any questions, don't hesitate to give me a shout. I'm happy to lend a hand or answer any questions you have. Seriously. Don't be shy ;)

ATC Pocket Letter Tutorial for GinasDesigns.net - Nichola Battilana


THE SUPPLY LIST
From Gina's:
Cardstock Doily Set 1
Cardstock Doily Set Intricates
Steampunk Fan
Ornamental Birdcages Shape Set
Pen & Ink Shape Set
Faux Metal Number Plates
Herringbone Stencil (available soon!)

Other things you'll need:
For the Birds Collage Sheet
Cardstock
Paper (I used pages from an old book)
Decorative scrapbook paper
Glue
White acrylic paint
Watercolour paint
Stamp pad
Clear stickers
Tim Holtz Long Mini Brads
Foam spacers
Ultra fine glitter
Jute twine

Washi tape
Buttons, stamps and other small embellishments and trinkets
ATC Pocket Pages

**For more information on Pocket Letters you can visit Janette Lane's YouTube Channel or join the Pocket Letter Pals Network


Thursday, September 03, 2015

Check out my fancy pants in American Miniaturist

I've been sitting on this news for a while and can now jump up and down and sing it from the tree tops...


My "Abandoned House" project from a couple of years ago is getting some love from American Miniaturist in their spooky October issue.


Here are the original blog posts about this project:

Tuesday, September 01, 2015

For the Birds Collage Sheet


For the Birds Collage Sheet - Nichola Battilana

AND I have a project and tutorial using these cuties lined up for this Friday's blog post.

I think you'll like it :)


Old Timey Tuesday: Something new

I thought I'd try something new with a weekly feature sharing old grungy pictures from my personal collection.

The images are not polished and left in their grungy, smudged and speckled glory. Just how I like 'em! Without further ado...

Free image for altered art from Pixie Hill


You can absolutely use this photo in your art and craft projects. If you share your project, a link is appreciated.

You may NOT sell, give or distribute the images, digitally or printed, alone or as part of a collection, collage sheet or group.

Violators will be turned into toads... I mean it... It won't be pretty.

Friday, August 28, 2015

I'm going to my happy place

So, I sort of lost my mind the other week when I walked past a piece of torn wallpaper.

I'd walked past it a million times before but for some reason this time was the last straw. I started stripping wallpaper, washing walls, plastering, climbing ladders. All this led to painting trim, sewing curtains... basically trying to catch up on things that have been left undone for years. (Still not done BTW)

Why all the fuss?

In a few weeks I have an influx of family visiting. We'll have a very full house including a cousin from the UK, an uncle I haven't seen since I was a kidlet (the brother of the father I have no contact with), perhaps my father in-law, and all of this takes place the same weekend I'm hosting a workshop for 6 awesome kidddos. If I'm ever going to have a nervous breakdown it will be that weekend.

I decided it was probably a good idea to go to my happy place for a while. It so happens that my happy place is a pretty productive atmosphere with happy moons and mossy cottages.

Moon Shrine - Nichola Battilana
Currently listed HERE

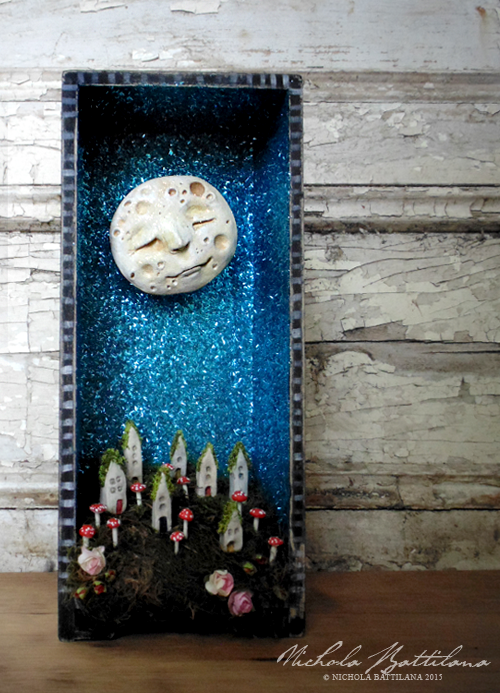
Handmade paper clay moon, cottages, mushrooms and ladybugs.

Moon Shrine - Nichola Battilana
Currently listed HERE

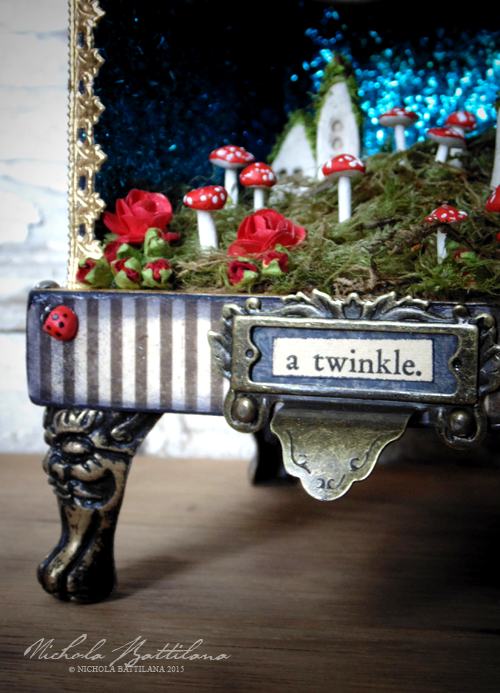
A sentiment from a vintage children's book. And THOSE FEET! They're called Demon Box Feet* but I think they're far more like helpful gargoyles.

Moon Shrine - Nichola Battilana
Currently listed HERE

And another... 

Moon Shrine - Nichola Battilana
Currently listed HERE

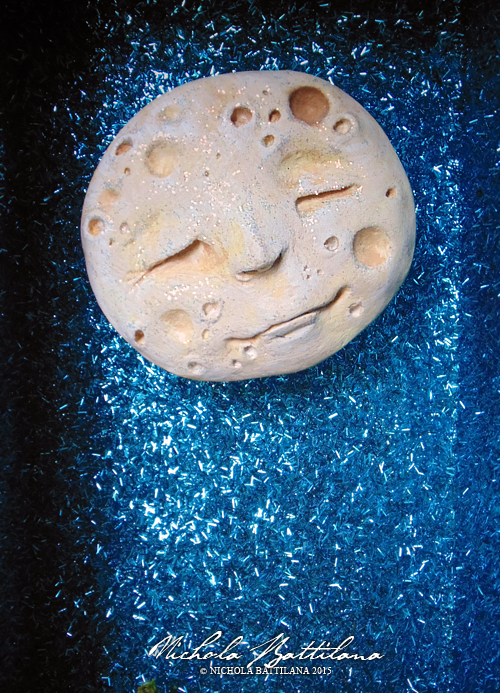
I love this moons smooshy face :)

Moon Shrine - Nichola Battilana
Currently listed HERE

And some small ones for good measure.

Moon Shrine - Nichola Battilana
Currently listed HERE

Moon Shrine - Nichola Battilana
Currently listed HERE

I feel much better after my romp with glue and glitter and glad to have such a happy, happy place to retreat to.

Moon Shrine - Nichola Battilana
Currently listed HERE

Hope you're all well and good. I miss you.

______________________________________________


Thursday, August 20, 2015

Wallpaper, tea cups and wagons

It has been sweltering here. The hottest days of summer. The heat must have affected my brain because I thought this would be an ideal time to paint. Painting doesn't just mean painting... it's stripping wallpaper, cleaning wallpaper paste from the walls, repairing plaster, sanding, cleaning dust, moving furniture... then there's the painty bit at the end. 

The results? I won't bore you with them because they're just clean white walls... a VAST improvement over the peeling and ripped wallpaper I've been living with, but a little dull.

Instead I'll show you some of the pretty bits I've been working on for a custom order.

Tea cup gardens - Nichola Battilana

A slew of tea cup towns/fairy gardens. HERE is the link to the little flowers available from Alpha Stamps.

Paper Wagon - Nichola Battilana

And here is one of several wee paper wagons I've also been working on. The paper is from Graphic 45, the leaves are Prima and the amazing wheels are from Gina's (the link goes to the straight cut spokes).

Hope you're keeping well. I'll be back and properly into the swing of things quick as can be. xoxo

Sunday, August 16, 2015

A Fun Fairy Door for Gina's Designs

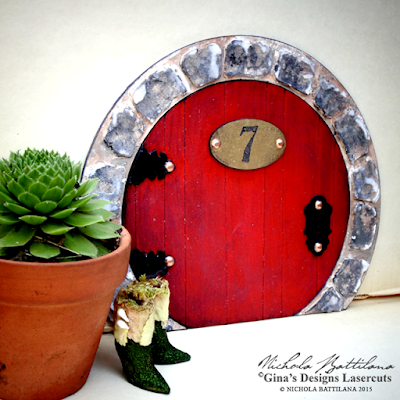
A wee fairy door project to share today for Gina's Designs. Isn't it cute as buttons?!

Fairy Door for GinasDesigns.net - Nichola Battilana

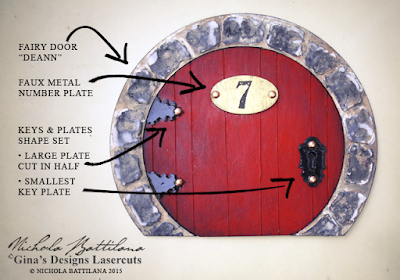
To create this adorable fairy entrance I've used Gina's Fairy Door 'Deann', Faux Metal Number Plates and Keys & Plates Shape Set.

Fairy Door for GinasDesigns.net - Nichola Battilana

In this example I've used the stone door frame piece that comes with the Fairy Door as a stencil and applied a layer of spackling to give the texture of a stone doorway.

To create the illusion that the door is made of wooden planks, I've scored the chipboard with a stylus before painting. If you don't have a stylus, you could press very hard with a ball point pen to create the grooves. A light wash of dark paint allowed to seep into the impressed lines will emphasize the effect.

Fairy Door for GinasDesigns.net - Nichola Battilana

The 'hinges' are created by cutting a large keyhole in half, applying to the door and trimming.

Fairy doors are pretty dang adorable and an excellent way to include a bit of magic in your household. Be sure to get creative with them by adding a little plant, a welcome mat and other accessories... great curb appeal will be sure to entice the wee folk into your home ;)

Acrylic paint
Small metal brads
Spackling
Glue