Saturday, April 06, 2019

"My Love" Mini Book Box with Love Notes

Perhaps it's because I'm socially anxious and awkward, but if you met me in person I doubt you would think I was sentimental in any way. I'm much better at swearing, making jokes and laughing too loud than I am at romance.


Love? Pffft. Forget about that! I'm not very good with "I love you's" But no matter how much I protest, and how hard those words are... I am a sentimental fool underneath, with a heart of softened butter.


So I've made a charming little love thing-a-ma-bob with Love Notes Paper and a Tiny Faux Book Box.


It is a little thing but packed with love and made with pretty things.


The spine is simple and pretty with a Bronze Filigree and Antique Brass Stamped Metal Brad


Inside a little silhouette from Little Women in a brass setting with a wee little butterfly.


And you can see the sweet piano key border from Love Notes decorating the sides.


Despite the tiny size of this piece, there are three different collections used here. Love NotesLittle Women (the silhouette), and French Country (the chip tag).


Inside I've tucked in some miniature envelopes using my Miniature Vintage Mail Collage Sheet, and added my own favourite tender notes inside.


Here's the list of all the supplies I used:

Graphic 45 Products:
Love Notes 8x8 Paper Pad
Little Women 12x12 Collection Pack
Antique Brass Ornate Metal Keys
Antique Brass Stamped Metal Brads

Brass Filigree Setting

Here's to love and social awkwardness.

Monday, April 01, 2019

Scrappy little potted sprout #G45MixandMatch

This month's Graphic 45 challenge is to use up those papery scraps. And ... well ... ugh my heart!

Cute. As. Flipping. Buttons. That's my dude in his first halloween costume.


I gathered up a bunch of floral themed scraps from a variety of Graphic 45 collections and fussy cut a boatload of flowers, leaves, mushrooms and butterflies.

I staggered all those cut pieces inside a little plant pot and popped a photo of my kiddo in there.


While I'm not sure why you wouldn't have a picture of someone you love dressed as a gnome or fairy, it isn't absolutely necessary.


A regular photo will work just as well.


If your heart is set on having a potted fairy or gnome, never fear! You could absolutely add wings or a red cap to your photograph.


So get out your sharpest scissors...


... and fussy cut 3x's more than you think you'll ever need...


... then get to work on your own scrappy little potted sprout! 

Here is a video tutorial to get you on your way.


And everything you'll need to make this adorable thing-a-ma-bob:

Graphic 45 Papers!!!!
Floral scrapbook scraps! I've used papers from:
• Flutter
• Fairie Dust
• Floral Shoppe
• Home Sweet Home
• Garden Goddess
• Time to Flourish
• Botanical Tea

Small plant pot and base *you'll want a base larger than the pot so that the pot fits comfortably
Moss
Photograph
Wooden stir stick
Small wooden block
Hot glue


Here's to a happy April!


Friday, March 29, 2019

The Butterfly Conservatory for Gypsy Soul Laser Cuts

On my trip to London last year I made certain to time my visit with the butterfly exhibit at the Natural History Museum. I made it just in time, squeezing in on the afternoon of the very last day. It was magic. Then again, how could walking among butterflies not be?!

Small Conservatory - Butterfly House - gslcuts.com

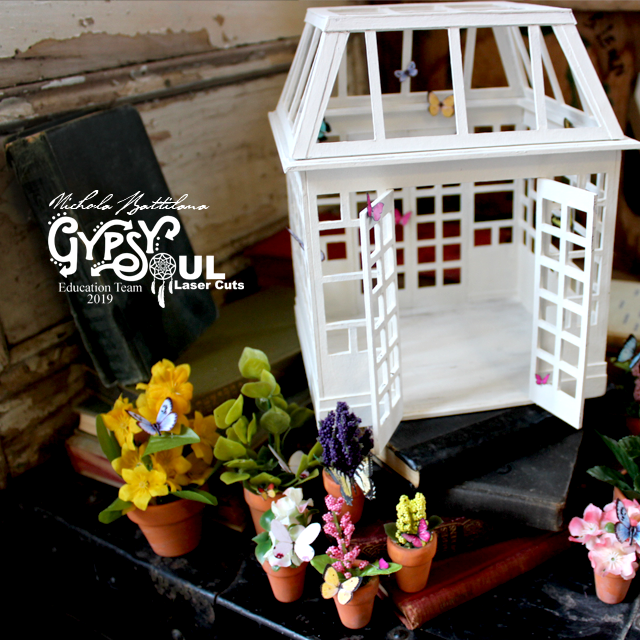
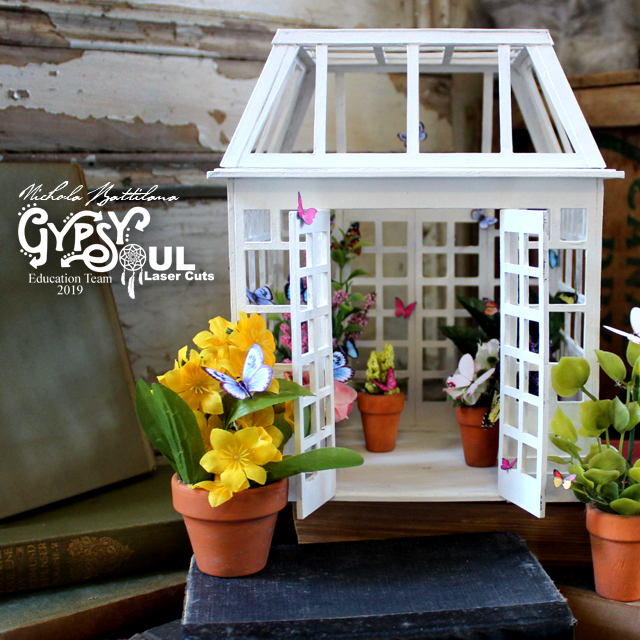
This project, is a sort of homage to that memory. A pretty space filled with flowers and fluttery things.

Small Conservatory - Butterfly House - gslcuts.com

This project may take time, but it uses  only a handful of supplies. The structure is a Small Conservatory. That's it. I haven't added any fancy embellishments (but don't let that stop you from adding some dramatic flair!)

Small Conservatory - Butterfly House - gslcuts.com

Inside I've added miniature wooden pots packed with faux flowers and leaves. They aren't properly scaled and they don't even look like any particular sort of 'real' plants, but they give a nice floral feel and provide lots of texture.

Small Conservatory - Butterfly House - gslcuts.com

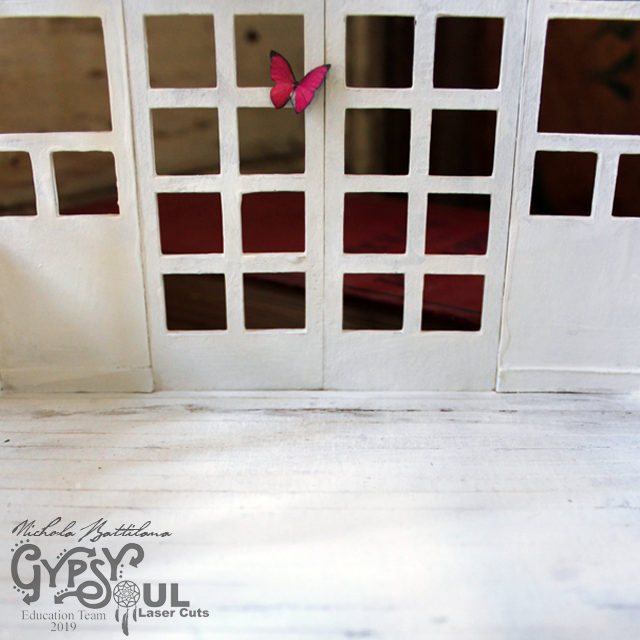
Those paper butterflies inside are all from my English Fairy Garden collage sheet. I printed it out at 50% to scale the butterflies down to a more appropriate size.

Small Conservatory - Butterfly House - gslcuts.com

I haven't glued any of the pots in place so that I can move those potted pretties around, and even change up the Small Conservatory completely if I want to!

Small Conservatory - Butterfly House - gslcuts.com

Besides paint and glue, the last supply I used was a plain sheet of cardboard. I've used strips to create the 'wood' floor and baseboards inside the conservatory.

Small Conservatory - Butterfly House - gslcuts.com

Outside, again, I used layered strips of plain card to create a subtle architectural element to the bottom of the structure. I also used the card on the roof of the building to hide the slot and tabs that hold the piece together.

Small Conservatory - Butterfly House - gslcuts.com

And that's it! Just those few little bits to make something quite pretty. If you'd like to see how I put this project together, follow along with this walkthrough video

Small Conservatory - Butterfly House - gslcuts.com

And here is your supply list:
Small Conservatory

Miniature plant pots
Faux flowers
English Fairy Garden collage sheet
Sheet of cardstock
White acrylic paint
Glue (white and hot glue)

Happy making!

Thursday, March 28, 2019

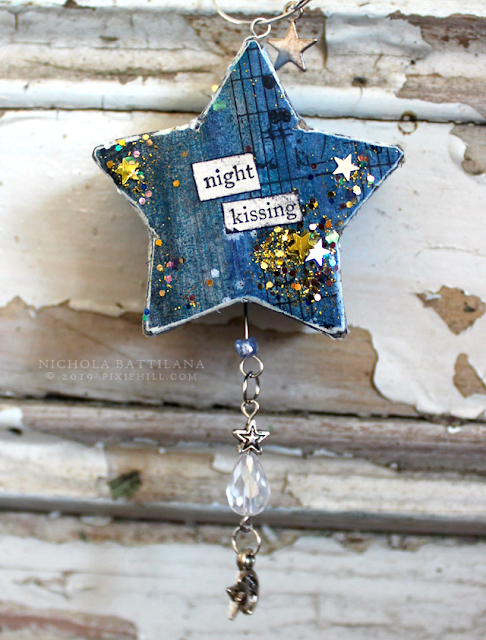
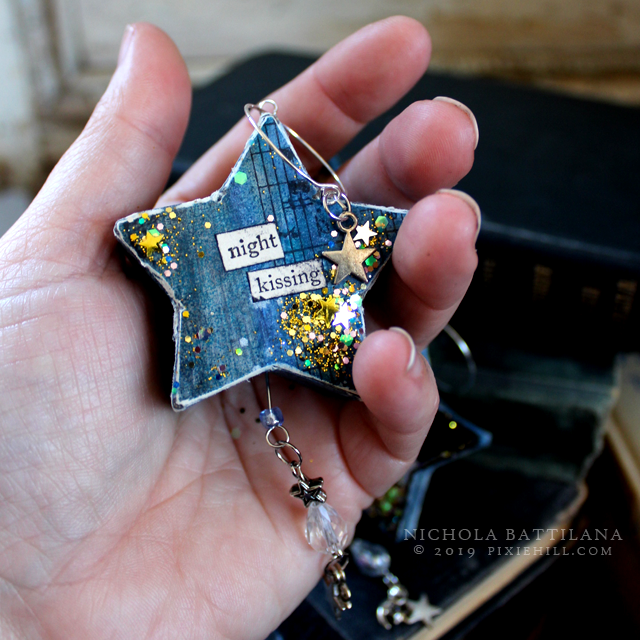
Dangly Paper Star Thingies

I came across some cute little paper star boxes in my stash. I have no idea how they got there. My stash is like a tourbillion* of neat supplies and old things. I wonder if there's a name for that little bit of excitement you feel when you find something you forgot you had.

*I learned a doozy of a new word today

Dangly Paper Star Thingies - Nichola Battilana

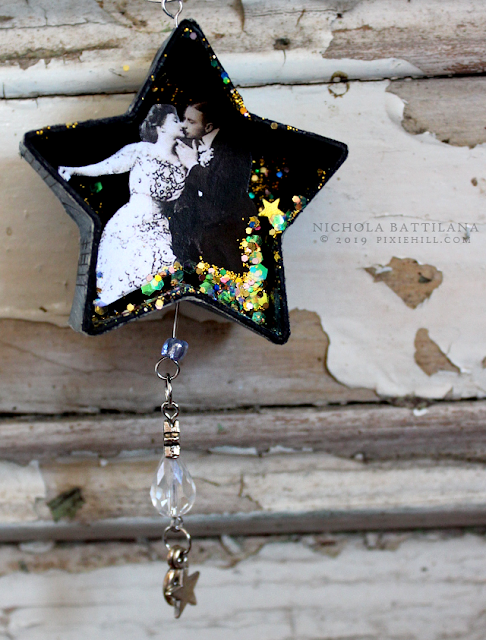
ANYWAY, I covered those bits in old paper and glitter.

Dangly Paper Star Thingies - Nichola Battilana

I added sweet words and more glitter!

Dangly Paper Star Thingies - Nichola Battilana

Then, for good measure I added some dangly sparkly bits.

Dangly Paper Star Thingies - Nichola Battilana

I think they are very sweet.

Dangly Paper Star Thingies - Nichola Battilana

Just the right thing for a tiny spot of cheer.

Dangly Paper Star Thingies - Nichola Battilana

Who doesn't love wonder and glitter?!?!

Dangly Paper Star Thingies - Nichola Battilana

Who doesn't love kisses?!?!

Dangly Paper Star Thingies - Nichola Battilana

Especially 'night kisses'.

Dangly Paper Star Thingies - Nichola Battilana

Caveat: I'll pass on morning kisses, thanks.

Dangly Paper Star Thingies - Nichola Battilana

The whole set of four dangly bits is listed HERE

I hope you have someone nice to give you appropriate kisses.

Wednesday, March 27, 2019

Crimson Suspiria ATCs

I mentioned the movie Suspiria in a recent post. As I mentioned then, it's sort of stuck with me. Funny how some things have that effect. Here's another set of cards nudged along by that particular movie, specifically the use of the colour red.


I often find that I get stuck in a colour pallet. Grey, brown, blue. It is a deliberate effort for me to make a change to my comfortable hues. This is true for my wardrobe too! But, I do love that crimson next to the gold embossing powder. Maybe I need to try playing with ALL THE COLOURS!

Anyway, here is a better look at the results of my playing.


No. 1 listed HERE


No. 2 listed HERE


No. 3 listed HERE


No. 4 listed HERE


No. 5


No. 6 listed HERE


No. 7 listed HERE

Is there anything that has ever inexplicably stuck with you? Something that pops up in your mind long after most things would subside?

Sunday, March 24, 2019

Spring Wreath, Pet Peeves and Dollar Stores

I may or may not have lost my mind yesterday. You know those "5 minute craft" videos? Yeah, they sent me over the edge. One claimed that microwaving a rock for 3 minutes would create crystals. One included slicing an egg with an egg slicer as a dollar store craft. Just... no.

Dollar Store Spring Wreath - blog.pixiehill.com


Now, I'm usually pretty laid back (not really, but lets pretend) but those videos make me unreasonably irate. I throw my arms up, exasperated. They push all of my buttons. But yesterday... yesterday I had enough. I ranted and raved, and Mr. Pixie must have had enough of my dramatics because he insisted a trip to the dollar store was in order so that I could make an ACTUAL dollar store craft.

Dollar Store Spring Wreath - blog.pixiehill.com

The result, this super cute spring wreath. Everything except the button and the hot glue was from a dollar store. Total cost of supplies was around $10 but with loads of left-over moss, flowers and butterflies, enough for several projects. 

Dollar Store Spring Wreath - blog.pixiehill.com

I don't know if this will be a regular thing, but I wanted to do at least a couple of REALISTIC dollar store craft tutorials.

What do I mean by realistic? They will take more than 5 minutes, but definitely not all day. Items will actually be from a dollar store. That means a bit of fiddling to get things looking their best might be called for. (Have you seen the colour of dollar store moss?!) And cross my heart, I will absolutely keep budget and difficulty in mind.

Dollar Store Spring Wreath - blog.pixiehill.com

Here's the shopping list for this project:
• Rattan/wicker wreath
• Mini bird house
• Faux flowers
• Mushroom clip
• Paper butterflies
• Bag of moss
• Raffia

Supplies on hand:
Hot glue, white and brown acrylic paint, spray bottle and green acrylic paint, scissors

Don't fret if you can't find exactly the same items. Part of the fun (errr... challenge) of dollar store crafts is that you might need to improvise. Swap out those mushrooms for another focal item if you need to (a bird or bunny or flower?) Or, even better, figure out a way to make your own toadstools.

Dollar Store Spring Wreath - blog.pixiehill.com

Ready to turn those dollar store bits into a pretty spring wreath? Here's the video tutorial


And hey, go subscribe to my youtube channel HERE

That's it my friends! Happy crafting and remember to tag me if you're inspired to make your own. It is really, really appreciated and totally encourages me to make more tutorials. Plus, I love seeing what you guys make. Cheers!