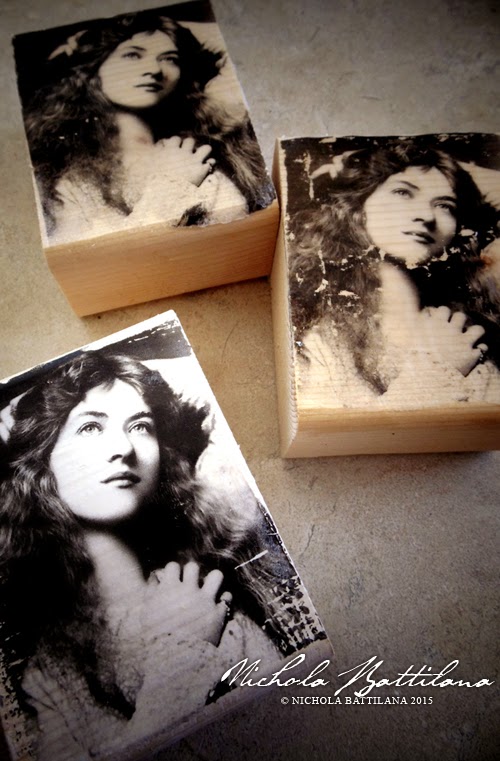
I've done a fair bit of my own experimenting over the past week and put together a quick video tutorial with a basic 'how-to', a couple of variations, and the results using different materials.
Paint
In my demonstration I show an example where a wood block is primed with a wash of white paint before applying the transfer. I think this looks fab and provides a solid base, creating greater contrast in the finished image. Keep in mind that you will be saturating and rubbing your piece. Will your paint be able to hold up or rub off and take the transfer with it? Just some things to keep in mind.
Heat
Some people say that heat may help the transfer. You can create a weak transfer with heat alone after all. When I attempted to speed up the drying process with a heat gun the results were not pretty. I would even go so far as to recommend avoiding hot water when removing the paper.
Patience
It really does pay to wait. I know others have had success lifting the paper soon after application but in my trials I found that the longer I waited wait, the stronger the transfer was. Let that sucker dry!
More Patience
Let your piece dry before applying a top coat or sealant. Some of those paper fibers can be pretty sneaky! By allowing the piece to dry you can spot those smokey, foggy areas where some paper residue has been missed. Simply re-wet that area and rub the paper away. When satisfied with your piece after it has dried apply a fancy pants top coat or simply apply a layer of gel medium or Mod Podge.
Practice
In this case practice doesn't exactly make perfect, but you will learn a lot! Don't expect perfection. If you are okay with some distressing and having fun with your mess making, the entire experience and results will be much more satisfying.
The tute supply list: Golden Heavy Gel (matte), Mod Podge (matte), wood bock, laser print of vintage image from thegraphicsfairy.com, water, paintbrush
**Mod Podge does have a product specifically for image transfers. It was unavailable in my area but it does have good reviews.**

