Monday, July 13, 2015

The Wortcunner's Shed

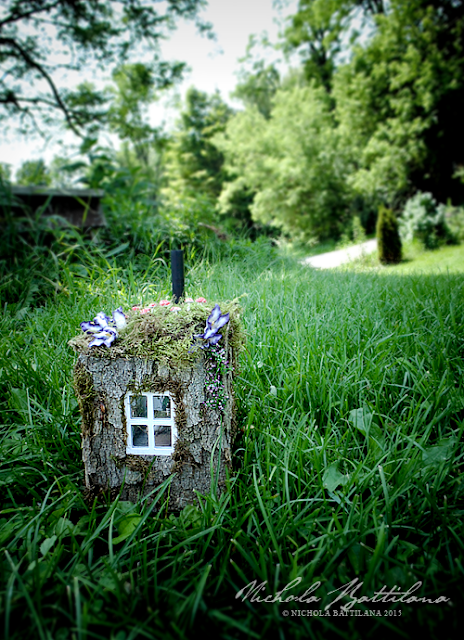
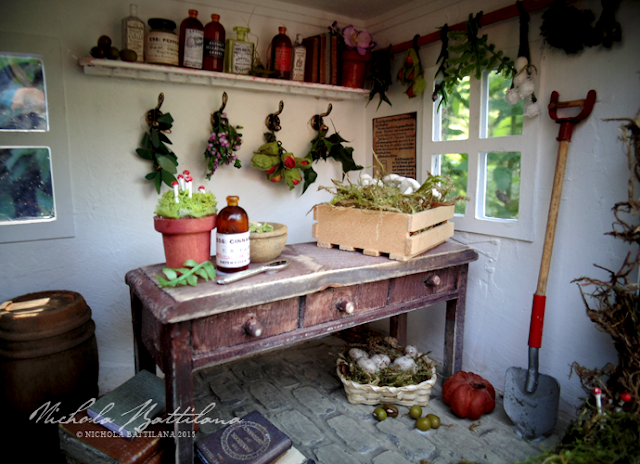
A little roombox to show off today, measuring just 8" x 6" and 5".

The Wortcunner's Shed for Herbalist Fairy Folk - Nichola Battilana

Let's peek inside!

The Wortcunner's Shed for Herbalist Fairy Folk - Nichola Battilana

I've called this piece "The Wortcunner's Shed". A wortcunner is sort of an old fashioned word describing someone who works with herbs. The term would generally be applied to wise women, though some modern witches who use herbs magically use the term too.

The Wortcunner's Shed for Herbalist Fairy Folk - Nichola Battilana

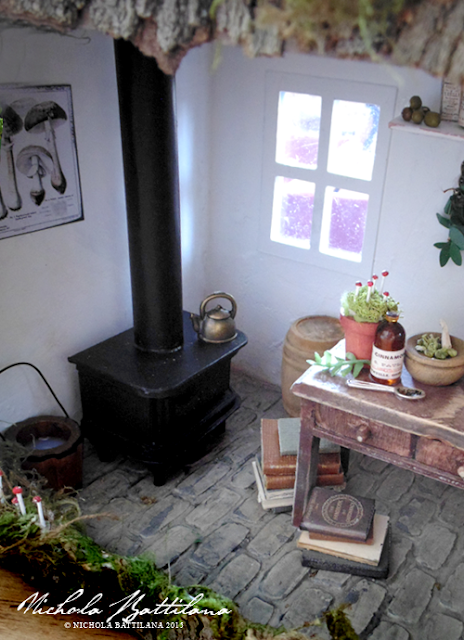
In every little room or house I create there is always something that I am most proud of. It may not be the fanciest or best part... but it's something I love. In this piece it's the little woodstove. The pipe reaches up through the ceiling and out to a mossy roof.

The Wortcunner's Shed for Herbalist Fairy Folk - Nichola Battilana

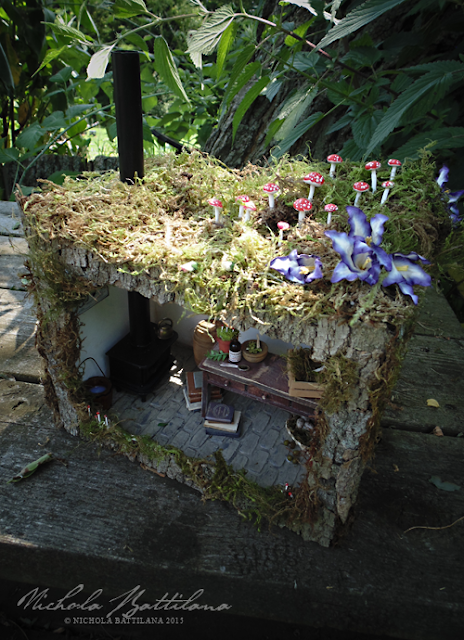
And upon that roof of wild moss there is a trail of toadstools and purple flowers blooming. I suspect it's a good place for a picnic.

The Wortcunner's Shed for Herbalist Fairy Folk - Nichola Battilana

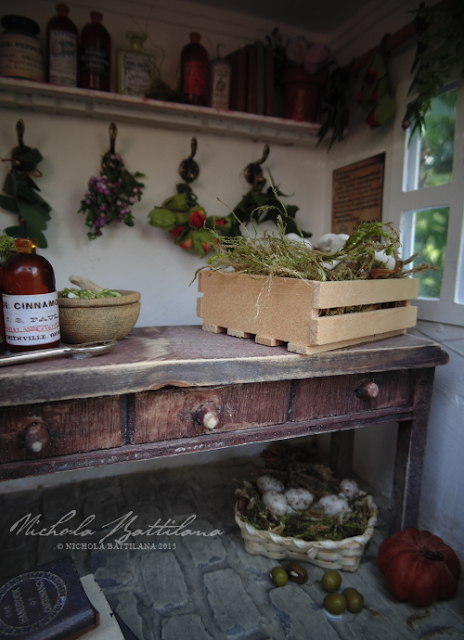
Here's a better look at the interior. It's not jam packed, but rather comfortably cluttered. Many of the little bits and bobs come from AlphaStamps. I'll put a list to any little piece you can find there below.

The Wortcunner's Shed for Herbalist Fairy Folk - Nichola Battilana

For the base I used a Frame Front Box made exclusively for me by Gina's Designs. What I LOVE about the boxes is that they are made from thick chipboard that is sturdy enough for embellishment, but can be cut so that windows/doors can be added where ever you like. They are available from Alpha Stamps if you'd like your own to play with.

The Wortcunner's Shed for Herbalist Fairy Folk - Nichola Battilana

I'm pretty pleased with this little room. It reminds me of a warm and worn cabin in historical reenactment / living history villages.

This piece is currently listed for sale HERE.

If you want to create your own version, here are some of the supplies I used are listed below or you can check them all in one place HERE:
Frame Front Box
Amber Resin Potions Bottle 

Ghoulish Green Mini Resin Jars 
Green Resin Perfume Bottle 
Mini Clear Resin Whiskey Bottle 
Miniature Tea Kettle Charm* 
Miniature White Table with Baskets (basket used, not table)
Miniature Garden Tools - Rake & Shovels 

Tiny Green Leaf Garland 
Mini Bird Eggs* 
Tiny Magic Books & Potion Labels Collage Sheet
Little Potions Collage Sheet

Holly Berry Garland 

Mini Rose Buds - Red* 
Mini Rose Buds - Pink Cream Variegated* 
Miniature Silverware Set 
Brick Wall Stencil
Clay Planter (not the actual one used but close and cute as buttons!)

Also used:
Plaster
Cardboard
Moss
Natural bark
Paint
Tongue depressors
Handmade toadstools

Wednesday, July 08, 2015

"Sing Together" Altered Canvas

Sing together, sweet and beautiful - Nichola Battilana

A little textured canvas today. Four inches square, covered with pieces from Gina's Texture Sheet Gears and Gears Shape Set and some paperclay bits made with this Silicone Mold. Painted white and sploshed with Silks Acrylic Iridescent Glazes. Finished off with some beautiful Botanica Flowers from Petaloo. The final touch, some snippets from a vintage children's book. 

This piece is listed in the etsy shop HERE

Tuesday, July 07, 2015

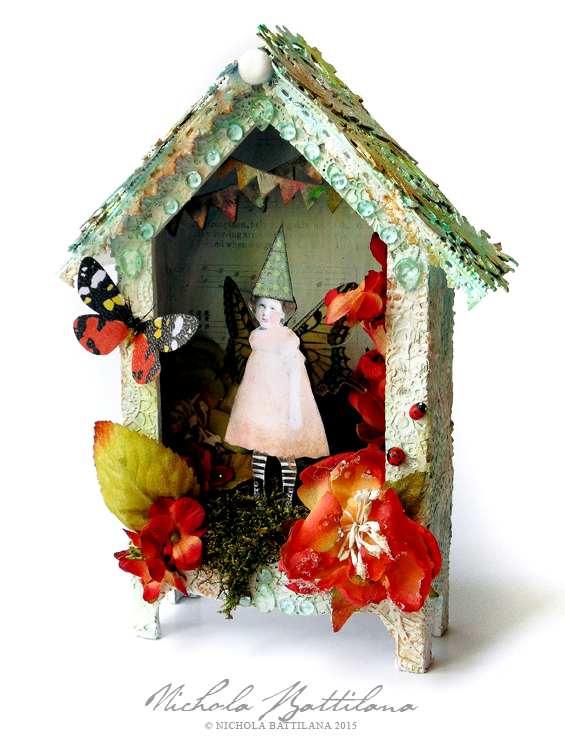
A Pixie House Shrine

I altered this cute House Shrine Box for a colour challenge that I totally missed the deadline for. 

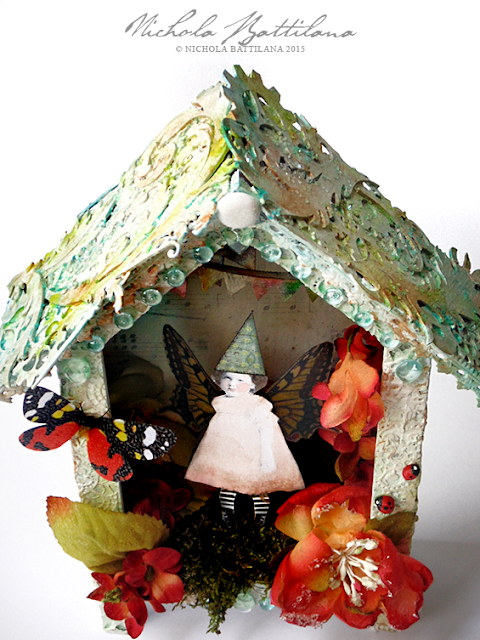
Pixie House Shrine - Nichola Battilana

I used to be terrified of colour but plowed through that wall. Now, I'm trying to consciously add texture to my pieces. This piece is chocked with textured elements. 


Here's the texture of the walls of this wee house. I've layered Cardstock Doily Set Intricates, painted them white and then added a smidge of colour with some ColourArte silks and H20's. I'm pretty smitten with the way it turned out.

Pixie House Shrine - Nichola Battilana

For the roof I used sturdier chipboard pieces. There are some Feathery Flourishes (quickly becoming one of my favourite embellishments!) and Steampunk Fan blades. Again I painted them white and added some colour with ColourArte products.

Pixie House Shrine - Nichola Battilana

The piece is finished off with some super cute Water Dew Drops from The Robins Nest, handmade ladybugs, a sweet winged vintage girlie and more. Here's the whole supply list kit-and-kaboodle.

White acrylic paint
Vintage image

This gal is currently listed HERE in the etsy shop.

Adorable Floral Cake Topper for Petaloo

I was asked to create a wedding themed something for Petaloo. You can now add cake topper to your DIY wedding list. 
Adorable Petaloo Cake Topper - Nichola Battilana

I've used pink burlap flowers and daisy layers to top this cake while imagining a sweet, simple backyard wedding. But if your 'I do's' are a little more fancy, you could absolutely consider Botanica blooms atop a prettily iced cake, or vintage velvet blossoms for a shabby chic wedding.
Adorable Petaloo Cake Topper - Nichola Battilana

To create my topper I simply cut out thick decorative paper and affixed a mound of florists foam/oasis to the top. I added coordinating trim to hide the bottom edge, then simply applied the flowers to the foam. I printed the sentiment on thick card, applied a painted bamboo skewer and pushed into place. If you're worried about your topper moving, simply push toothpicks in the bottom to hold your piece in place.
Card Stock
Oasis
Bamboo Skewer
Butterflies

Monday, July 06, 2015

Brick wall tutorial

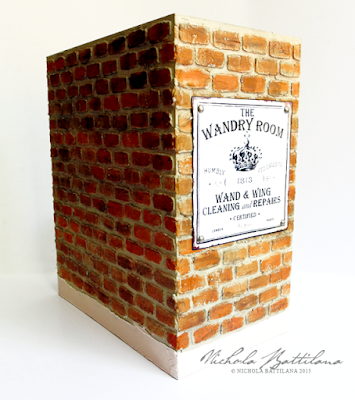
A couple of weeks ago I posted my project "The Wandry Room" and promised a tutorial for the brick wall.

Brick texture tutorial - Nichola Battilana

I am (usually) a woman of my word... enjoy!


Supplies:
Gina's Brick Wall
Marine varnish / Yacht wax (optional)
Spackling
Acrylic paint
Chalk pastels or conte (optional)
Matte top coat or sealant *if you have applied chalk beware of smudging when applying*

Note: You should probably wear gloves when applying the spackling.


(Almost) Perfection!

Our open house was this past Saturday and it was the most amazing day.


A surprise visit from a friend and around 100 of the sweetest visitors from all over. Each of them was a delight. I know that people often say that they have the best 'followers' but I truly do. They are kind and funny and full of just the right amount of mischief and they make me feel pretty dang special.


The day didn't go off without a hitch. The mailbox had to be replaced at the last minute and was a general pain in the bottom. We had planned for a crafting table that never seemed to make it outside. But there were successes. Who knew challenging people to pile stones atop one another would be such a rip-roaring success? (The record was 10 stacked stones by the way.) And these little certificates went over really well too.


In the past it has been the kids reactions to this place that really made all the hard work worthwhile. This year was a little different. This year it was the glimmer in the grown-ups that moved me most of all. So, an extra large THANK YOU is in order to every single 'big person' who blew more bubbles than you needed to and made a wish when you thought no one was looking.

I'll get a nice post with pretty pictures up later in the week... but I did want to thank all of the visitors and all of those who sent their well-wishes from a distance. I love you. Seriously. I think you're awesome. Each and every one of you.

Finally, this viddy (language warning) isn't of the tour but rather a compilation of me messing up and swearing. I put it together after sharing tutorial disaster stories with my G45 teamies a few months ago. Not having everything go according to plan this weekend reminded me of this vid. 


I mess up all the time, and things rarely go according to plan. I'm totally ok with not being perfect. In fact, I think imperfection might be underrated. 


P.S. I know I missed the 'little thing challenge' this Sunday. I'll be switching things up a little bit starting next week.

Friday, July 03, 2015

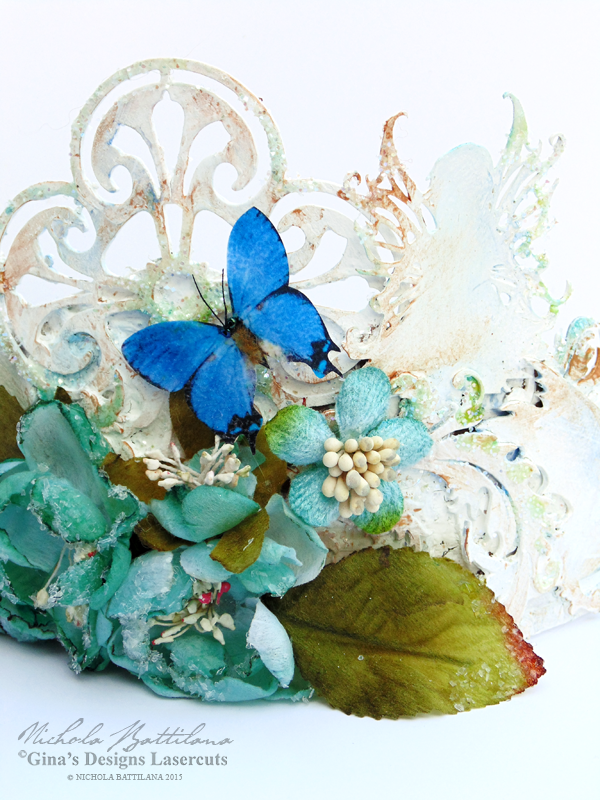
Garden Fairy Crown for Gina's Designs

I love crowns. I do. I adore them and make them often. I guess I haven't had my fill of fancy head wear because I've made another. This one was created with chipboard shapes from GinasDesigns.net and it's this month's video tutorial.

Garden Fairy Crown with tutorial - Nichola Battilana

The crown is made by layering Garden Fairies, Feathery Flourishes SetDragons Shape Setand Tudor Rose Singles over a simple base. For some added interest I added texture using gel medium and the Texture Sheets Fiesta from Gina's.

Garden Fairy Crown with tutorial - Nichola Battilana

Washes of ColourArt Silks Acrylic Iridescent Glazes and Twinkling H2Os Shimmering Watercolors are applied and then a smidge of glitter is added.

Garden Fairy Crown with tutorial - Nichola Battilana

Some pretty paper flowers, butterflies and ribbons and voila! I'm pretty sure that wearing this will automatically make you a fairy princess.

Here's the video tutorial. The sound is a bit awful in spots and I'm sorry about that (honestly, I have no idea what I'm doing and it's a miracle I muddle through at all!). If you have any questions don't hesitate to ask.

Here is the full supply list:


Golden heavy gel
Butterflies
Glue
White paint
Glitter (this is what I used)
Ribbon
Heavy card