Showing posts with label crafting. Show all posts

Saturday, November 10, 2018

Pretty Pink Christmas Things

A few years ago I would have laughed if you told me I'd be all about pink Christmas. This year I'm all about the pink Christmas.

AlphaStamps.net Pretty Pink Christmas - Nichola Battilana

I've used two paper collections: Pink Christmas 12x12 Paper Pad and Christmas Vintage 12x12 Paper Pad for the following projects and I'm loving the way they work together.
AlphaStamps.net Pretty Pink Christmas - Nichola Battilana

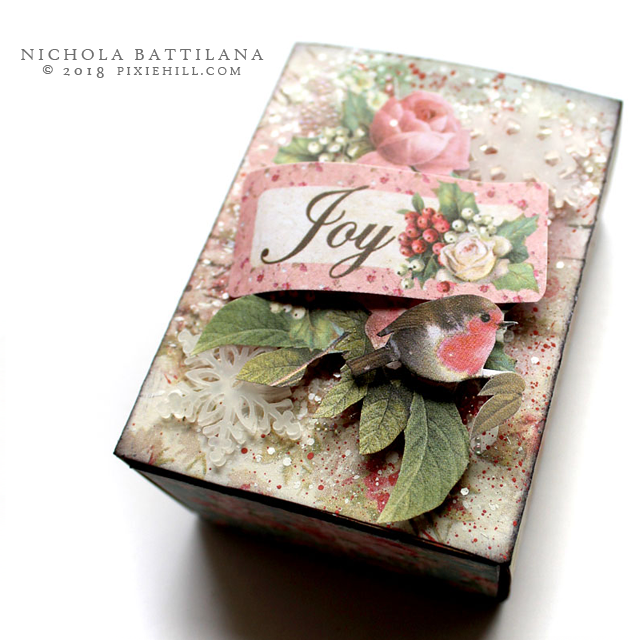
Add some faux snow and a Gold Dresden Christmas Tree swoon!

AlphaStamps.net Pretty Pink Christmas - Nichola Battilana

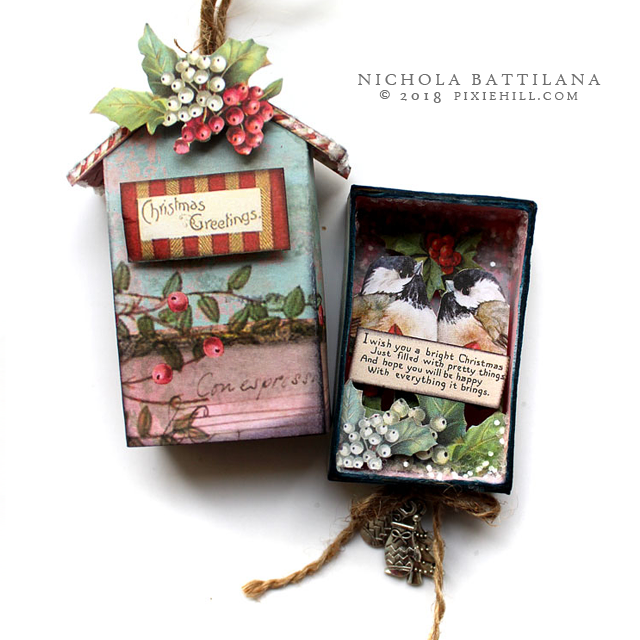
There was a quite a bit of fussy cutting involved in these projects, but the results are terribly sweet. Just look at this Peaked Roof Matchbox...

AlphaStamps.net Pretty Pink Christmas - Nichola Battilana

...and those little birds and inside. 

AlphaStamps.net Pretty Pink Christmas - Nichola Battilana

What a lovely holiday treat for someone nice.

AlphaStamps.net Pretty Pink Christmas - Nichola Battilana

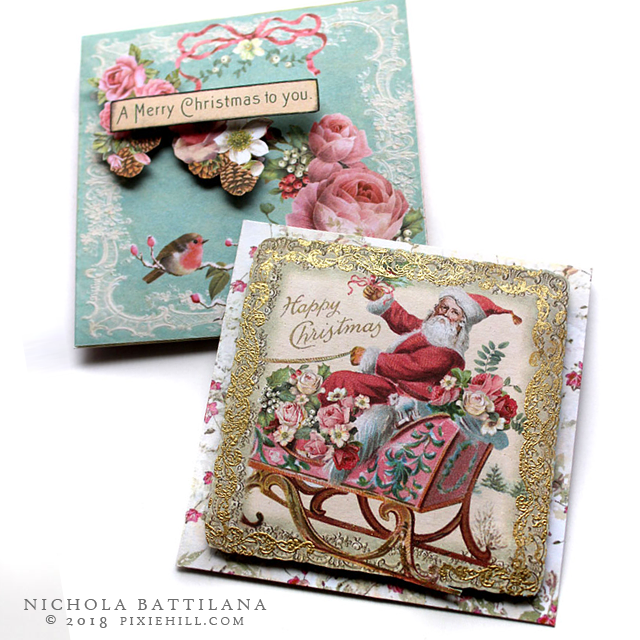
It's totally worth mentioning that the Pink Christmas 12x12 Paper Pad has a super cute tag, envelope, ephemera elements that come together really, really swiftly. 

AlphaStamps.net Pretty Pink Christmas - Nichola Battilana

I did some gold embossing around the edge of the vintage Santa image and it looks so authentically old timey. And while old envelopes probably would have been plain white, the envelope element is the perfect compliment. Swoon!

AlphaStamps.net Pretty Pink Christmas - Nichola Battilana

The final two pieces (yes there's more!) are more of a kitchy rather than antique vintage. Still totally cute though.

AlphaStamps.net Pretty Vintage Christmas - Nichola Battilana

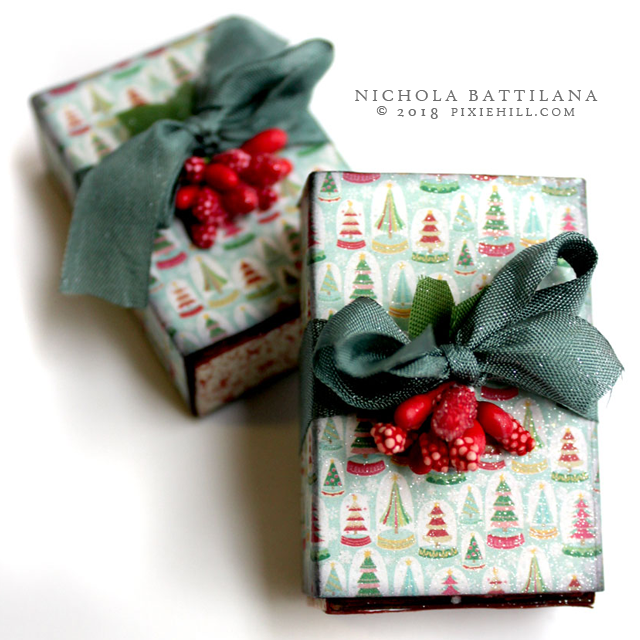
Here I've used Jingle 6x6 Paper Pad and Tree Ornament Matchboxes. I'm thinking that i might pop these on top of presents instead of a standard bow. Afterall, what could be nicer than a gift topped with another wee surprise?!

AlphaStamps.net Pretty Vintage Christmas - Nichola Battilana

I usually start Christmas crafting in September so this is a very late start for me, but I gotta admit, I'm really enjoying it this year. It's far less work and much more pleasure this time around. I hope you're enjoying holiday creating too.

NOW, if you want to make your own slew of pretty pink Christmas things, here's the supply list:

Sunday, July 23, 2017

Wild Faerie Wands

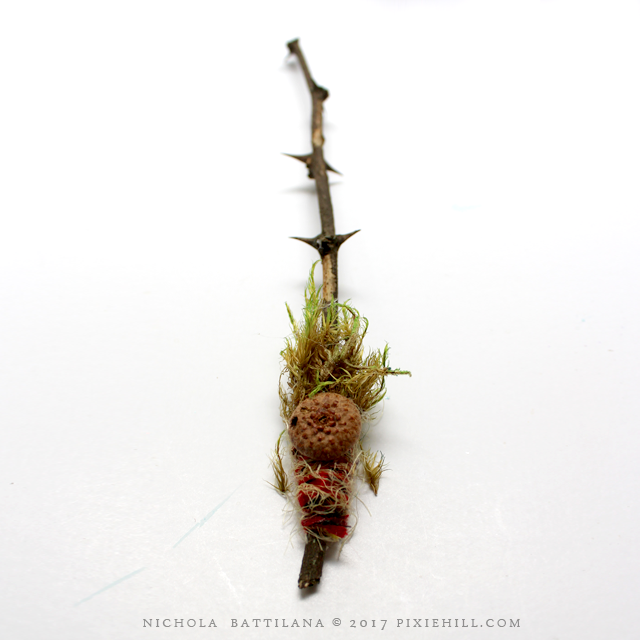
Not all sticks are plain old twigs. Some are faerie wands hidden in plain sight! (I've mentioned this before)

I happened across a fair number of wands this weekend. I'm sure the weather has the wee folk a little more fumbly and droppity than usual.

Wild Faerie Wands - Nichola Battilana pixiehill.com

With the plethora of wands scattered about, I thought I'd share some thoughts on embellishing wild faerie wands.

Wild Faerie Wands - Nichola Battilana pixiehill.com

There are a number of things to consider when encouraging the wand to reveal it's magical nature. 

The type of tree the wand is from is the biggest determining factor to the type of magic that the wand will best preform. Here are some simple examples:

Locust (above): protection
Apple: fertility
Oak: truth and knowledge
Willow: emotion
Ash: wisdom
Cedar: cleansing

A quick google search for "magical properties of wood" will lead you to a wealth of information on the subject.

Wild Faerie Wands - Nichola Battilana pixiehill.com

Charms can add to the magical purpose too! A key might be helpful for magic that opens the way to you. I think that acorn caps, buttons and found objects hold a great deal of magic in them. You could also sew beads and gems to those magical wands.

Wild Faerie Wands - Nichola Battilana pixiehill.com

You might carve and shape your wand. Whittle a point, or carve patterns or symbols into the bark.

Wild Faerie Wands - Nichola Battilana pixiehill.com

Colour can add to the magic too! Again, a little research will provide you with a lot of information on colour and magical associations... but don't neglect your intuition*. Faeries in your particular region may have a very different opinion of the colour yellow than the faeries in my back garden.

For a little more 'how-to' I've made a little video. Hop over to youtube and give it a gander...


*I have always read that faeries love milk. That leaving a small dish would be an appropriate offering. Mine HATE milk! The last time I left them some they turned all the milk in the house sour. So trust your experience over what some silly website says... even this one.


Thursday, November 17, 2016

Sweet Little Peg Fairies

*gasps!* How cute is this years batch of peg fairies?! I made these ones with embellishments and trims from Shabby is Chic Boutique.


I'm so smitten with them. This Folded Tulle Trim is absolutely perfect for the little skirts. The little flatback pearly embellishments are also from Shabby is Chic Boutique. I didn't include them here, but these Silver Fairy Wand Charms would be a super cute addition!


I just love their floofy hair made from real wool roving.


In all different colours.


They're such happy little things.


With their acorn caps and their butterfly wings.


I hope you'll make some too!


And spread a little sweetness to those around you.


Love you this much!

xoxo

Thursday, October 13, 2016

Shabby mojo bag

The beautiful Miss Amy Love invited me to guest design with Shabby is Chic Boutique and of course I said 'Yes!' because everything she carries is adorable!

When I saw this Cotton Drawstring Pouch in my package I knew I wanted to make a shabby mojo bag to encourage crafty inspiration!


First, what exactly IS a mojo bag? Basically it's a pouch, or bag, usually made of flannel, containing magical items used in hoodoo for spell work. Similar bags are used in other magical traditions for luck, protection and healing.

This is NOT a traditional mojo. I'm using the concept as a magical inspiration point.


My Cotton Drawstring Pouch is layered in Butterfly Dangle Trim and lace, then tea stained. I've added vintage buttons as accents, and centred a Filigree Wrap Around as a focal piece.


Silver Fairy Wand CharmSilver Fairy Charm, and a cute Witch Hat Charm are attached to the filigree and hopefully supply an added dash of fairy magic.


Finally, the most adorable Gold Plated Spoon is attached to the drawstring. I love it sooo much and imagine I'll use it for scooping glitter!


The contents?  Well, these sorts of bags are kind of like birthday wishes - you really aren't supposed to tell. 


To encourage crafty inspiration you may want to add items that reflect the colours, textures, motifs, mediums and themes that you love. Or, you could add herbs and flowers that encourage inspiration to make a magical sachet. And if magic ain't your jive, you could always use it to store something small and pretty.


Monday, June 06, 2016

A Tin Can Kingdom

I have a new project.

It's cute. Really cute.

AND there's a tutorial.

Are you ready?

I think you're going to like this.

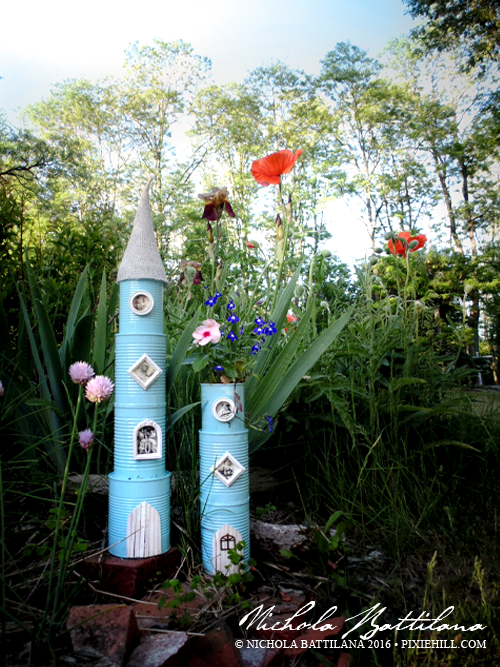
Recycled Tin Castle Towers with tutorial - Nichola Battilana pixiehill.com

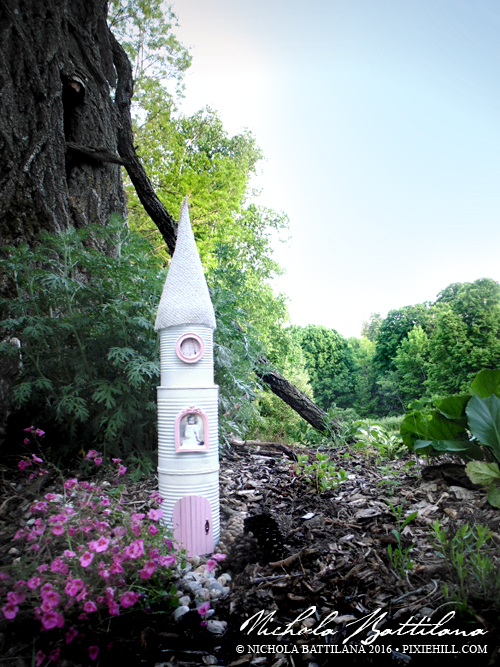
Can castles! Tin turrets! Recycled fairy garden towers!

Recycled Tin Castle Towers with tutorial - Nichola Battilana pixiehill.com

The biggest struggles setting up the summer fairy garden have been the battles with the weather and the critters. This year I was determined to come up with something a little more sturdy to survive the summer and the squirrels. These are the result of all that thinkin'.

Recycled Tin Castle Towers with tutorial - Nichola Battilana pixiehill.com

I'm kinda in love with them and want to make them in all the colours to dot around my garden. Just look at those blue beauties next to the tall poppies.

Recycled Tin Castle Towers with tutorial - Nichola Battilana pixiehill.com

Some are topped with roof top gardens (which fairies love btw). Others have really simple pointy cone roofs which are just a bit of burlap sewn into a cone shape, then spray painted. The paint adds some stiffness and helps to prevent fraying. Pretty sure that any stiff fabric would do. My initial thought was to use reusable grocery bags (reusing the reusable!) but the burlap was on hand so I'll do that next time.

Recycled Tin Castle Towers with tutorial - Nichola Battilana pixiehill.com

And speaking of 'next time'... 

I've made a video tutorial for the basic version of this project so if you haven't already, hop over and subscribe to my Youtube channel.

Recycled Tin Castle Towers with tutorial - Nichola Battilana pixiehill.com

The video tutorial is below, and below that you'll find the supply round-up. If you're inspired to make your own tin can kingdom and show it off, tag me in your post! I'd love to see what you made. Want to recreate this project for your own blog? Have at it! Just be sure to link back here please-and-thank-you. The credit for the inspiration is appreciated, and it encourages me to share more free projects.


Here's everything you'll need:

Tin cans of all sizes and shapes
Silicone
Spray paint (I recommend using a paint w/ primer)
Bits and bobs for windows & doors

Cardboard
Stir sticks
Burlap
Stones
Soil
Plants and moss

*GooGone for removing label glue from tins
*Nail polish remover will remove SOME ink stamps