Tuesday, June 28, 2016

Puttering and hobbling

It was sooooo stinking hot and humid outside yesterday that I only ventured out once to jump into the pool (which is currently recovering from a lovely shade of swamp-water). So instead of much needed outdoor preparations, I stayed in and tidied the studio to ready it for nosy visitors on Saturday. It is slowly coming along.


In very exciting news my fresh signs arrived. Some girls have a thing for shoes, apparently I have the same reaction to new signage. Yes, it still looks a bit hobbled together, but not nearly as hobbled as it did before.


I'm totally not prepared (I think I say that every year) but I'm trying not to stress over it too much. However, I am glad these two showed up to lend a hand...


What could possibly go wrong when you have fairy helpers?!

Note: The answer to that is 'anything and everything' but we'll pretend like everything is going to be hunky-dory.

Better late than never, here is the official invite:


And if horrible terrible things are more to your tastes, I'll be having a 'goblin market' open house in October for all of awful things I make.


Friday, June 24, 2016

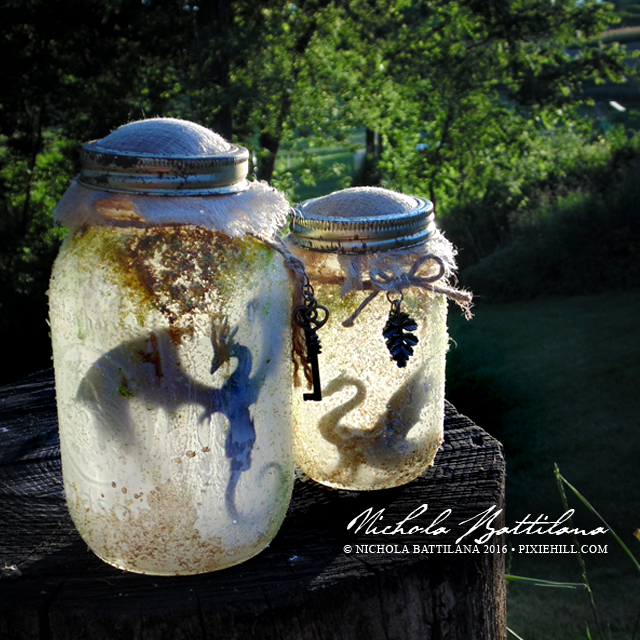
Rotten Smelly Dragon Jars

Happy International Fairy Day! You'd think I'd have something glorious and pretty and glittery for you...

... but instead I have some rotten smelly dragon jars.

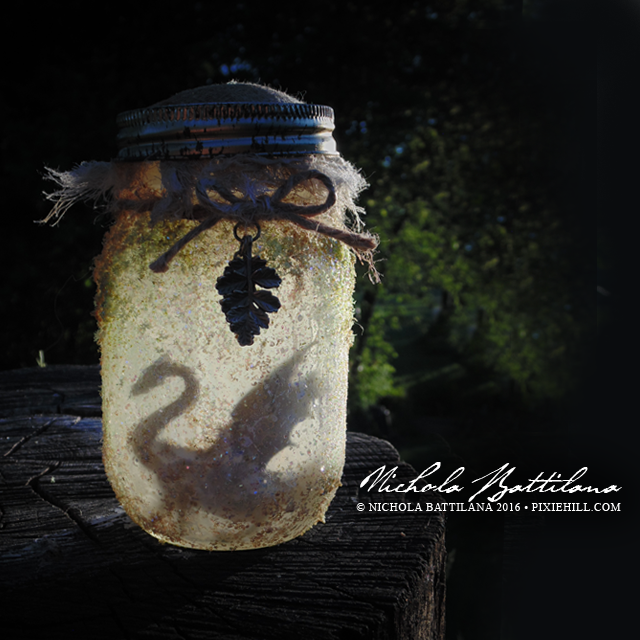
Rotten Smelly Dragon Jar - Nichola Battilana

True story: we ran out of garbage bags last week around the same time these terrible things appeared. Coincidence? I think not! Despite their timing, I don't think that they are fabled Trash Dragons. I suspect they are Northern Swamp Dragons.

Rotten Smelly Dragon Jar - Nichola Battilana

I'm currently working on a breeding program and will try to have some available for adoption in a week or so. I WILL have a few at my open house on July 2nd if you happen to pop in for a visit.

Rotten Smelly Dragon Jar - Nichola Battilana

Want to try your own 'breeding program'? Cutouts are listed HERE in my etsy shop, or at gslcuts.com

Thursday, June 23, 2016

A Beatrix Potter Tribute: aka Stumpy and the Bunnies

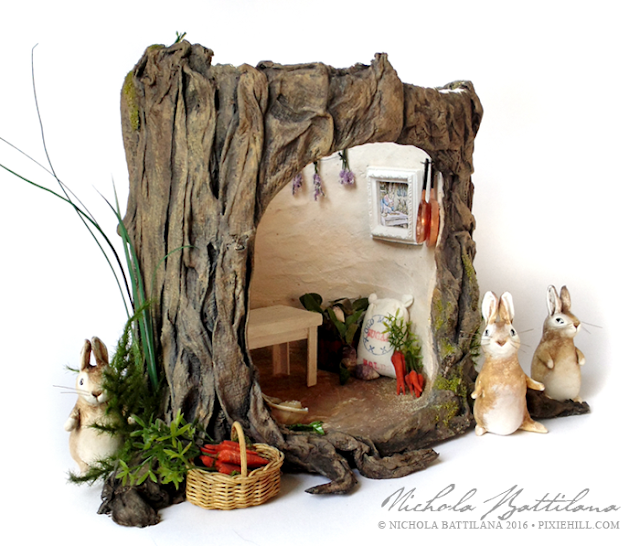
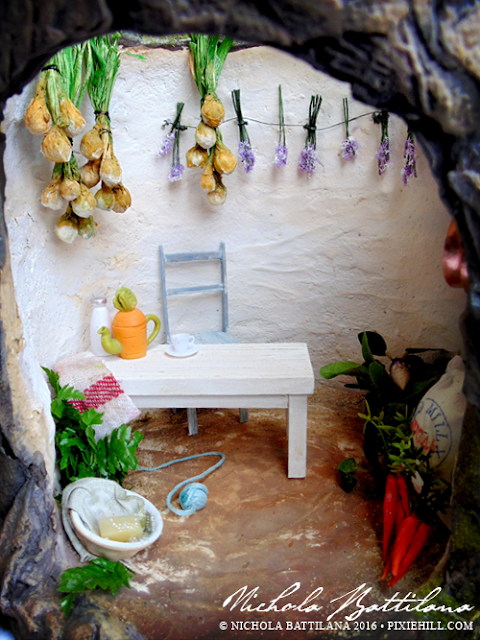
It's new issue day at DollsHouse and Miniature Scene magazine which means I can finally share this project I've been sitting on for months. (Note: not actually sitting on... oh, you know what I mean!) It's my miniature tribute to the fabulous Ms. Beatrix Potter.

Beatrix Potter Tribute - Stump house and bunnies - Nichola Battilana

You may remember the beginnings of 'Stumpy' from THIS blog post. I used THIS tutorial from Sharon Ojala at Homemade Obsessions, and modified it slightly.


Dear old 'Stumps' is complete and has become the home of the Rabbit family.

Beatrix Potter Tribute - Stump house and bunnies - Nichola Battilana

The piece is based on several illustrations by Ms.Potter. 

Lovely illustrations by Beatrix Potter

I tried to capture the watercolour, illustrative style of her images in this piece and I'm pretty happy with the results. Plus, it was was great fun incorporating the little details from her work 

Beatrix Potter Tribute - Stump house and bunnies - Nichola Battilana

A ball of blue wool on the floor.

Beatrix Potter Tribute - Stump house and bunnies - Nichola Battilana

A wash bowl to clean up those many bunny messes.

Beatrix Potter Tribute - Stump house and bunnies - Nichola Battilana

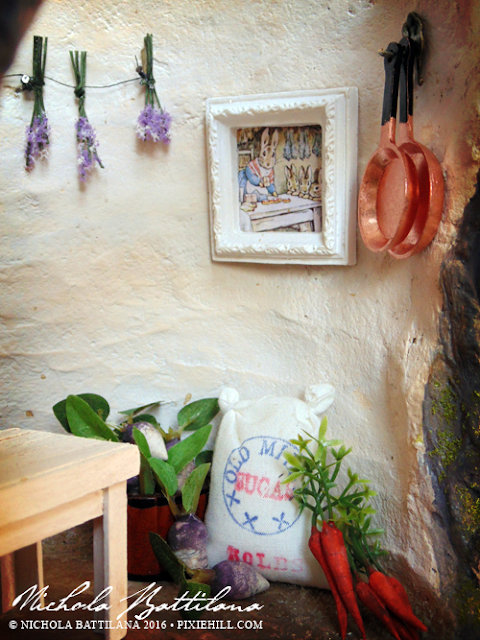
I've added some of my own elements too. One of Potter's illustrations sits on the wall as a 'Rabbit family portrait'.

Beatrix Potter Tribute - Stump house and bunnies - Nichola Battilana

I've used both handmade and purchased items to dress the piece. All of the vegetables are handmade, as are the table and chair. The adorable carrot tea pot is from Alpha Stamps as is the sack, copper pans, and bowl.

Beatrix Potter Tribute - Stump house and bunnies - Nichola Battilana

As for those bunnies...

Beatrix Potter Tribute - Stump house and bunnies - Nichola Battilana

They're made from Creative Paperclay with strands of fur for whiskers. I gotta say, Paperclay works beautifully if you want to achieve that watercolour look. It's a very different from polymer clay, but it's one of my favourite materials to work with.

Beatrix Potter Tribute - Stump house and bunnies - Nichola Battilana

Beatrix Potter really was a marvel, and a true talent, whose work went far beyond charming stories of cheeky rabbits. If you're interested in Ms. Potter, I highly recommend looking up her botanical illustrations. Her mushroom and toadstool studies are an absolute delight.

Want to read more about this piece? Check out the feature in the July issue of DollsHouse and Miniature Scene.

I have just made stories to please myself,
because I never grew up.
Beatrix Potter

Wednesday, June 22, 2016

Sanctuary

Our annual open house is in a week and a half. I'm a bit flubbered about it because I feel absolutely behind and not at all prepared. Despite not being ready in the least, the fair folk have begun arriving.

There are little Irish cottages sprouting between the flowers and greenery.

Fairy Garden at Pixie Hill - Nichola Battilana

Old pixie houses from last year have appeared in the hostas.

Fairy Garden at Pixie Hill - Nichola Battilana

Luckily the critters have been doing their part. Moths have taken to dusting off the flowers, making sure the garden is tidy.

Fairy Garden at Pixie Hill - Nichola Battilana

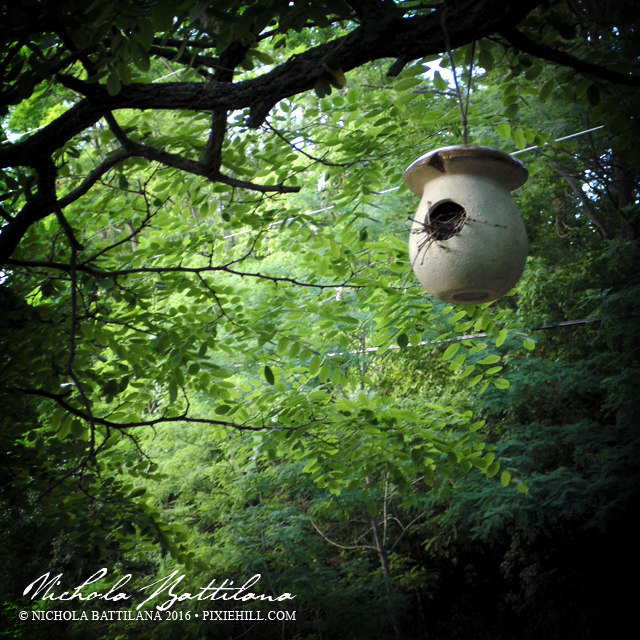
And the birds are adding extra twigs to their houses, in case a sprite needs a place to stay.

Fairy Garden at Pixie Hill - Nichola Battilana

If you happen to be around, we'll be open to the public on July 2nd and you're very welcome to join us and explore our 'fairy sanctuary'.

Monday, June 20, 2016

Solstice Blessings

It feels like AGES since I last posted but I do have an excellent excuse.., my granny and auntie were here for a visit. While they were here I shirked most of my responsibilities and sat on the deck, gabbed and sipped cocktails. Woo hoo!

But it's back to work now and I'm preparing for the arrival of our summer fairies. I'm sure we'll have a few new arrivals tonight, just in time for Summer Solstice celebrations.

I hope you're lucky enough to catch a glimpse of the little people's revelry this evening.


Sweet summer blessings to you and yours xoxo

Wednesday, June 08, 2016

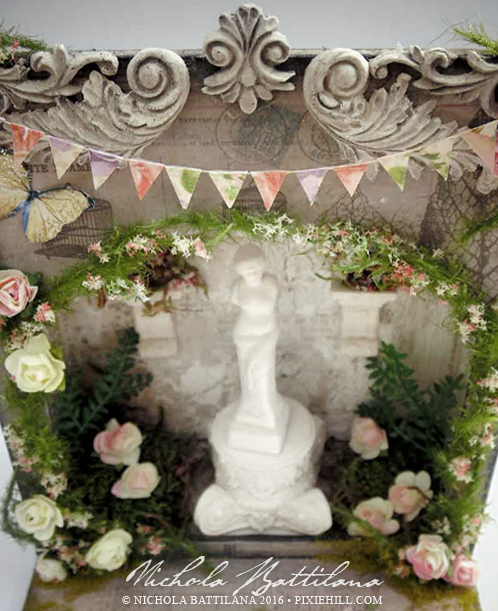
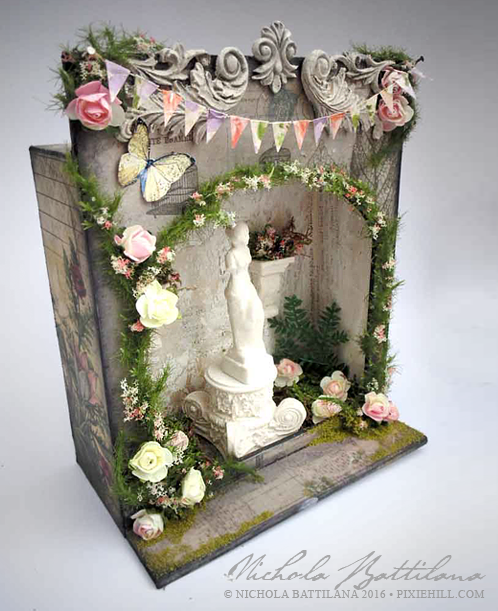
Venus' Grotto

This little grotto has been sitting in limbo since just before Christmas! I received the Half Scale Arch Front Room Box from AlphaStamps, promptly covered it in Tim Holtz Wallflower and vintage papers, added Pink Paper Roses and Asparagus Fern Garland... and then it sat.

Venus' Grotto - Nichola Battilana for alphastamps.com

I was waiting for the perfect little thing to place inside my grotto. I tried my little figure of
St. Expeditus but he wasn't quite happy in there. I bought a beautiful little Madonna statue, Our Lady of the Cape to be specific, but her crown wouldn't let her fit inside.

Venus' Grotto - Nichola Battilana for alphastamps.com

But it this little grotto wasn't meant for a saint after all... it was meant for a little Venus de Milo!

Venus' Grotto - Nichola Battilana for alphastamps.com

And the little space seems a fitting shrine for the goddess of love and beauty. A smidgen of space to dedicate to prettiness. The original Venus de Milo (or Aphrodite of Milos as is her proper name!) was actually discovered burried in a niche, so I'd like to think she's happy to be tucked in her little arched shrine box.
Venus' Grotto - Nichola Battilana for alphastamps.com

Want a slice of beauty to sit on your own shelf? Here's the supplies I used to create this piece:

Half Scale Arch Front Room Box
White Resin Column Set
2.5 Inch Venus Statue
Silicone Mold - Architectural Flourishes*
Creative Paperclay*
Asparagus Fern Garland*
Fern Garland*
1/2 Inch Pale Pink Paper Roses*
Flower Soft - Sweet Pea
Rectangular White Shelf Brackets - Set of 2
Tim Holtz Wallflower 12" pad

Monday, June 06, 2016

A Tin Can Kingdom

I have a new project.

It's cute. Really cute.

AND there's a tutorial.

Are you ready?

I think you're going to like this.

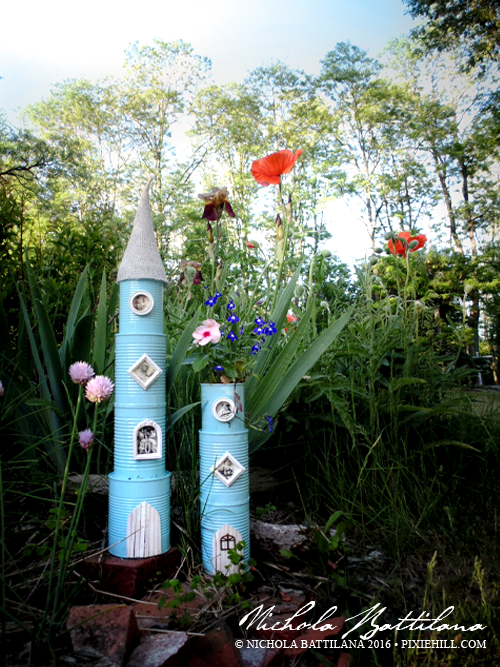
Recycled Tin Castle Towers with tutorial - Nichola Battilana pixiehill.com

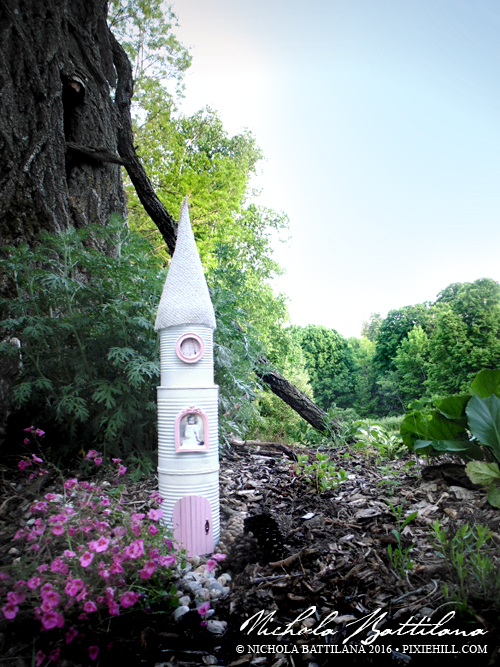
Can castles! Tin turrets! Recycled fairy garden towers!

Recycled Tin Castle Towers with tutorial - Nichola Battilana pixiehill.com

The biggest struggles setting up the summer fairy garden have been the battles with the weather and the critters. This year I was determined to come up with something a little more sturdy to survive the summer and the squirrels. These are the result of all that thinkin'.

Recycled Tin Castle Towers with tutorial - Nichola Battilana pixiehill.com

I'm kinda in love with them and want to make them in all the colours to dot around my garden. Just look at those blue beauties next to the tall poppies.

Recycled Tin Castle Towers with tutorial - Nichola Battilana pixiehill.com

Some are topped with roof top gardens (which fairies love btw). Others have really simple pointy cone roofs which are just a bit of burlap sewn into a cone shape, then spray painted. The paint adds some stiffness and helps to prevent fraying. Pretty sure that any stiff fabric would do. My initial thought was to use reusable grocery bags (reusing the reusable!) but the burlap was on hand so I'll do that next time.

Recycled Tin Castle Towers with tutorial - Nichola Battilana pixiehill.com

And speaking of 'next time'... 

I've made a video tutorial for the basic version of this project so if you haven't already, hop over and subscribe to my Youtube channel.

Recycled Tin Castle Towers with tutorial - Nichola Battilana pixiehill.com

The video tutorial is below, and below that you'll find the supply round-up. If you're inspired to make your own tin can kingdom and show it off, tag me in your post! I'd love to see what you made. Want to recreate this project for your own blog? Have at it! Just be sure to link back here please-and-thank-you. The credit for the inspiration is appreciated, and it encourages me to share more free projects.


Here's everything you'll need:

Tin cans of all sizes and shapes
Silicone
Spray paint (I recommend using a paint w/ primer)
Bits and bobs for windows & doors

Cardboard
Stir sticks
Burlap
Stones
Soil
Plants and moss

*GooGone for removing label glue from tins
*Nail polish remover will remove SOME ink stamps