Friday, September 02, 2016

Wee Winged Shrines with Tutorial

Can you believe it's the first Friday of September?! (What happened to the summer? Seriously, where'd it go?) The good news is that means it's tutorial day and I have a a fun and fantastical project for you. 

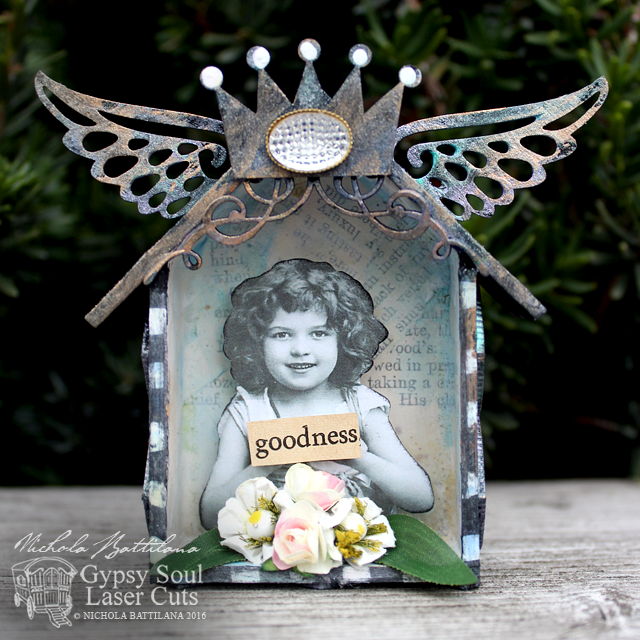
This month I wanted to encourage the spreading of good will, kindness and nice surprises. These little winged shrines are just the ticket! They're pretty easy to put together, and you can get a bit smooshy and sloppy in your mess making and have a lot of fun with them.

Wee Winged Goodness Shrines with Tutorial - Nichola Battilana

Each of these sweet things uses a Mini House Shadowbox as a base, and Victorian Corners to finish off the peak.

Wee Winged Goodness Shrines with Tutorial - Nichola Battilana

Add some wings from the Steampunk Shape Set and then whatever embellishments your heart desires. Buttons, little paper flowers, charms... you name it!

Wee Winged Goodness Shrines with Tutorial - Nichola Battilana

The images I've chosen were all selected from thegraphicsfairy.com. She has a lovely selection of images that are free to use. The sentiments are just snipped from discarded books, but you could easily write your own or use a commercial sentiment.

Wee Winged Goodness Shrines with Tutorial - Nichola Battilana

I think these are absolutely the sweetest and I'm sure that given as a gift, especially a surprise for no reason at all, they'd certainly help to spread cheer and goodness.

To help you make your own, here's how I put these cuties together


And here are all of the supplies I used in the pieces above.
Misc. decorative bits & bobs and embellishments
Acrylic craft paint
Instant glue

Friday, August 26, 2016

Nyx and the Benevento Walnut Tree

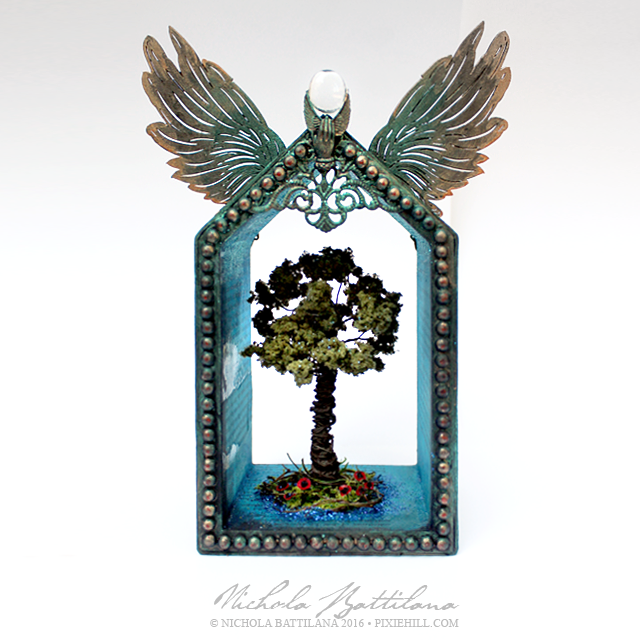
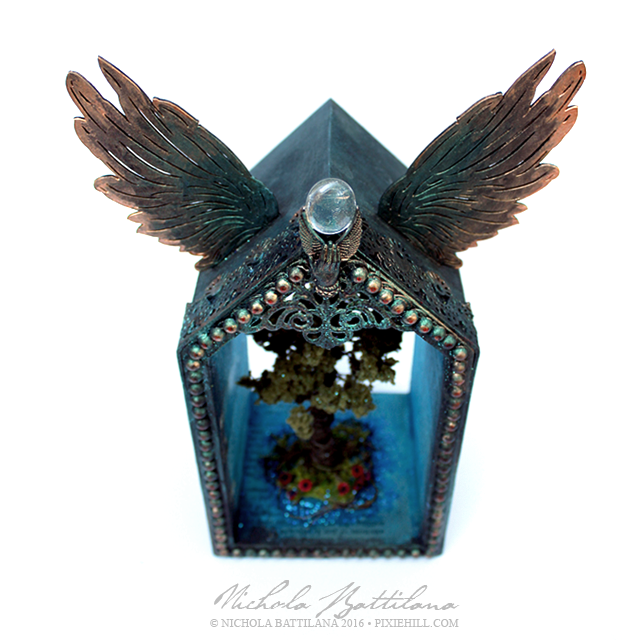
I finished the work in progress I showed off yesterday. While it could have gone in a million different directions, this piece is all about the goddess Nyx.

Nyx and the Benevento Walnut Tree - Nichola Battilana 
Nyx has existed from the beginning. She is the goddess of the Night and the mother of Light and Day (as well as gods of dreams, sleep, death, pain and more).

Nyx and the Benevento Walnut Tree - Nichola Battilana

In one version of her mythology, she was a great black bird and laid an egg from which Eros, the golden winged Spirit of Love emerges.

Nyx and the Benevento Walnut Tree - Nichola Battilana

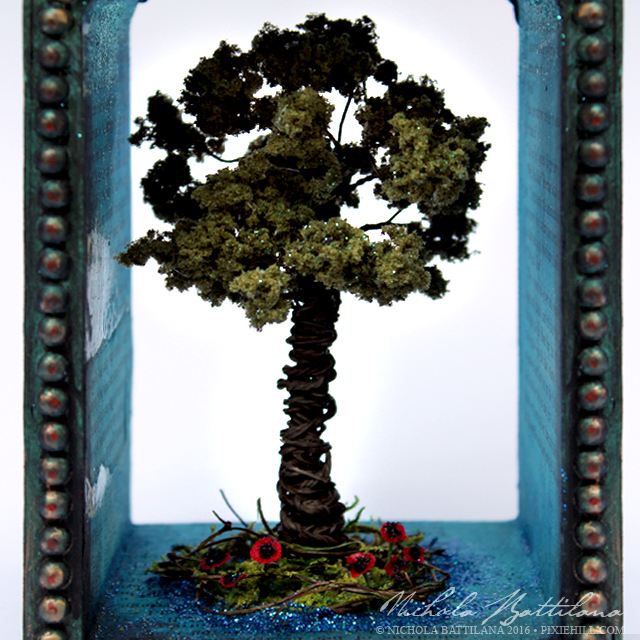
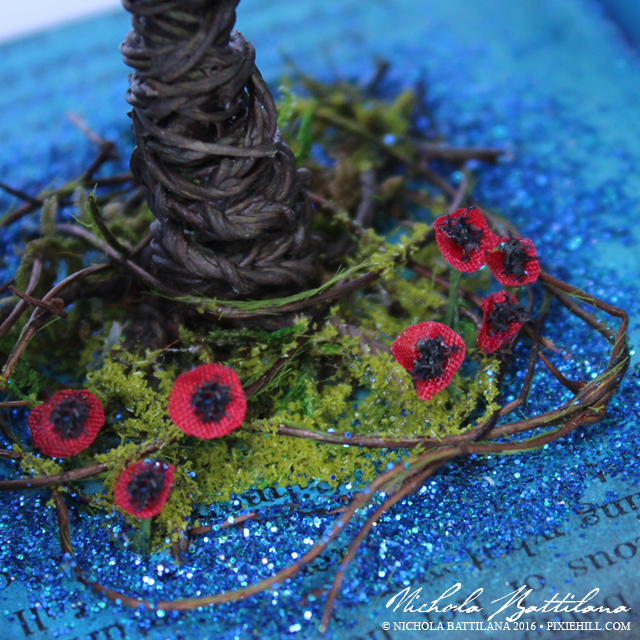
At the centre of the piece there's a tree that represents the Benevento Walnut Tree. This magical tree was said to be a gathering place for Italian witches. It's roots reached down to the other world and the witches would draw up its power by dancing around the trunk. Nyx was one of the goddesses venerated at the tree.

Nyx and the Benevento Walnut Tree - Nichola Battilana

There are also some tiny handmade paper poppies in there too, said to be sacred to her.

Nyx and the Benevento Walnut Tree - Nichola Battilana

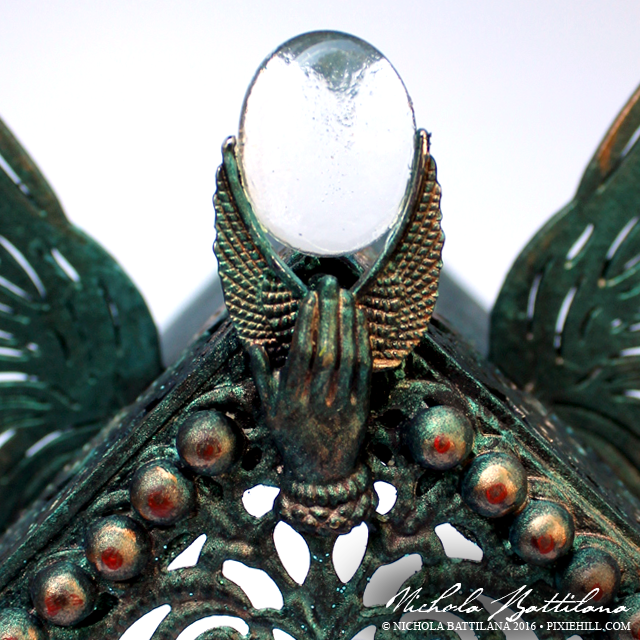
That little glass bauble? A piece made by my friend and glass artist Marc Bourdon.

When I completed this doodad I slipped outside, into the dark. Despite the sky being covered in clouds, I saw a shooting star whiz by. I'm going to take that as a good omen. Maybe even a wink of approval! And I think I'll keep this piece with me for a while.

The materials for this piece are from all over the place but I'll do my best to list what I can.

Wooden House Frame - from Michaels
Wing Assortment
Small Wings
Bronze Hand CharmFloral Border Sticks
Flourishes 2
Adhesive back pearls
Metal Filigree
Metal Wings
Florist Wire
Twig
Old paper
Glitter!!!!
Acrylic paint
Moss
Woodland Scenics Clump Foliage
Glass bauble - glass artist Marc Bourdon

P.S. If you're interested in learning more about this sort of thing, goddesses, spirits and the like, Judika Illes' book 'Encyclopedia of Spirits' might be just the resource you're looking for.

Thursday, August 25, 2016

Rain, toadstools and a WIP

We've had a spot of rain here and the lawn is becoming green and lush once again. Good thing too because the crispy crunchy brown expanse was not doing a thing for me. All the rain has also brought our faeires out of hiding. They've been dancing across through the garden and leaving toadstools in their footsteps.


The one below is called an Earthstar. They are some of my favourites. From wikipedia "The Blackfoot of North America called the fungus "fallen stars", considering them to be stars fallen to the earth during supernatural events" I love seeing them sprout each year near the tire swing, and am always certain they are an omen of something good.


Even the old mushy things are lovely in their own way.


Despite my lack of posts I have been working. Lately I find myself prepping items and then becoming stumped. There's a log jam of ideas trying to get out... but not a heck of a lot is flowing through. That said, this appeared on my table yesterday....


Which got a slap of paint and turned into this last night...


And I *think* I know what it is, but we'll see where the making takes me today.

Hope you're feeling beautiful today...  because you are. Truly.


Wednesday, August 24, 2016

Industrial Chipboard Lantern Assembly

Katie asked for some help assembling these lanterns...


... and I am happy to help!


Good luck Katie!

Tuesday, August 23, 2016

Mystic Swami Board Revisited

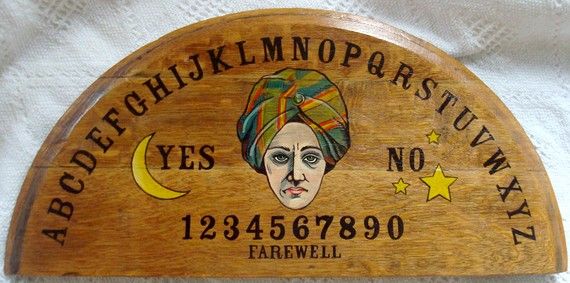
YEARS ago I made this 'Mystic Swami Spirit Board'.

Mystic Swami Spirit Board - Nichola Battilana

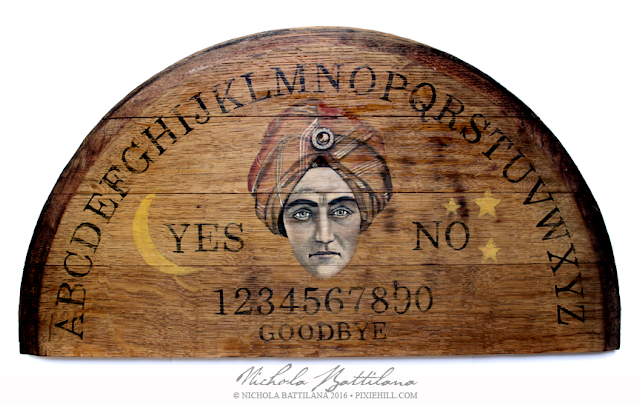
Recently someone inquired about it, and since I'm on a Halloweeny kick, and since the idea peaked my fancy, I decided to revisit the project.

Mystic Swami Spirit Board - Nichola Battilana

Look what few years of farting around with art and craft supplies can do! What a difference! I'm tempted to paint one of these every year to mark the improvement in my skills.

Mystic Swami Spirit Board - Nichola Battilana

He's looking a little pasty in this pic... let's just ignore that okay.

Mystic Swami Spirit Board - Nichola Battilana

Just like the original it's painted upon one half of a used wine barrel lid. Made with 1" thick oak staves, and measuring 22" wide, it's a hefty thing. 

Mystic Swami Spirit Board - Nichola Battilana

And I KNOW that some people have strong opinions about Ouiji and spirit boards so let me just say this: this is used wood with letters painted upon it. Glue guns on the other hand, now those things are pure evil.


Saturday, August 20, 2016

A pretty great day.

Today was a pretty great day. 


Soccer finals and my kids team came in 4th or 5th. No idea really. 
He scored four goals and did his best. We're proud of that ding-a-ling.


My hubs tried not to laugh at my jokes. But I'm hysterical so he was helpless!


My friend came for a visit and was receptive to my ridiculous gift.


There was laughter before dinner even started.


And though we tackled some heavy topics,
we manged to smile even more into the night.

Hope you're smiling too.

Saturday, August 13, 2016

Wee Chippy Lanterns

AlphaStamps.com has some new chipboard Industrial Lanterns. They're really kinda cute, like small railroad lanterns, but of course I've filled mine with dragons and fairies ;)


Each side of the lanterns has an 'X' across it, but it's easily chopped off if you want to show off a miniature dragon or fairy silhouette. 


I've added some dresden trims to mine to fancy them up, along with some floral elements like Mini Fern Garland and Black Mini Paper Blooms. Paint and embellish those suckers to suit your tastes.


The 'glass' in these is the Clear Window Inserts with some tissue glued to the back and chopped to size. You can cover all four sides of a lantern with one sheet cut into quarters. I've also added a thin coat of white paint to the exterior here. It helps to hide the cutout when the lights are off, but you can still make them out when lit.

If those dragons are causing trouble (as dragons are wont to do) you can just bend those wings and tails to fit. Actually, those bent wings add a bit of dimension to the shadows.


And if you're itching to hang those lanterns, there are convienient holes in the removable lids. My reccomendation? Pop in a light, line up those holes and use a little bamboo skewar to hold them in place while you hang them via a Fluted Ring Pull glued to the top. 


OR you might just thread twine or ribbon through the holes to hold those pieces together with enough extra length that can be used for hanging too.


Whatever your fancy, here are the supplies I used to create these pieces to get you started: Everything in one place