Wednesday, December 07, 2016

Day 7 - SPARKLE BATH!

As far as I am concerned, there are two types of people in this world: those who loathe glitter and those who want to bathe in it.


I've made some sparkly, glittery, shiny, smelly, rose-budded bubble bath for the latter.

If you see someone with red sparkle, you'll know they were on my Christmas list.


P.S. These remind me of the year I had $36 to spend on all of my Christmas gifts. If memory serves, most of that was spent on toiletries that were rationed and prettily re-packaged. It stinks not having money, but it is painful not having money during the holidays. If your holiday funds are tight, I'm sorry. I know exactly what that's like. You'll get through. Everything will be ok. I promise.

Tuesday, December 06, 2016

Day 6 - A Wee Pinecone Tree

Mr. Pixie often says, "I'm the idea guy."

This usually means that he has a fantastical but outrageous idea that is an impossibility to bring to fruition. Once in a while his ideas are totally do-able. "You should make a little pinecone Christmas tree." Done!


A pinecone...


Some glitter...


And a tiny tin bucket.

Ta da!

Monday, December 05, 2016

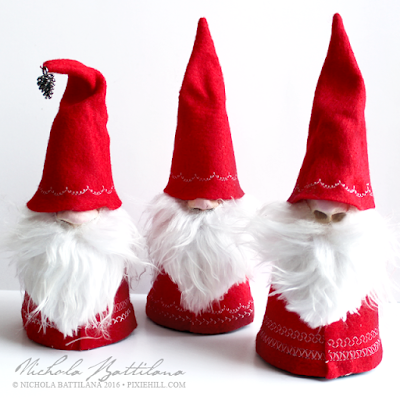
Day 5 - Tomte Christmas Gnomes

I made a batch of these fellows last year and I loved them so much I wanted to make them once again. This year they are quite a bit smaller (but just as cute).


Tomte are Scandinavian creatures associated with yuletide. They are delightfully gnomish and since I collect gnomes I love them dearly.


They are cute as buttons and making them is a lot of fun. Their personalities just seem to pop out as soon as those white whiskers are put into place.


Tomte, elves and sugar plum fairies... is it any wonder I adore Christmastime?!


Sunday, December 04, 2016

Day 4 - Little Snow Dudes with Tutorial

I'm not sure why I keep calling these guys 'Snow dudes' rather than 'Snowmen' but they keep insisting that IS what they are called, so I shall comply.


I made a slightly larger and more complicated version of these guys last year. This year, I've simplified the heck out of them while maintaining maximum cute.


And if you'd like to make your own HERE is the video tutorial...


And here's what you'll need:

styrofoam balls
jute twine
white/clear glitter
good quality white glue
hot glue
small metal brads
black seed beads
straight pins or flat head jewelry posts
toothpics
black and orange paint
small eye hooks

Saturday, December 03, 2016

Day 3 - Tiny snowy house

Just something small and sweet today.

I think this will be a perfect thing to abandon with a note of holiday cheer.

The dome has been in my stash for quite a long while. THIS little tree was coloured green and dusted with some faux snow. The house is one which was pit fired in my back garden. And the gold is a snip from one of these dresden trims.


On top, a little bow with ribbon from THIS set, with a tiny snip of green and some colour from this Fancy Red Holly Berries Mix.

Ta dahhh! How's YOUR holiday cheer chugging along?


Friday, December 02, 2016

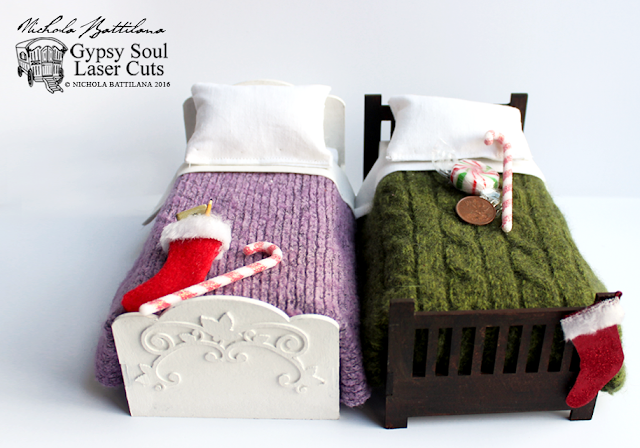
Day 2 - Cozy Fairy Beds

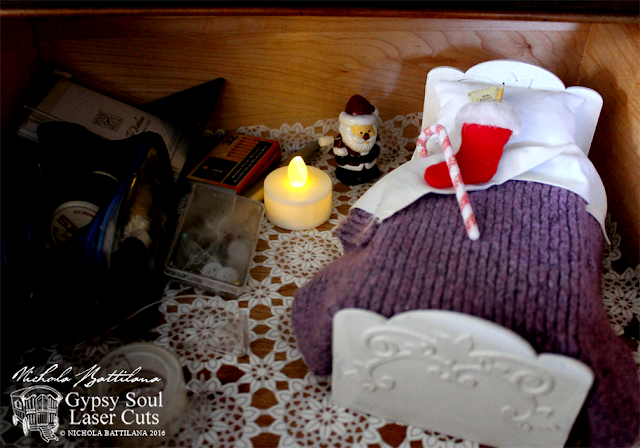
When I was a little girl, my Christmas stocking was always placed at the bottom of my bed. I'd wake up super duper early on Christmas morning and find a sock full of treats waiting for me. I'm sure this pleased my mother, as it gave her some extra sleep while I pillaged the stocking goodies.

Cozy fairy beds - Nichola Battilana

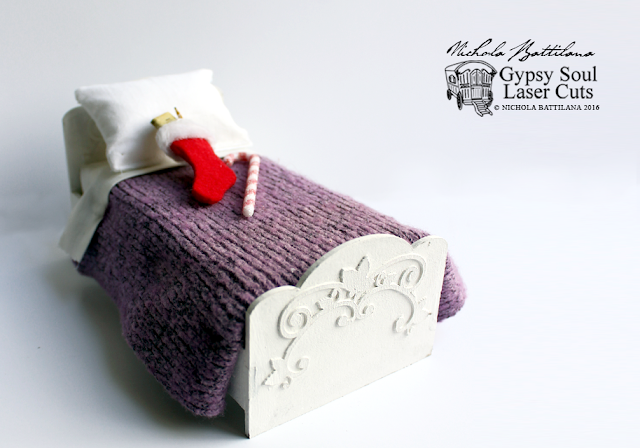
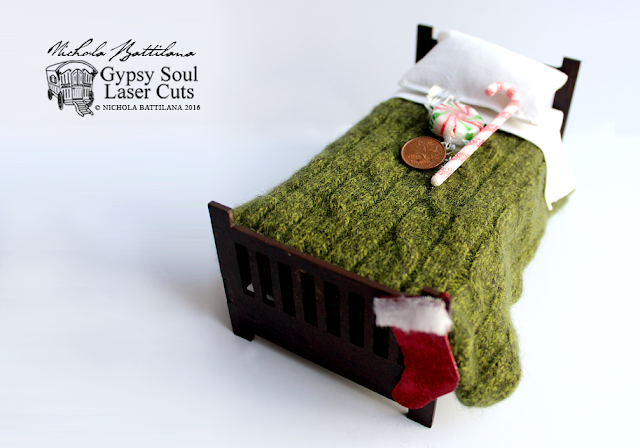
I am CERTAIN that fairies celebrate Christmas too. (In fact, fairies love celebrating so much, I'm sure that they partake in every possible holiday!) I wanted to give my fairies the same Christmas experience so, I've made my house fairies some little beds to get tucked into on Christmas eve. I've used a Gypsy Soul Mission Style Bed and a Standard Bed. I've added Leafy Corners to the Standard Bed as decorative accents. 

Cozy fairy beds - Nichola Battilana

The linens have been made from an old cotton pillowcase and the bedding is chopped from discarded sweaters. They are quite the cozy little things!

Cozy fairy beds - Nichola Battilana

I've also used the Christmas Shape Set to add a stocking to the end of the bed. I've dusted one with glitter and added a fuzzy trim... but if you want to get extra fancy, use the cutout as a template and cut 2 shapes out of felt. Glue the edge together and you'll have made a cute little stocking you can put the tiniest of treats inside!

Cozy fairy beds - Nichola Battilana

Now my fairies will be tucked safely into drawers and cupboards, no-so-patiently waiting for Santa's arrival. If you want to create your own wee beds, HERE is a video showing just how I put these cuties together.

Happy holidays to you and your fairy folk

Supplies
Acrylic paint
Glue
Styrofoam
Cotton fabric
Old sweater
Felt & fuzz (if making stocking)


Thursday, December 01, 2016

Day 1 - Zombie Ornaments

I had this ridiculous idea that I'd try to post a project a day, a sort of bloggy advent calendar for the month of December. I've got a good stockpile of projects here, so hopefully I can coax 24 blog posts for the month. Who knows if it'll happen but we'll give it a try, eh? ;) 

Some of the projects will be gifts. Some will be abandoned for strangers to spread some holiday cheer. And very few will be for sale if you want to gimme your pennies.

Let's get to business.... Zombie Ornaments!!!!!!

Zombie Ornaments - Nichola Battilana

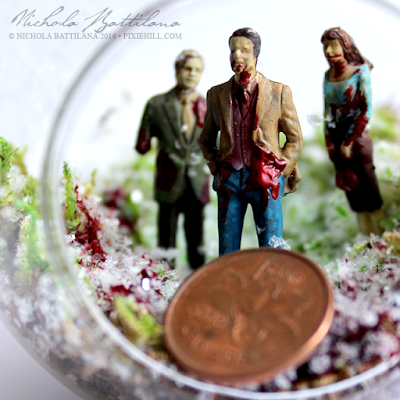
I did some miniature zombies not tooooo long ago, and so when someone mentioned their 'creepmas tree' these things had to happen.

Zombie Ornaments - Nichola Battilana

I mean, just because it's winter doesn't mean that there are no zombies right?

Zombie Ornaments - Nichola Battilana

I bet that there are even Christmas Day zombies!

Zombie Ornaments - Nichola Battilana

I made a VERY small batch of these. There are only 8 for sale and I won't be making more.

Zombie Ornaments - Nichola Battilana

If you require some Christmas Zombie magic HERE is the listing.


P.S. Love you loads and bunches! Hope you're having the BEST day.