Saturday, November 10, 2018

Pretty Pink Christmas Things

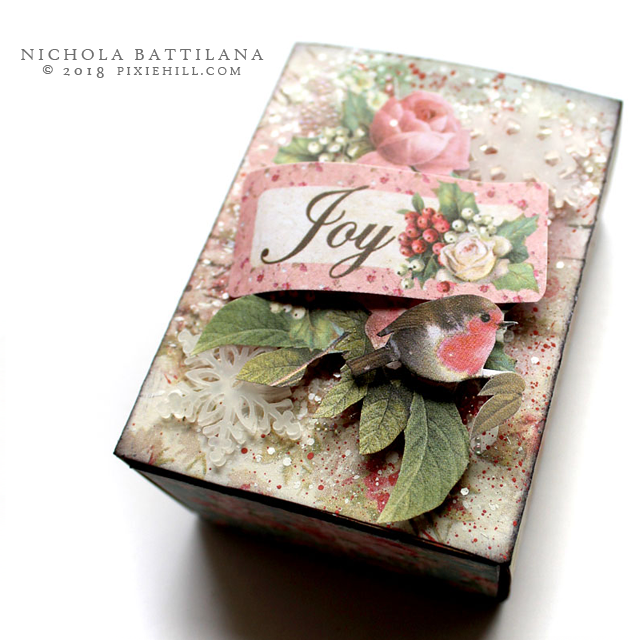
A few years ago I would have laughed if you told me I'd be all about pink Christmas. This year I'm all about the pink Christmas.

AlphaStamps.net Pretty Pink Christmas - Nichola Battilana

I've used two paper collections: Pink Christmas 12x12 Paper Pad and Christmas Vintage 12x12 Paper Pad for the following projects and I'm loving the way they work together.
AlphaStamps.net Pretty Pink Christmas - Nichola Battilana

Add some faux snow and a Gold Dresden Christmas Tree swoon!

AlphaStamps.net Pretty Pink Christmas - Nichola Battilana

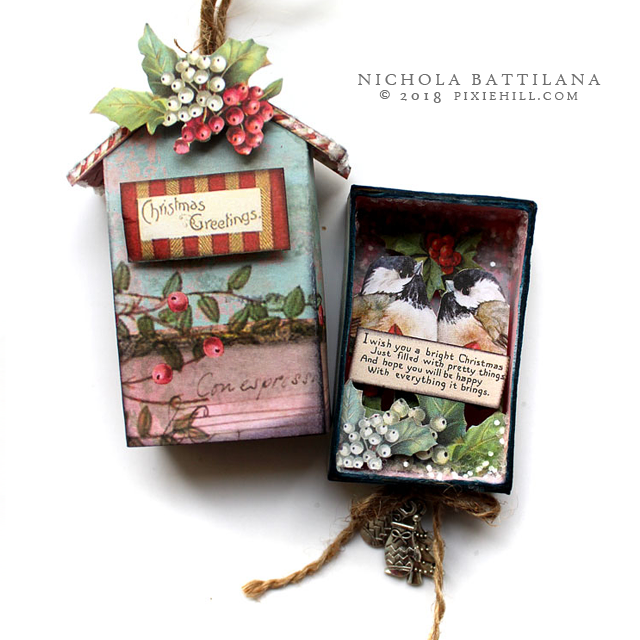
There was a quite a bit of fussy cutting involved in these projects, but the results are terribly sweet. Just look at this Peaked Roof Matchbox...

AlphaStamps.net Pretty Pink Christmas - Nichola Battilana

...and those little birds and inside. 

AlphaStamps.net Pretty Pink Christmas - Nichola Battilana

What a lovely holiday treat for someone nice.

AlphaStamps.net Pretty Pink Christmas - Nichola Battilana

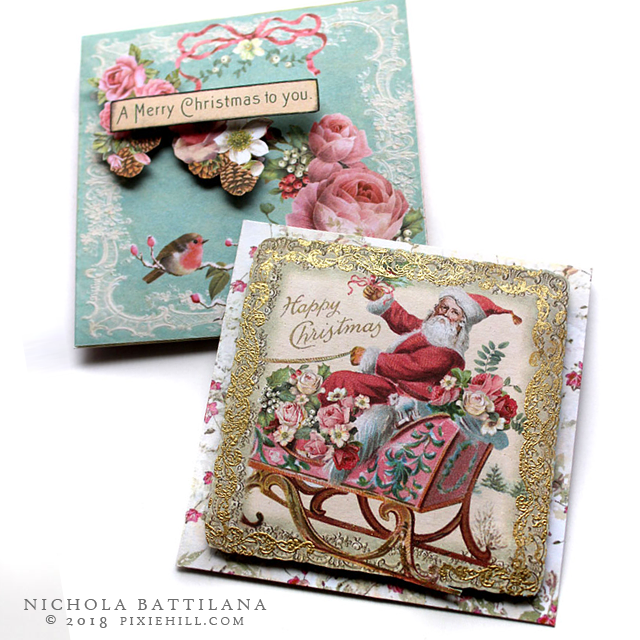
It's totally worth mentioning that the Pink Christmas 12x12 Paper Pad has a super cute tag, envelope, ephemera elements that come together really, really swiftly. 

AlphaStamps.net Pretty Pink Christmas - Nichola Battilana

I did some gold embossing around the edge of the vintage Santa image and it looks so authentically old timey. And while old envelopes probably would have been plain white, the envelope element is the perfect compliment. Swoon!

AlphaStamps.net Pretty Pink Christmas - Nichola Battilana

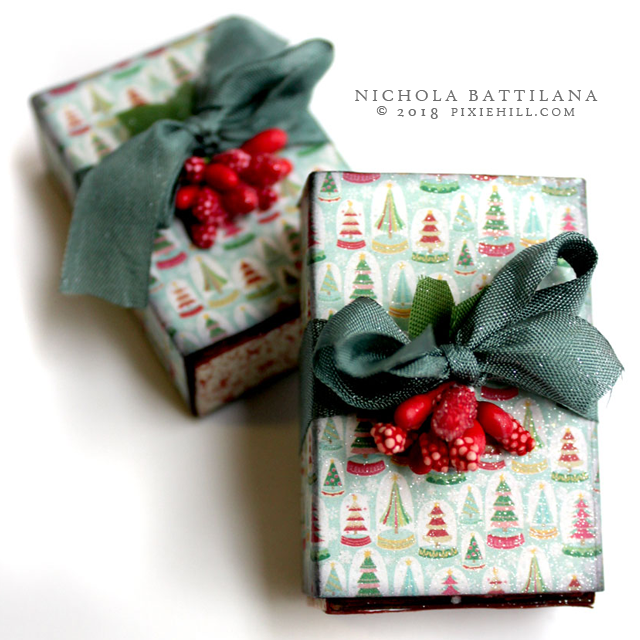
The final two pieces (yes there's more!) are more of a kitchy rather than antique vintage. Still totally cute though.

AlphaStamps.net Pretty Vintage Christmas - Nichola Battilana

Here I've used Jingle 6x6 Paper Pad and Tree Ornament Matchboxes. I'm thinking that i might pop these on top of presents instead of a standard bow. Afterall, what could be nicer than a gift topped with another wee surprise?!

AlphaStamps.net Pretty Vintage Christmas - Nichola Battilana

I usually start Christmas crafting in September so this is a very late start for me, but I gotta admit, I'm really enjoying it this year. It's far less work and much more pleasure this time around. I hope you're enjoying holiday creating too.

NOW, if you want to make your own slew of pretty pink Christmas things, here's the supply list:

Monday, October 29, 2018

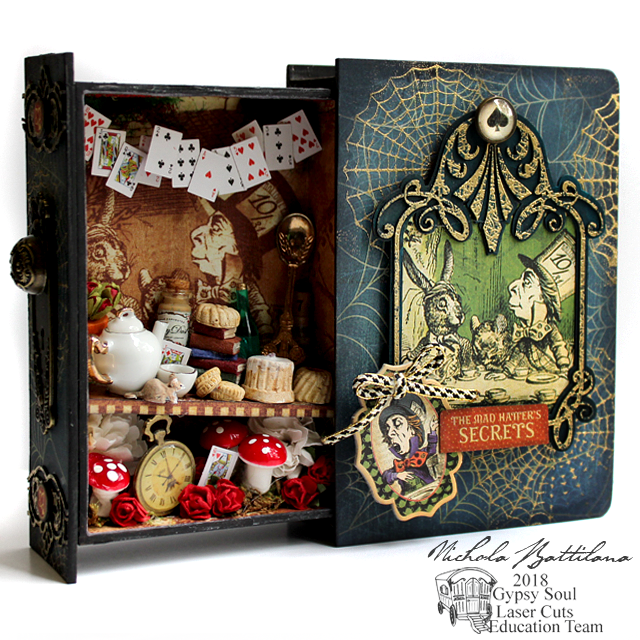
"The Mad Hatter's Secrets" Hidden Drawer Book Box with Tutorial

This is one of those projects that just kind of sprouted. All the supplies just kind of jumped up and shouted "ME! ME!". I'm glad they did because I'm smitten with this project.

Mad Hatters Secrets Hidden Drawer Book - Nichola Battilana


I've used the 6" Hidden Drawer Book Box as my base and then ran with the Mad Hatter theme from the Hallowe'en in Wonderland Deluxe Collectors Edition from Graphic 45.

I've repeated the cobweb theme of the scrapbook paper with a wed stamp and gold embossing powder.

Mad Hatters Secrets Hidden Drawer Book - Nichola Battilana

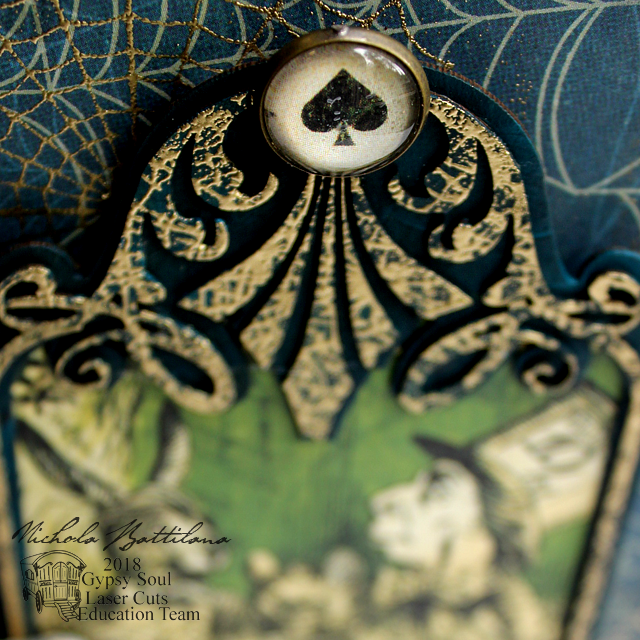
I used that same stamp, repeatedly, on a Layered Frame Aria then added a spade charm to the tippy top for some added interest.
Mad Hatters Secrets Hidden Drawer Book - Nichola Battilana

I used the same stamping and embossing technique for the top and bottom elements on the spine. I used a Deco Frame, then trimmed the elements I wanted to use.

Mad Hatters Secrets Hidden Drawer Book - Nichola Battilana

Also on the spine and cover, I've used more elements from Hallowe'en in Wonderland Deluxe Collectors Edition and added a Metal Door Plate and Knob.

Mad Hatters Secrets Hidden Drawer Book - Nichola Battilana

Inside, the Hatter's Tea Party! I really just sort went to town and filled the interior with suitable miniatures already in my stash including: a pocketwatch pendantminiature wine bottle, a dormouse, playing cards, cakes and cookies and more. 

Mad Hatters Secrets Hidden Drawer Book - Nichola Battilana

If you'd like to see the process of making this piece, take a gander over HERE for the video walkthrough.

And here is the list of supplies I used:
6" Hidden Drawer Book Box
Layered Frame Aria
Deco Frame
Web Stamp (available soon!)
Embossing powder
Acrylic paint
Hot glue and white glue
Foam squares
Bits and pieces for the interior

Saturday, October 27, 2018

AlphaStamps Spooky Hallowe'en Candy Dish

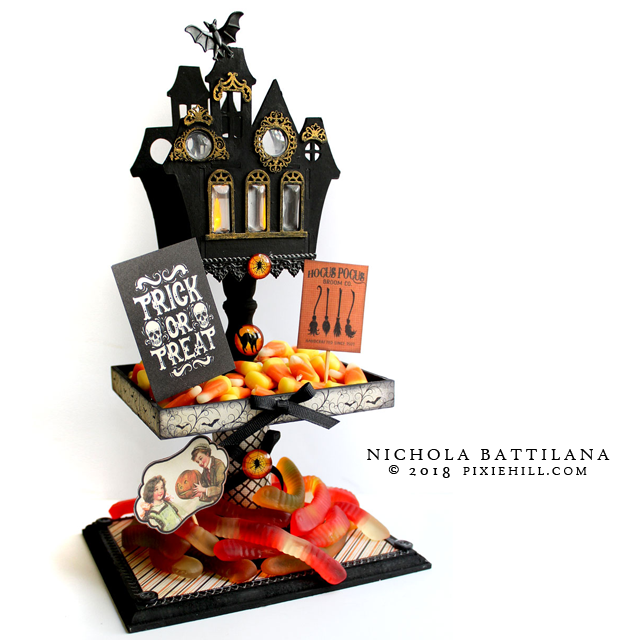
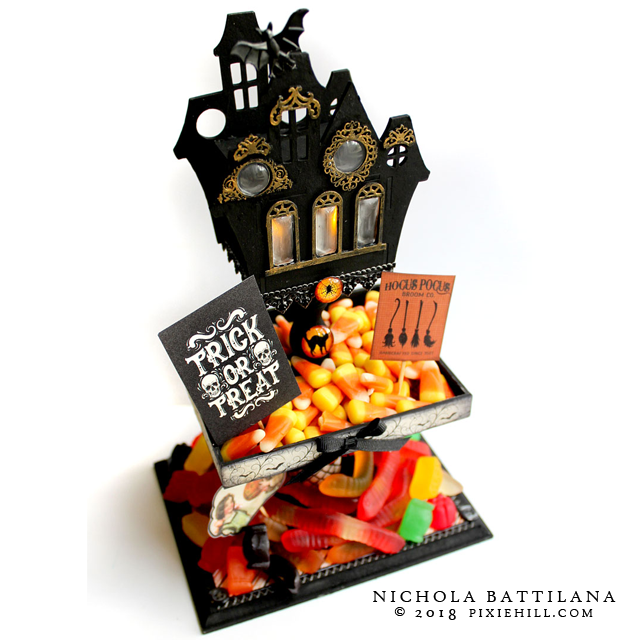
First of all, how cute is this candy dish?

AlphaStamps Spooky Candy Dish - Nichola Battilana

So cute, right?!

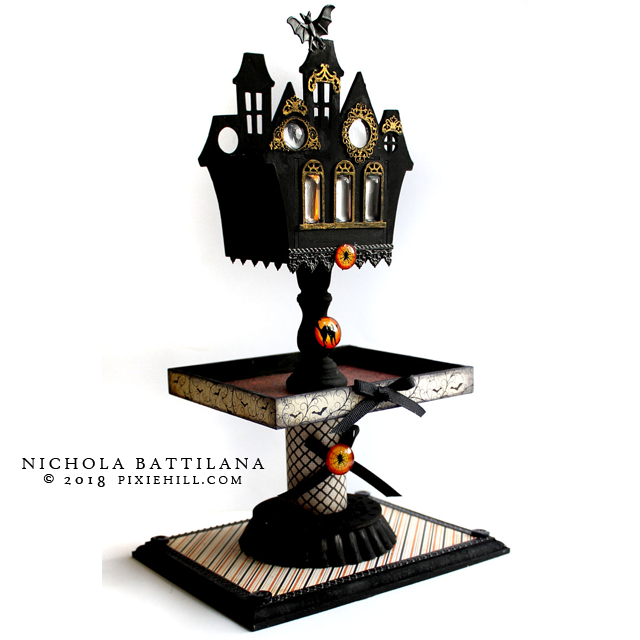
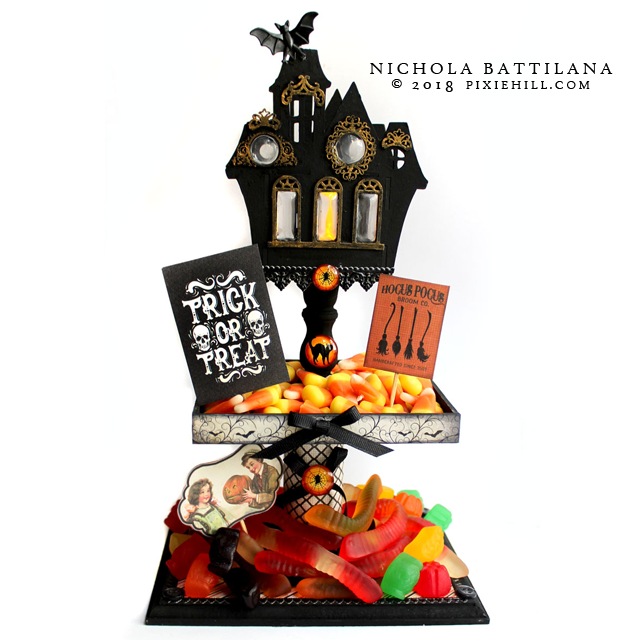
I made it using the Tealight Haunted House Kit with Base from AlphaStamps. Only I didn't use the base as a base, I used it upside down for something more important... candy corn (do not even try to debate me on the goodness of candy corn).

AlphaStamps Spooky Candy Dish - Nichola Battilana

Not only is this project cute, but came together pretty quickly. Quick, easy and cute = extra awesome in my books.

I didn't fiddle around with the house at all. I assembled it, added the window frames, applied a good coat of acrylic paint, then highlighted the frames in gold. To finish it off I added dresden trim, glass cabochon windows and wee plastic bat.

AlphaStamps Spooky Candy Dish - Nichola Battilana

What elements did I use for the rest of the piece? From bottom to top: wooden plaque, tart tin, child's building block, House Base3 Inch Tall Candlestick HolderTealight Haunted House

AlphaStamps Spooky Candy Dish - Nichola Battilana

Painting everything black and sticking with papers from the Nightfall 6x6 Paper Pad, everything comes together to create a cohesive look.

AlphaStamps Spooky Candy Dish - Nichola Battilana

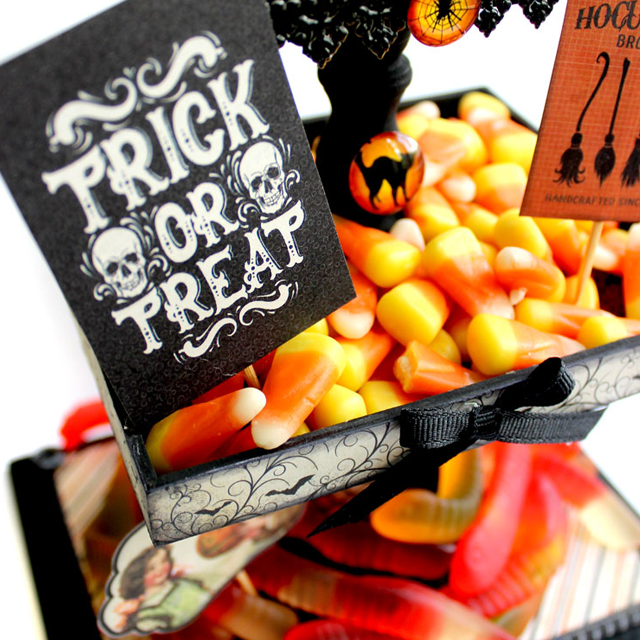
A few cute black ribbon bows, spooky cabochon, trim. I also created some little signs by gluing toothpicks to the sentiments snipped from the  Nightfall Pad as a finishing touch, but I was told candy is the best finishing touch.

AlphaStamps Spooky Candy Dish - Nichola Battilana

Ready to make your own? 


And here is the list of goodies:
10x25mm Mini Glass Rectangular Cabochon
14mm Round Glass Cabochons
18mm Round Glass Cabochons
Rectangular Frames for 10x25mm Cabs
Round Frames for 14mm Cabs
Black Cat Glass Cabochon - 18mm
Spider Web Glass Cabochon - 18mmSpider Web Glass Cabochon - 14mm
Nightfall 6x6 Paper Pad
Black Dresden Border Sampler Set 

Wooden plaque
Building blocks
Ribbon
Toothpicks
Glue
Acrylic paint
Plastic bat
CANDY!!!!

Thursday, October 25, 2018

Altoid Tin Altars #G45DarkSide

I was so excited to see this months Graphic 45 challenge: #G45DarkSide. This was just the prompt I needed to get to business on a project I’ve been thinking about for a long while.

Portable Altoid Tin Altar #G45DarkSide - Nichola Battilana

I’m a big fan of altering altoid tins. You can create these tins to hold just about anything. Create a fancy little sewing kit. Keep one in your car filled with emergency bits and bobs. You can fit a surprising amount in those little tins.

Portable Altoid Tin Altar #G45DarkSide - Nichola Battilana

I’ve created two #G45DarkSide tins here. One tin pairs papers from Communique—Deluxe Collector's Edition with brass Staples Decorative Hardware.

Portable Altoid Tin Altar #G45DarkSide - Nichola Battilana

Portable Altoid Tin Altar #G45DarkSide - Nichola Battilana

The other uses Floral Shoppe with shabby chic Staples Decorative Hardware

The tins contain a sort of storage space which, if careful, can fit a surprising amount of goodies!
Portable Altoid Tin Altar #G45DarkSide - Nichola Battilana

All of the items above fit comfortably in that trap-door space.

Portable Altoid Tin Altar #G45DarkSide - Nichola Battilana

My tins will be used as tiny portable travel altars. Each contains matches, a vile of herbs, incense, candles, gemstones, a tiny crystal ball, vessels for libations and offerings, magnetic images and more!

Portable Altoid Tin Altar #G45DarkSide - Nichola Battilana

But if altars aren’t your thing… no worries! The video tutorial I’ve created demonstrates how to cover an altoid style tin and create the trapdoor element inside. So take those instructions to create something that suits YOU.

Portable Altoid Tin Altar #G45DarkSide - Nichola Battilana

I'm smitten with my little altars but I totally encourage you to take this idea and run with it, making something filled with little things useful or treasured by you.

Supply List:

Antique Brass Metal Clock Keys
Antique Brass Ornate Metal Keys
Antique Brass Ornate Metal Key Holes
Shabby Chic Ornate Metal Key Holes
Antique Brass Stamped Metal Brads
Shabby Chic Ornate Metal Brads
Floral Shoppe
Communique—Deluxe Collector's Edition
Couture - Fabulous

Cardboard
Charms
Small wooden blocks
Glue
Black ink pad
Altoid style tin
Bits and bobs to fill your tin

Monday, October 22, 2018

Hallowe'en in Wonderland Nonsense Clock #G45DarkSide

The challenge this month over at Graphic 45 is to create a project using a dark colour pallet. I did create another project, which I can't show off just yet, but I couldn't help but make another with the #G45DarkSide theme when Hallowe'en in Wonderland arrived in the mail.

Hallowe'en in Wonderland Clock #G45DarkSide Nichola Battilana

I've used a chipboard Grandfather Clock 1:12 from gslcuts.com as the base. It measures just 7.5" tall but if you're not comfortable with that tiny scale, there is a larger 11" version available too.

Hallowe'en in Wonderland Clock #G45DarkSide Nichola Battilana

I toyed with the idea of putting a working watch face in the top of the clock, but opted for an antique metal clock key with the stem chopped off, and an ornate metal key hole with the top and bottom loops snipped off to fit. There are some brass stamped metal brads there too. I've snuck a Tim Holtz clock key from my stash on the top.

Hallowe'en in Wonderland Clock #G45DarkSide Nichola Battilana

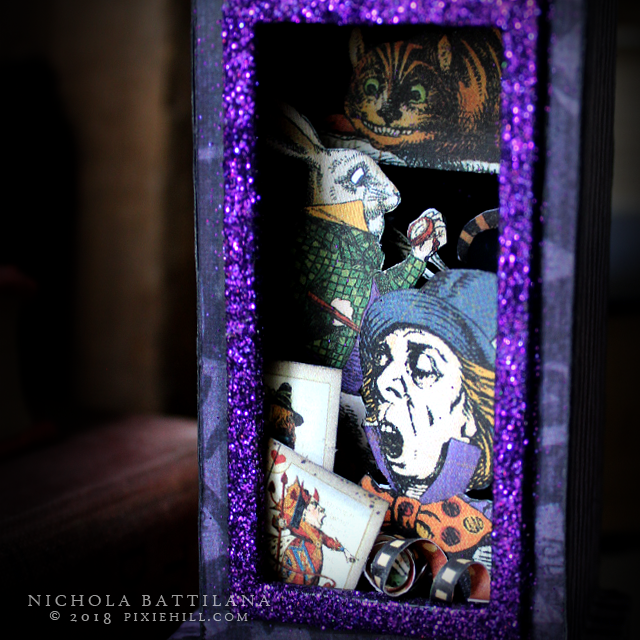
The bottom area, where there would normally be the clockwork pendulum, all of the characters have jumped in and are doing their thing. The Queen is shouting, the Hatter is spouting nonsense, Rabbit is checking the time, and the Cheshire cat is smiling.

Hallowe'en in Wonderland Clock #G45DarkSide Nichola Battilana

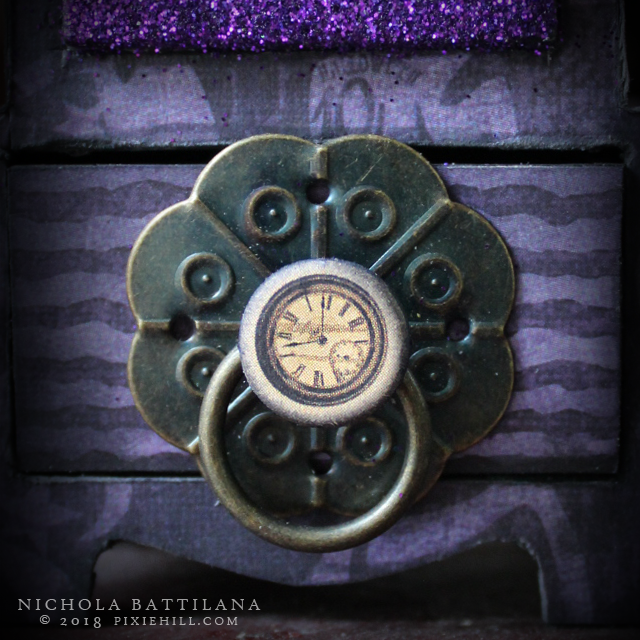
The bottom The little drawer at the bottom (which I have thoughtfully accidentally glued shut) has a brass pull and a little chippy accent from Hallowe'en in Wonderland.

Hallowe'en in Wonderland Clock #G45DarkSide Nichola Battilana

A bit of glitter, fussy cutting and curls and my clock is done! And because Alice is all about nonsense, and what could make more sense than a clock that doesn't actually tell time and with a drawer that doesn't open?!

Hallowe'en in Wonderland Clock #G45DarkSide Nichola Battilana

Want to make your own? Here's the bits and pieces list:

Hallowe'en in Wonderland Deluxe Collectors Edition
Grandfather Clock 1:12
Antique Metal Clock Keys
Tim Holtz Clock Key
Brass Drawer Pull
Glue
Acrylic Paint
Glitter


Tuesday, October 16, 2018

Butterflies, Specimens and Inspiration

There was a butterfly exhibit at the Natural History Museum wrapping a few days after I landed in the UK. So, I jumped on a train and travelled across the country to the big city. I literally made it just a few hours before the exhibit closed.


The exhibit was in an exterior tent and it was all sorts of magic walking through the fluttering winged things.

Inside the museum there were loads of old school specimens.


Did you know that there are no real Dodo specimens? None! Not a single one! Every Dodo bird specimen found in museums is a reproduction.

But, what I really want to show you is this...


This Victorian display stands over 6ft tall and contains over 100 hummingbird specimens. It looks like chaos in photos, but in person it is absolutely amazing. I was trying to find additional information on this piece and it seems it's history is a bit of mystery. I think that adds to it's appeal.

Inspired by my visit to the Natural History Museum I've made a little butterfly "specimen" display.


I've used an inexpensive cubby box as a base and covered it with papers from Steampunk Debutante.


The butterflies are fussy cut from Butterfly Specifics from Olde Curiosity Shoppe.


I've added some small metal feet, Antique Brass Stamped Metal Brads, and an Antique Metal Door Pull to finish it off.


I have so many other interesting and inspiring things to share with you that you're going to be sick to death of me! But first I've got to get back to gluing stuff to other stuff and splashing paint on things.


Waiting for the train to London. Fun fact: you cannot get cream for your coffee in England! You can have your fill of milk, but delicious thick cream for your black gold is a rare treasure. I was gasping for a creamy cup of joe when I returned.


Wednesday, October 10, 2018

Five Halloween Mini Shrines

Before I jetted off across the pond I was playing with these 5 Halloween mini shrines from AlphaStamps.


I went a little mad scientist and used a few different techniques on the wee things.


I used everything from a simple crackle glue finish (instructions here) to a glitter smothered facade.


The Cat on Pumpkin Mini Shrine was painted in a vintage halloween style, and the Big Cat Mini Shrine was turned into into a toothy monster.


I think that both the simple finishes and painterly pieces look spookadellic and despite not being completely matchy-poo look well grouped together.


Note: that nose? A lump of paperclay applied and dried to the chipboard before painting.

Want to create your own mashed up collection of halloween goodies? Here's a list of all the bits I used:

Halloween Countdown Kit - September 2018
Cat on Pumpkin Mini Shrine
Raven October Mini Shrine
Haunted House Mini Shrine
Big Cat Mini Shrine
Cat in Moon Mini Shrine
Spooky Boo Scrapbook Paper - Eek
Spooky Boo Scrapbook Paper - Speech Bubbles
Vintage Halloween Pumpkin Time Scrapbook Paper
Vintage Halloween 2x2 Number Squares Scrapbook Paper
Pumpkin Pods
Mini Halloween Costumes Collage Sheet
Tinsel
Creative Paperclay
Glitter
Glue
Acrylic Paint
Fake Teeth
Moss


Let the Happy Haunting begin!