Grrrr... moan.... BRAINS.... uugghhh!
I feel like I totally missed Halloween last year, so I'm really digging all the spooky stuff from Alpha Stamps over the past couple of months. I know that creepy isn't for everyone... but I love to get ghoulish!
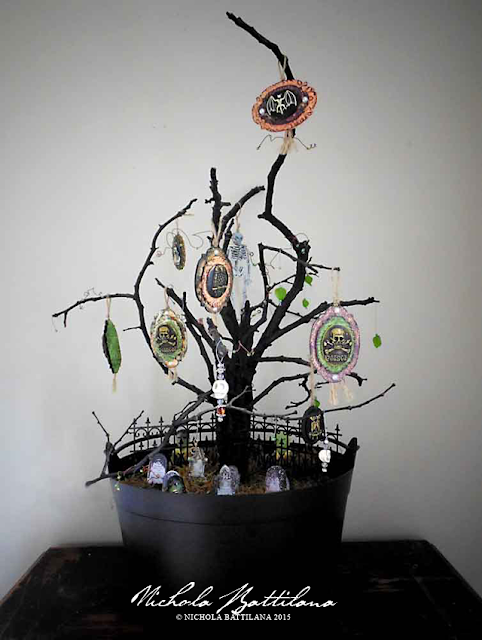
I've wanted a Halloween tree for some time and I decided to finally make myself one to hold all my tiny terrifying trinkets and charms.
Let me just say that big things are a pain to photograph. This actually looks pretty dang magnificent on my dining room table with all those spindly branches poking this way and that. Unfortunately, those same spindly branches don't translate well in a single image. (Poo!)
ANYWAY, I created the tree by binding several branches together with wire, then spray painting the whole kaboole in matte black. The 'tree' sits in a cauldron with zombie infested cemetery scene using pieces from the August Cemetery Kit.
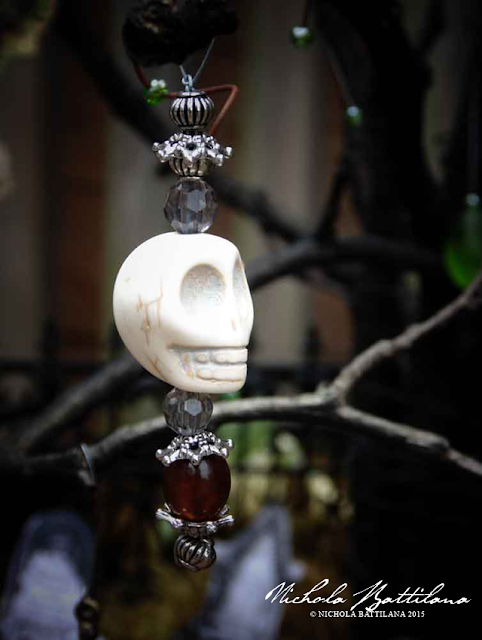
On the branches of the tree I've created some little ornaments, stringing together beads and gruesome things like this Large White Turquoise Skull Bead.
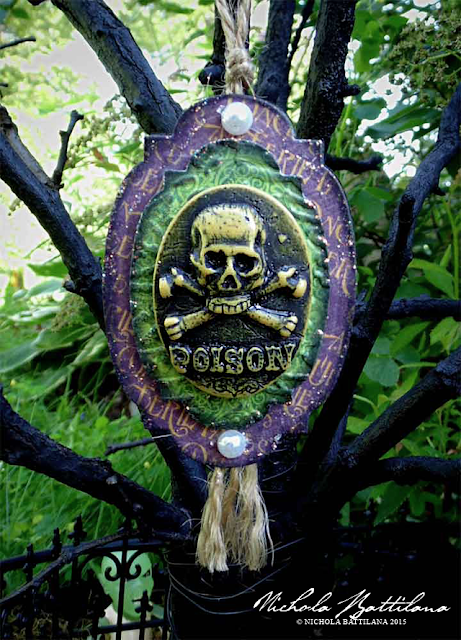
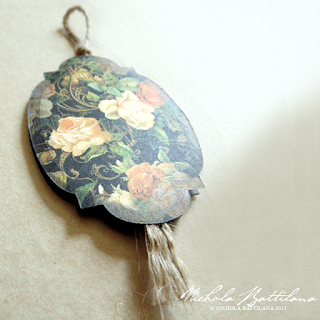
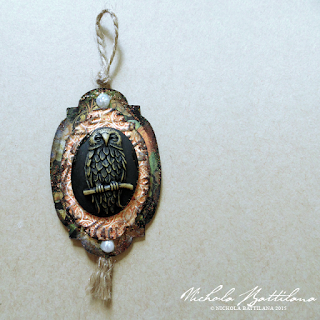
I also created a bunch of simple paper ornaments and to show off some spooky doodads like this Halloween Poison Cameo.
Want to make your own? Here's how:
1. Cut two large shapes and one smaller shape.
I've used Tim Holtz Thinlits Mini Labels Die Set
and cut pieces from Graphic 45's An Eerie Tale 8x8 Paper Pad
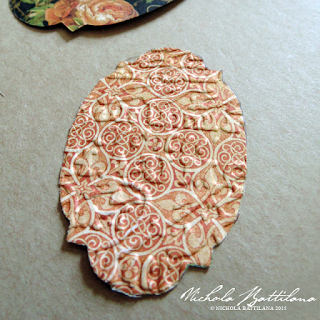
2. Add some texture to the smaller piece with an embossing folder.
3. Ink the edges and raised embossed areas with an old stamp pad.
4. Apply some foam squares to the piece like so and
add a loop of jute twine for hanging.
5. Affix the two large pieces together with the twine
sandwiched between the layers.
6. Apply the smaller shape on top.
7. Add some decorative elements like Cream Adhesive Pearls and a focus piece such as this Halloween Owl Cameo*
8. For one last finishing touch, apply a bit of sparkle with some Diamond Stickles
These ornaments are simple to make and could be altered to fit any occasion. Prepare the pieces ahead of time and they'd be a great project for even the littlest 'helper' to assist in making them.
Here's all the doods and dads for making the bits in this post:
THE HALLOWEEN TREE
August 2015 - Cemetery KitMini Black Wrought Iron Fence
Zombie Finger Puppets
Sheet Moss*
large plastic cauldron
branches
wire
black matte spray paint
PAPER ORNAMENTS
Diamond Stickles Cream Adhesive Pearls
Halloween Owl Cameo*
Tim Holtz - Embossing Folders - Eiffel Tower & French Script Set
Tim Holtz Thinlits Mini Labels Die Set
An Eerie Tale 8x8 Paper Pad
adhesive foam squares
jute twine


