Saturday, December 20, 2014

Upcycled Yule Luminary for Tresors de Luxe

Tomorrow is Yule and the official kick off to my family's holiday festivities. In the Northern hemisphere this date marks the first day of winter, and the return of the sun. Our days begin to lengthen, light takes over darkness, and we celebrate with food, drink, fire, laughter and light.

Upcycled Jar Yule Luminary - Nichola Battilana

I spied some pretty luminaries on pinterest and thought they'd be a perfect addition to our celebrations. Remember that winter womderland jar I posted this week? This is its kin. I've upcycled this one into a lantern. It can be filled with a candle or (for those especially safety conscience) a string of holiday lights. 

**NOTE: If using a candle, your lid must remain OFF while the candle is lit**

Upcycled Jar Yule Luminary - Nichola Battilana

I podged some light tissue paper on the outside of my jar to give it a softer 'glow'. I applied some White Venice Bridal Lace Trim LA-050 around the top. I've used a Tresors de Luxe lace with a triangular pattern, a little reminiscent of Christmas Trees around the base.

Gussy up the lid and you have a beautiful holiday luminary, perfect for any celebration :)

Wednesday, December 17, 2014

Regifted Christmas Jar

Last year I received a number of these jars filled with candy. The candy is long gone but the jars are still kicking about my kitchen. When Alpha Stamps announced their House Ornament Kit for December I thought I'd create a fun little wonderland to re-gift the jar.


The wide mouth of the jar made it easy to slip over the contents. There's quite a bit going on in there! Bottle brush trees, a house, Santa... there's even a snowman tucked in the side :)


Note: How the heck have I been missing out on Stickles? Glitter that stays put?!?! I have a feeling you'll be seeing a lot more projects using that glorious stuff from me.


Anyway, this may not be the most sophisticated project. But it sure was fun to make and I don't think the recipient will mind the 'regifting' one bit.

Supplies:
Large mouth glass jar
House Ornament Kit

Glitter Houses Add-On Kit
White glitter
Buttons

Tuesday, December 16, 2014

Time to Flourish Calendar box with Graphic 45

Graphic 45 is posting an absolute extravaganza of tutorials and gift ideas for the holidays on their blog. This week it's calendars, and today you'll find this calendar box that I created with Time to Flourish.
This calendar box is deceptively easy to create. I simply combined matching monthly elements from the Time to Floruish 8” pad and embellished with tags, stickers and chipboard. 
Graphic 45 Time to Flourish Calendar by Nichola Battilana
You can be as elaborate or simple as you please with your embellishments. 
Graphic 45 Time to Flourish Calendar by Nichola Battilana

The mixed media box is decorated with papers from Raining Cats and Dogs but any neutral papers from Graphic 45 could be used in their place.

Graphic 45 Time to Flourish Calendar by Nichola Battilana

Graphic 45 Time to Flourish Calendar by Nichola Battilana

Graphic 45 Time to Flourish Calendar by Nichola Battilana


Supply List


To make your own follow this Snapguide Tutorial
Graphic 45 Time to Flourish Calendar by Nichola Battilana

Monday, December 15, 2014

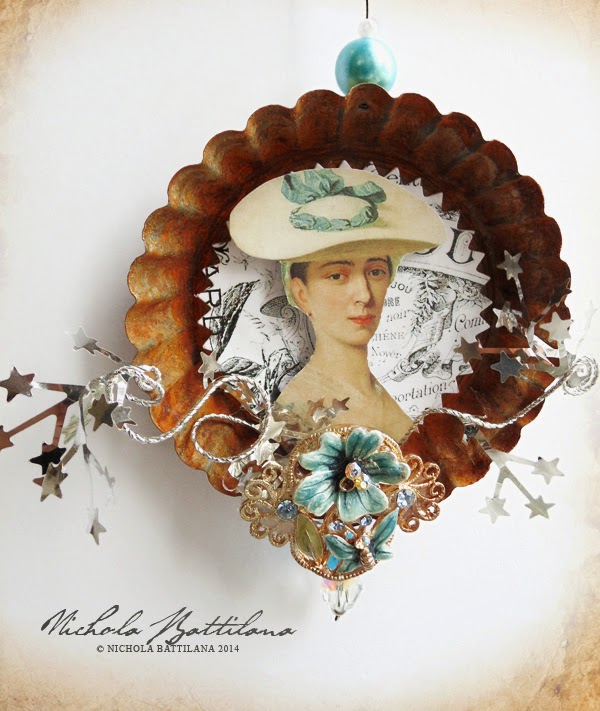
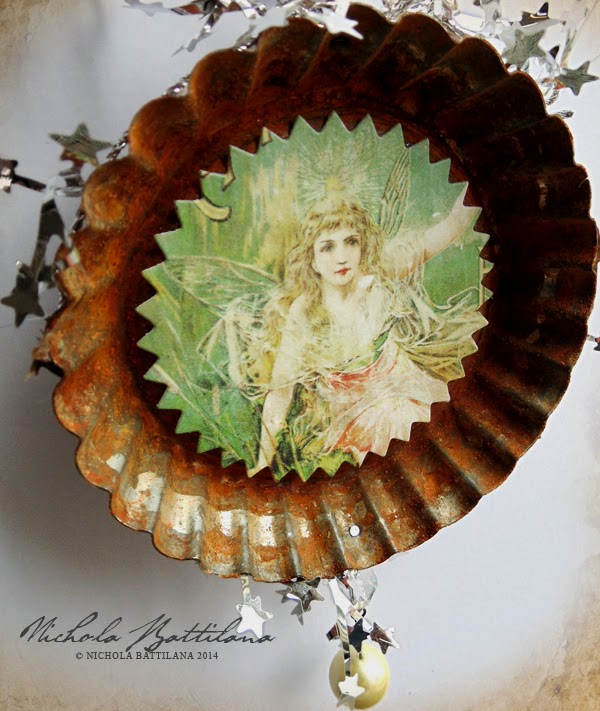
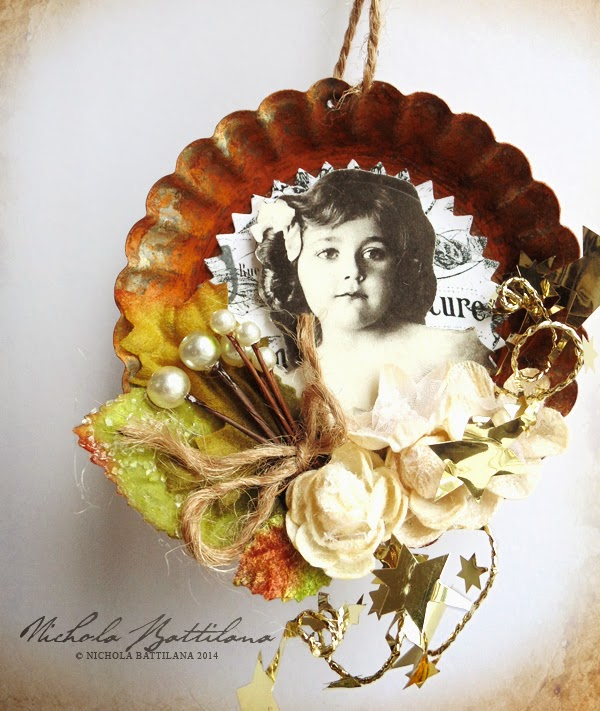
Altered rusty tart tins

I stayed up very late and completed a slew of the rusty altered tins I've been working on. The caption link will go to the etsy listing for each tin.

Altered tart tin - Nichola Battilana of Pixie Hill
Altered Tart Tin - A rusty hanging thing-a-ma-bob

Altered tart tin - Nichola Battilana of Pixie Hill
Altered Tart Tin - A rusty hanging thing-a-ma-bob

Altered tart tin - Nichola Battilana of Pixie Hill
Altered Tart Tin - A rusty hanging thing-a-ma-bob

Altered tart tin - Nichola Battilana of Pixie Hill
Altered Tart Tin - A rusty hanging thing-a-ma-bob 

Altered tart tin - Nichola Battilana of Pixie Hill
Altered Tart Tin - A rusty hanging thing-a-ma-bob

Altered tart tin - Nichola Battilana of Pixie Hill
Altered Tart Tin - A rusty hanging thing-a-ma-bob

I'm really pleased with how these came out and think I'll need to pick up a whole whack of little tins next time I see them at the grocery shop :)

Friday, December 12, 2014

And the crowniness continues

STILL on my crown kick... and these won't be the last :P They really are a joy to make.


Again I've used the A Gilded Life - Petite Monarch Crown Long Die to create the pointy cut bit. If you're attempting to make your own with this die and having problems like tearing, try these Double Dot Vintage papers. These seem to work particularly well.

Above I've embellished with Petaloo Botanica blooms and a length of Star Tinsel


And the second head topper with a big vintage brooch and some large star tinsel I spied in the holiday aisle of my grocery store!

Thursday, December 11, 2014

Paper present toppers with Petaloo & Graphic 45

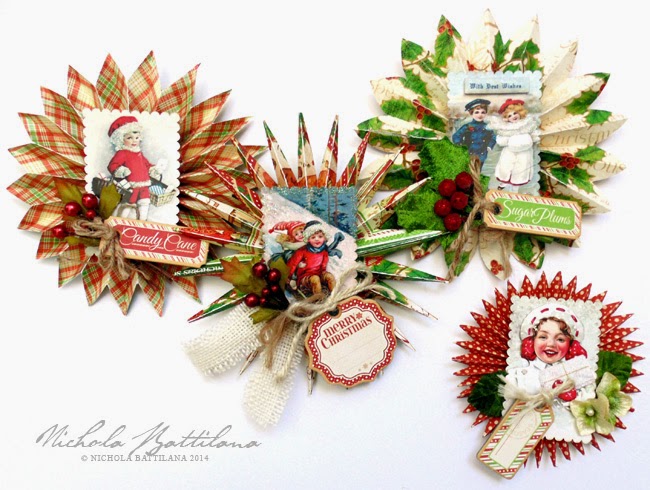
I've created this little set of doo-dads with Graphic 45's Twas the Night Before Christmas and Petaloo's "Victorian Children" Vintage Dazzlers. They would look adorable with a bit of string as ornaments, but I will be using these to embellish my holiday gift wrap.

Paper rosette present toppers - Nichola Battilana

Making these was oh so simple too! Simply cut narrow lengths of paper and acordian fold them. Fan them out to create the round shape, using hot glue to hold in place. For the 'star' effect I simply clipped a folded corner on an angle... as you would a paper snowflake.

Paper rosette present toppers - Nichola Battilana

A Graphic 45 tag, a Botanica Berry cluster and a Burlap Trim bow and it's ready to gussy up a gift!

Paper rosette present toppers - Nichola Battilana

While it's fun to add a bazillion blooms to projects, sometimes just one or two little flowers is all you need.

Paper rosette present toppers - Nichola Battilana

I really do like how cheery and festive these are and I think they'll be a big hit with the people on my holiday list :)

Chantilly-VelvHydrangeas 1272Burlap Trims 1483Berry Clusters - 1104
Vintage Dazzlers - Victorian Children 1420-112
Graphic 45's Twas the Night Before Christmas
Twas the Night Before Christmas Chipboard Tags

Be sure to check out all of the great projects on the petaloo blog

Wednesday, December 10, 2014

GUMDROPS!

Very quick post because I made gumdrops today and was so thrilled with them I made a second batch.

I saw THIS recipe for gumdrops on pinterest ages ago and wanted to give it a try. It didn't make the holiday treat list last year but this year I made it a priority.


You can hop over to the Bakerella post for the recipe but here are a few 'tips' that you may find helpful.

1. Use a bigger pot than you think you'll need. The mixture bubbles up when cooking. I was THIS CLOSE to boiling over a couple of times. Thank the kitchen gods that did not happen.

2. I lined my containers with plastic wrap. I think it helped contain the mess and made removing the jelly easier. This stuff is STICKY.

3. Sugar coat everything. Did I mention this stuff is STICKY? I spread a layer of sugar on top of the jelly before cutting. I cut the jelly into slices then pulled the slice away from the plastic wrap and immediately put the jelly strip in sugar to coat it. Then I cut the strip into squares and coated in sugar again. I also sprinkled my final surface with sugar. You will use a lot of sugar.


4. If you prefer stronger flavours add more extract. I messed up and added twice as much flavouring as called for... it wasn't over powering at all.

Can not wait to gobble these up :)