Friday, January 08, 2016

Mashed up update post

I have not fallen off the face of the earth.

I've been napping, and relaxing and clearing away the Christmas hub-bub. I've been tidying my studio (ha!) and basically farting around and taking it easy. Totally unlike me but I think it has de-stressed me so much that I might actually avoid my usual post-Christmas 'oh-my-god-kill-me-now' sickness!

Anyway... today is Mr. Pixie's birthday and marks the last of the holiday celebrations in our house. Feeling fine and dandy (knock on wood) I'll be back to being a crafting machine next week.

Two little side notes:

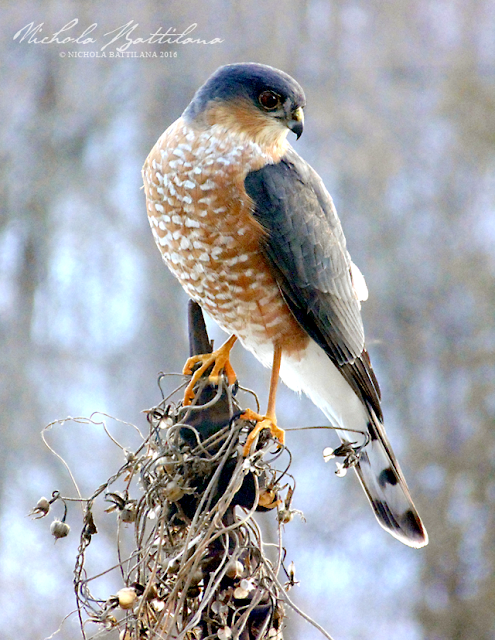
This guy showed up on my deck yesterday.

Sharp Shinned Hawk - Nichola Battilana

He was pretty bold and watched me watching him from just a few feet away through the kitchen window. I admired him for a few minutes before running to grab my camera. He stayed put, just fluttering from spot to spot, and let me get a few shots in before taking off. He's a Sharp Shinned Hawk if you're interested in that sort of thing. 

Dark Eyed Junco - Nichola Battilana

He doesn't seem to have scared off the Dark-Eyed Juncos that hang around here every winter. They were still flying about, getting their fill of seed and bossing one another around. I'll have to keep my eye out though. As beautiful as that hawk is, I don't want to make those wee songbirds easy pickin's for him.

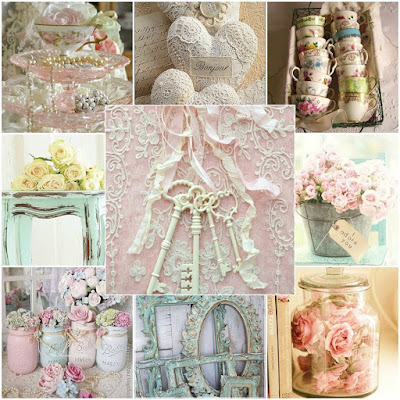
Lastly, my January kit from Tresors de Luxe arrived yesterday and I have a video reveal of the kit and review of the projects I created for them last month (see very bottom of this post for embedded vid). Tresors de Luxe is now selling the same Design Team Kits they provide their designers with if you want to play along. They have also introduced a monthly mood/inspiration board challenge with three prizes up for grabs. Here is this months board...

Tresors de Luxe Mood Board Challenge January


That's all for now. Hope 2016 is being kind to you!

Friday, January 01, 2016

Fairy Godmother Travelling Sales Wagon

There's a special place in my heart for fairy godmothers. Those fluttery, frilly, silly ladies make me positively giddy. I've often wondered where they get their godmotherly supplies from. Is there a shop? A fancy boutique? A traveling salesman!

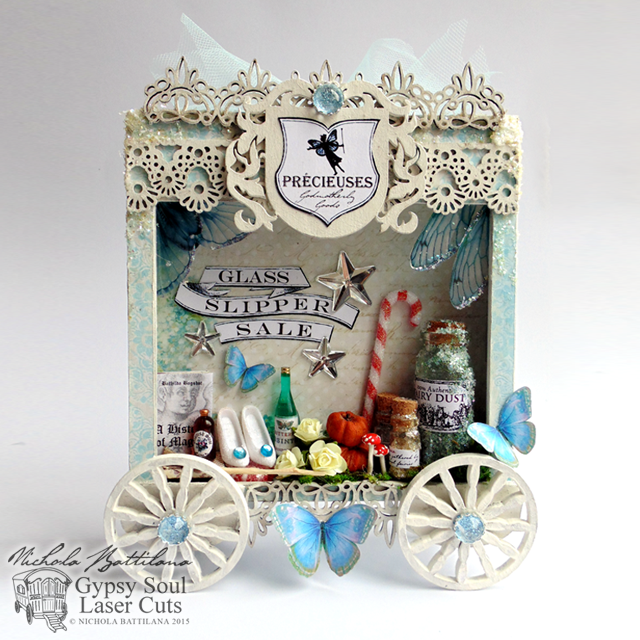
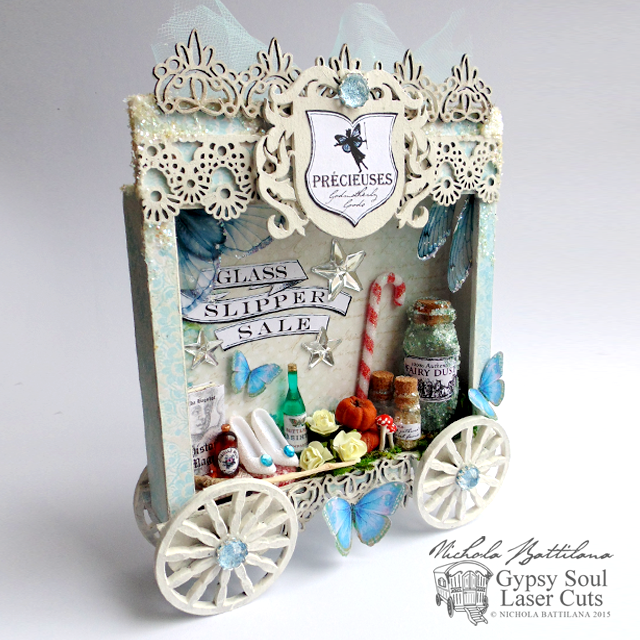
And so this month I've created a tiny traveling sales wagon for Gypsy Soul Laser Cuts with magical and glittery godmother paraphernalia.

Fairy Godmother Sales Wagon w/ Tutorial - Nichola Battilana

The base is a square shrine shadowbox to which I have added 1 inch Fancy Wheels Wheels. I've also added Floral and Lace border sticks for some flourish. A small chipboard crest heralds potential customers to the godmotherly goods.

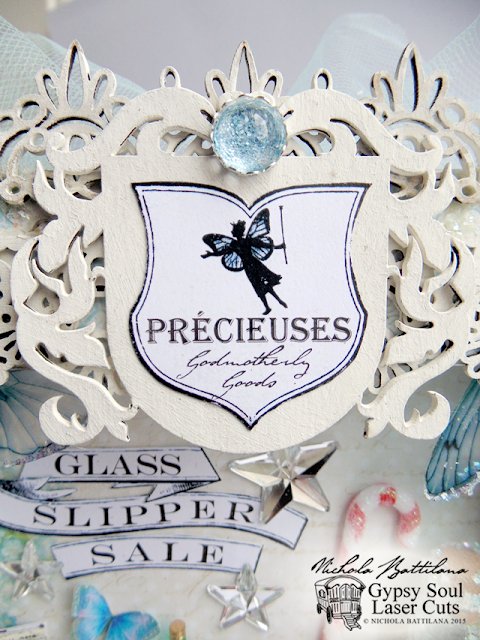
Fairy Godmother Sales Wagon w/ Tutorial - Nichola Battilana

The wee sign reads "PrĂ©ciosites", a term I came across when doing some godmotherly research. *It is a French literary style born from the lively conversations and playful word games of witty and educated intellectual ladies from 17th century France... they also happened to retell fairy tales. *according to the Wiki page anywho

Fairy Godmother Sales Wagon w/ Tutorial - Nichola Battilana

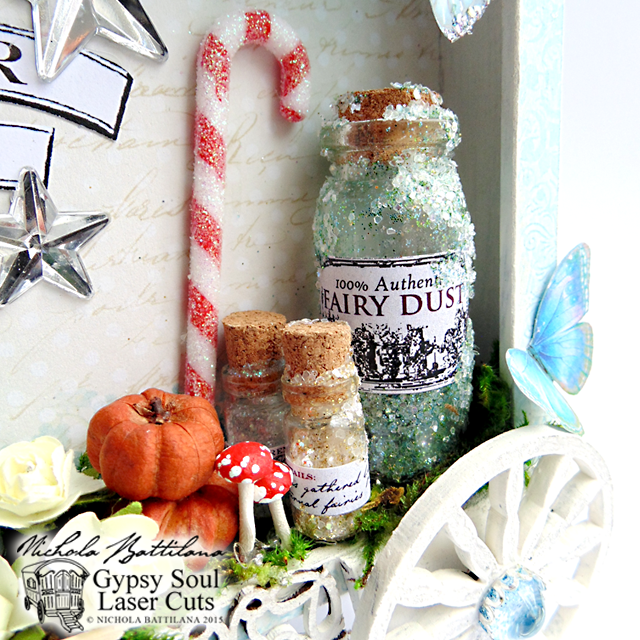
Inside the wagon, all manner of items required for godmotherly duties. Fairy dust, candy, pumpkins to turn into carriages.

Fairy Godmother Sales Wagon w/ Tutorial - Nichola Battilana

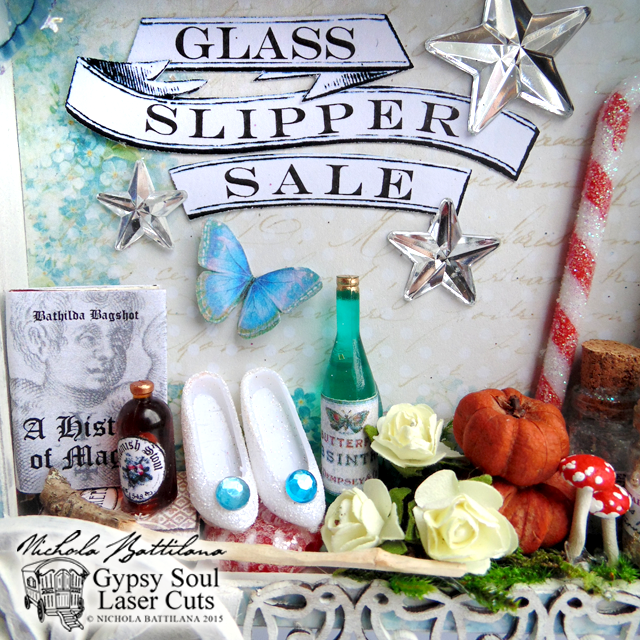
Absinthe and stout to whet the pallet, magical books, tiny sparkly shoes, wooden wands and wishing stars (and a few butterflies for good measure).

Fairy Godmother Sales Wagon w/ Tutorial - Nichola Battilana

If you'd like to create your own version of this wee travelling sales-fairy wagon, you can check out the video walk-through for this project HERE.

Don't limit yourself to Fairy Godmothers! If goblins are more up your ally, go for it! What about baby bits and bobs for a sweet shower gift? Really, you could pick any theme and make your very own unique version of this project.

Here are a list of supplies I used:

Square Shrine Shadowbox
1 inch Fancy Wheels
Floral and Lace border sticks
Mini Crest Sign

Scrapbook paper (I used Forget-Me-Not from Lemoncraft)
Misc Fairy Godmother Goods such as:
starsbottlesflowerspumpkinswingsfairy dust, wee books or whatever you can dream up!


Psst, here's a graphic you can use in your own piece.
For personal use only or I'll turn you into a toad ;)

Sunday, December 27, 2015

Safety First!

I've had this idea bandying about my head since I created "The Infirmary" this past summer. With all the mischief that wee folk get in to I am certain that a fairy first aid kit would be quite practical.

First Aid Kit for Fairy Emergencies - Nichola Battilana

And what would one find inside such a kit? This one has the bare essentials. Sterile bandage, pixie dust, wing tonic, sticky bandages and gauze. I'm sure that would do in a pinch and it packs neatly in these little tins.

First Aid Kit for Fairy Emergencies - Nichola Battilana

If your fairies are in need of their own first aid kit, I've included the labels used in a collage sheet chocked full of miniature labels: Little Household Goods.

Little Household Goods Collage Sheet - Nichola Battilana

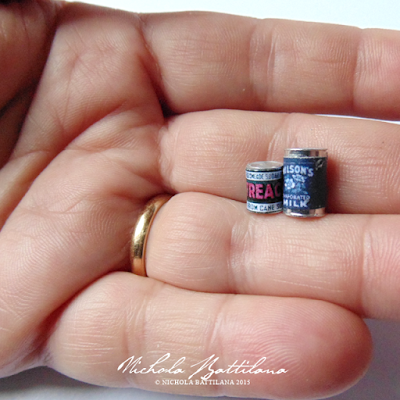
Above is just a sample of the labels included. The sheet includes all sorts of 'around the house' type labels including First Aid, Absinthe, chocolate, cookies, crackers, jam, a variety of fairy sized beer labels, soap, spices, food stuff, motor oil, tea, coffee and canned fruit, veg, treacle and more.

Little Household Goods Collage Sheet - Nichola Battilana

The Little Household Goods collage sheet includes labels that will fit the following wee things:
Old Fashioned Grocery Cans
Old Fashioned Grocery Rectangular Tins
Miniature Square Cookie Tins
Miniature Round Cookie Tins

Here's hoping you enjoy making your own fairy sized first aid kit... and that you never have cause to use it. Safety first!


Saturday, December 26, 2015

Boxing Day Treat Boxes for Tresors de Luxe

I'm writing this post on Christmas eve day. It's the calm before the storm, before the food, the gifts, the drinks and merry making. By the time you read this it'll be Boxing Day. I thought it might be appropriate to make some little take-away boxes. A frilly little vessel to tuck left over Christmas cookies in and send holiday guests on their merry way.


I've simply covered some small kraft boxes in music paper and lined them with tissue as my base. A top that,  White Lace Trim and White French Lace are added. Finally, some paper butterflies, baubles and a large satin flower finish them off.


Now fill those wee boxes with small treats made with love, to enjoy and make the season linger just a little longer.

Kraft paper boxes
Music paper
Embellishments
Tissue paper

Wednesday, December 23, 2015

In case of emergency...

I'm fairy certain I'm on the verge of a panic attack. 

It's been a week of small disasters and mischief. I am grateful there haven't been any huge mishaps around this wonky place... but those little missteps, combined with holiday craziness, have me on edge. 

I might have to call upon these two emergency fairies to help out.

Emergency Faeries - Nichola Battilana

You might ask why I don't keep these helper fairies out all the time if they are so great at lending a hand. The truth is that while they are mostly helpful... they are still fairies and therefore still mischievous. 

Don't worry, they can free themselves whenever they like (being magical and all that) but stay for the cake and jam they are regularly offered.

Monday, December 21, 2015

Shabby Winter Canvas for Tresors de Luxe

Today, a shabby altered canvas featuring Tresors de Luxe laces.


This piece is created on a canvas measuring 11" x 14". A layer of vintage papers and tea stained burlap was applied as a base and then a wide 4.75" White Lace Trim is added then a band of White Lace Trim with lovely dangly bits applied to the bottom.


The fabric flowers I've applied pair really well with the vintage image and provide a nice contrast to the texture of the lace and burlap. Plus, a little extra sparkle never did any harm.


A bit of extra glitter and some clear acrylic snowflakes finish off the canvas, while a bough of faux red berries adds a splash of colour and life.

Supplies:
White Lace Trim
White Lace Trim
fabric flowers

canvas
glue
glitter
white acrylic paint
tea
acrylic snowflakes
vintage image
faux berry bough

Sunday, December 20, 2015

Cherry Launds, Mr Pixie's Favourite Cookie

Mr. Pixie loves Christmas treats. There is talk of 'the cookie list' months in advance. One year was ridiculous and I made something like 20 different kinds of treats. One year I didn't make one of the 'staples' and I didn't hear the end of it until the following Christmas.

Mr. Pixie's very favourite are these thumb print cookies. In his granny's recipe book they were called Cherry Launds. Being given permission to copy from her handwritten recipe book was a big deal. She was known for omitting key ingredients when relaying recipes, ensuring that her version was superior.


Below you'll find Nonna's recipe. I'm sure at some point they were topped with a cherry (hence the name) but we've always filled them with homemade jam.

1/2 cup butter
1/4 cup white sugar
1 egg separated
1 cup flour
1 teaspoon vanilla
chopped nuts
jam

Cream together butter, sugar, egg yolk and vanilla until light and fluffy.

Stir in flour. Chill for 1/2 hour.

Shape dough into 1" balls.

Lightly whisk the egg white and dip the balls, then roll them in the chopped nuts. Place on a cookie sheet and press a dent in the middle with your thumb.

Bake at 350 for about 12 - 15 minutes.

Put jam in the dent. I wait until they are cooled to do this. The heat from the cookies may liquefy the jam and it can become runny/messy. Use whatever jam you like. The ones above have blueberry/strawberry and
raspberry, but I've used apricot too and it was totally delicious.

Now just gobble them up!