Showing posts with label chipboard. Show all posts

Thursday, November 29, 2018

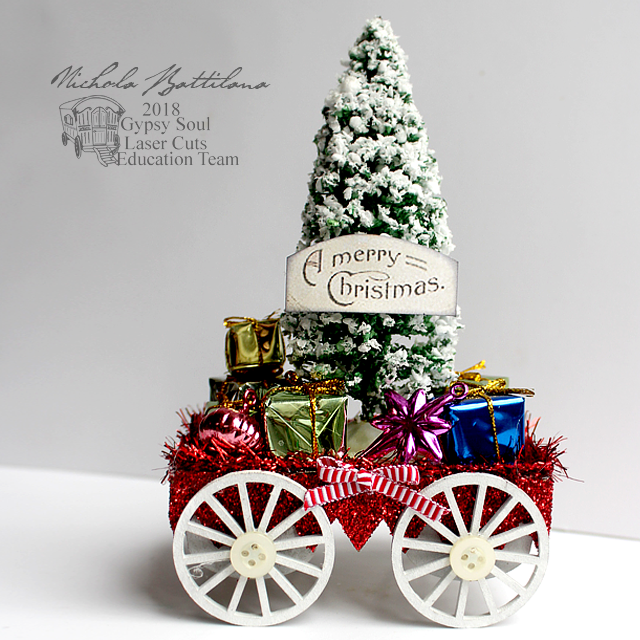
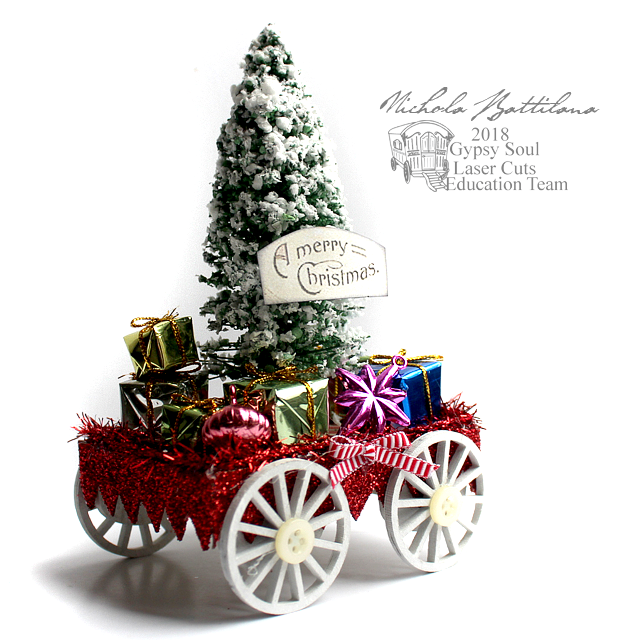
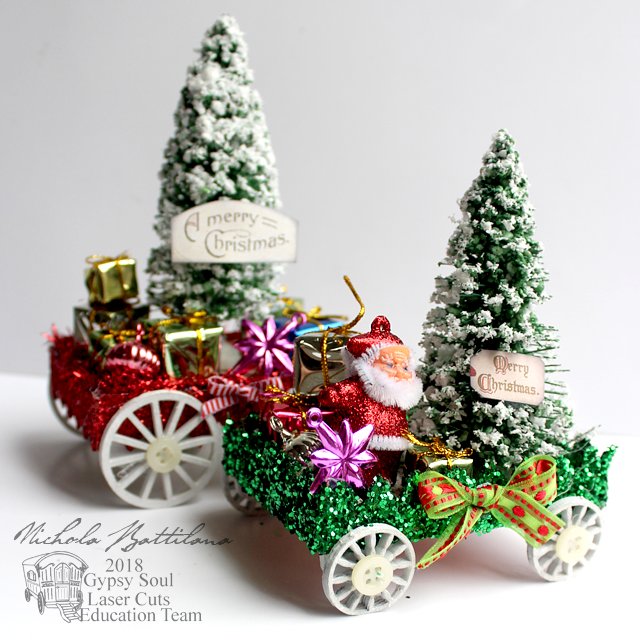
Jolly Little Christmas Floats with tutorial

My kid decided he was too old for trick-or-treating this year, but not too old for a Christmas parade. Before moving here I was never really into parades. Standing around in questionable weather? Nah, thanks. Discovering night parades swayed my grinchy mind. The lights! The magic! *swoon*

Little Christmas Floats - Nichola Battilana for gslcuts.com

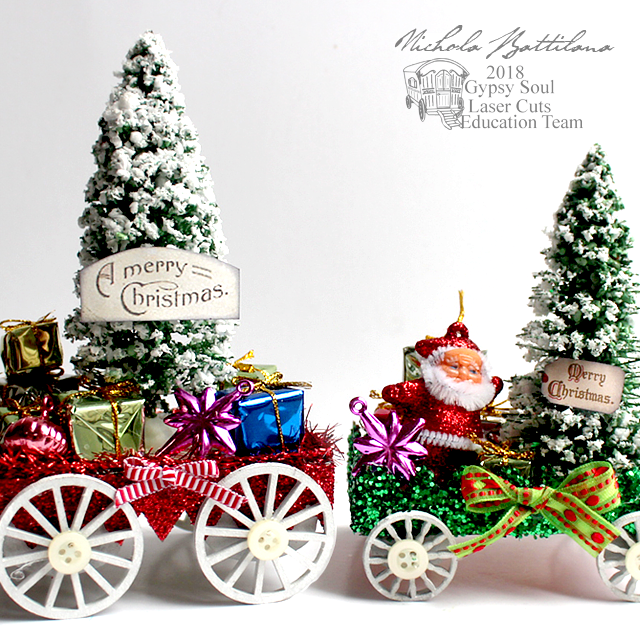
And while these wee things aren't all lit up (although you could absolutely add lights!) I'm smitten with the bright sparkly cheeriness of these wee floats.

Little Christmas Floats - Nichola Battilana for gslcuts.com

To make these little floats I simply added Wheels 1 inch Fancy and Wheels 1.5 inch Straight to Chunky ATC Blanks.

Little Christmas Floats - Nichola Battilana for gslcuts.com

Glittered Chipboard Shingles - Pointed added around the edges complete the base.

Little Christmas Floats - Nichola Battilana for gslcuts.com

Then it's just a matter of filling up those floats! I've used bottlebrush trees, miniature packages and decorations and a vintage looking Santa. All of those bits were bought in the holiday aisle at the discount shop.

Little Christmas Floats - Nichola Battilana for gslcuts.com

Cute. Easy. Inexpensive. Yes please!

Little Christmas Floats - Nichola Battilana for gslcuts.com

I have a little video to show you exactly how to put these pretty things together right HERE.

Little Christmas Floats - Nichola Battilana for gslcuts.com

I need to make a slew of these to create an entire holiday parade for my mantle!

Little Christmas Floats - Nichola Battilana for gslcuts.com

Want to make your own too? Here are the supplies I used:

Ribbon
Glitter
Holiday paper
Buttons
Bottlebrush trees
Tiny gift and ornament baubles
Plastic vintage looking Santas
White glue
Hot glue
Acrylic paint
Thin dowling or bamboo sticks

Friday, November 04, 2016

A Timeless Grandfather Clock

This month for gslcuts.com I've created a 'timeless clock' with Gypsy Soul's Grandfather Clock.


I've used a pretty floral scrapbook paper to cover my clock. Just one sheet will do the trick. The little drawer at the bottom, and interior of the clock, have been lined with a page from an old, discarded book.


The top section of the clock does not contain a time piece (although you certainly could add one), instead being home to a nest of little eggs.


The top has been decorated with moss, flowers, an acorn and some wee mushrooms.


Inside, a butterfly garden, with moss, paper roses and pretty flying things.


This particular clock measures 11" tall. It's a nice with a goodly amount of space to play with inside for creating a little scene or diorama.

If you're interested in making your own, I have a video of the construction of this piece HERE.


And here is your supply list:

Grandfather Clock 11 Inch
(psst, there is also a smaller 1:12 scale version)


Sheet moss
Floral scrapbook paper
Paper Roses
Plastic Eggs
Flat back pearls
Twig Vine Garland
Red Mushrooms on Wires
English Fairy Garden Collage Sheet
Mini Floral Dresden Borders - Antique Gold
Narrow Gold Fleur Dresden Borders*


Wednesday, October 12, 2016

Miniature Funeral Carriage

Something a little dark but (I think) lovely today. A miniature funeral carriage, inspired by beautiful Victorian horse drawn hearses.

The Funeral Coach base is a chipboard kit available from AlphaStamps. Inside I've slipped a 6 Inch Coffin Box

Makers note: I actually didn't include the coffin lid and simply used the main part box upside-down. I trimmed the coffin height down as I was considering adding flowers, or a traditional funerary wreath to the top and was thinking of the available space.


The whole carriage is painted in matte black and gussied up with LOADS of black dresden borders. (I think I have a serious dresden fetish. It's like Franks Red Hot. I put that s**t on everything!)


I've also added loads of ornamental do-dads using Creative Paperclay* and this Silicone Mold - Architectural Flourishes. That particular material works really well with the matte black finish.


19mm Fancy Metal Drawer Pulls act as finials accents for the top. And there is the most lovely little Antique Brass Mini Trunk Lock on the back doors. 

Makers note: the rear doors aren't actually hinged in place. I am a horror show with hinges! They never seem to work well for me and I just make an awful mess. Since I don't plan on opening and closing those doors often, and they sit quite nicely without much fuss, I'm taking the totally lazy route and leaving them free.


I've lined the interior with Bright Red Suede Paper. If you're looking for a more 'authentic' feel, line that sucker in black. (I personally love the shock of red inside.) Finally, the windows. Many funeral carriages had swags of lush drapery inside but I was liking the 'clean' look of this little coach. I put together this Filigree Funeral Carriage Windows Collage Sheet with vintage fancy framework that can be printed on transparency sheets and glued into place. 

I'm smitten with this piece. It looks great on my mantle, and is a good size at somewhere around 10" x 6". Although it's intended as a Halloween piece, it'll stay out year round in my spooky old house ;)

Want to make your own?  
ALL THE BITS in one place

The list of individual bits:
Funeral Coach
Filigree Funeral Carriage Windows Collage Sheet
6 Inch Coffin Box
Creative Paperclay
Silicone Mold - Architectural Flourishes
19mm Fancy Metal Drawer Pulls
Antique Brass Mini Trunk Lock
Bright Red Suede Paper
Black Suede Paper*
12mm Flat Fancy Bead Cap - Bronze*
Baroque Dresden Borders - Black
Black Zig Zag Dresden Borders
Half-Round Dresden Borders - Black
Thin Fleur Dresden Borders - Black
Thin Looped Dresden Borders - Black

Friday, August 07, 2015

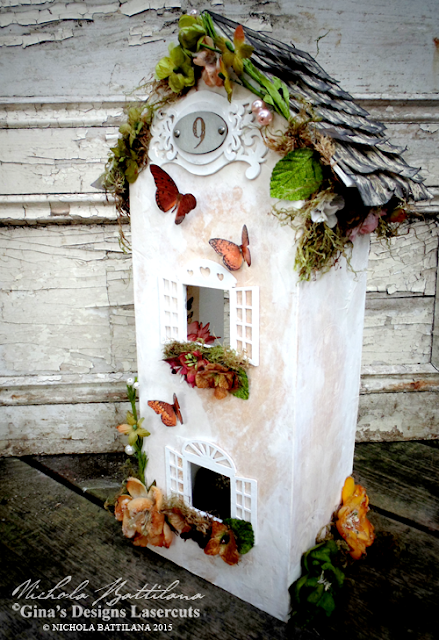
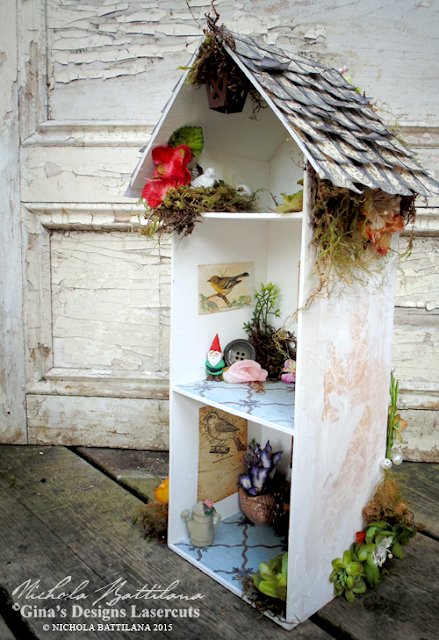
Tall Garden Cottage Tutorial

Every month I create a project with a tutorial for GinasDesigns.net. This month it's a biggy...

Tall garden Cottage with Tutorial - Nichola Battilana

There are loads of steps and it'll take some time to complete (especially when you factor in drying time), but I think it's worth it.

Tall garden Cottage with Tutorial - Nichola Battilana

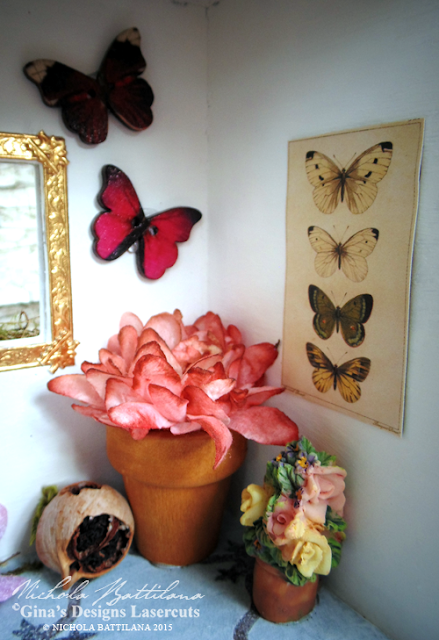
Created from Gina's 3 Story House, you could customize the contents to your own whims and tastes. Filled with little mementos, keepsakes and small photos it would make a wonderful gift for someone special. 


Tall garden Cottage with Tutorial - Nichola Battilana

Mine isn't quite so sentimental and will be home to little gnome and elf figures and collectibles :)


Tall garden Cottage with Tutorial - Nichola Battilana

Don't feel rushed with this project. Enjoy the process of making it 'just-so' and the challenge of filling it with lovely little bits and bobs.


Tall garden Cottage with Tutorial - Nichola Battilana

I only had one piece of Honeycomb Fleur Cardstock from The Robin's Nest to cover the house, so I'll show you how to be a little sneaky if you're short on paper.


Tall garden Cottage with Tutorial - Nichola Battilana


You can find the full video tutorial HERE


If you have any questions or are unclear about anything, don't hesitate to ask.

Gina's Supply List:

The Robin's Nest Supplies:
Calamity Jane Diagonal Glitter Cardstock
Honeycomb Fleur Cardstock

Other Supplies:
White Tacky Glue
Spackling (I used one that goes on pink and dries white)
*And a quick link to all of the products used available via Alpha Stamps