Showing posts with label christmas. Show all posts

Sunday, December 09, 2018

The Hufflepuff Tree (with extra Potter blabbing!)

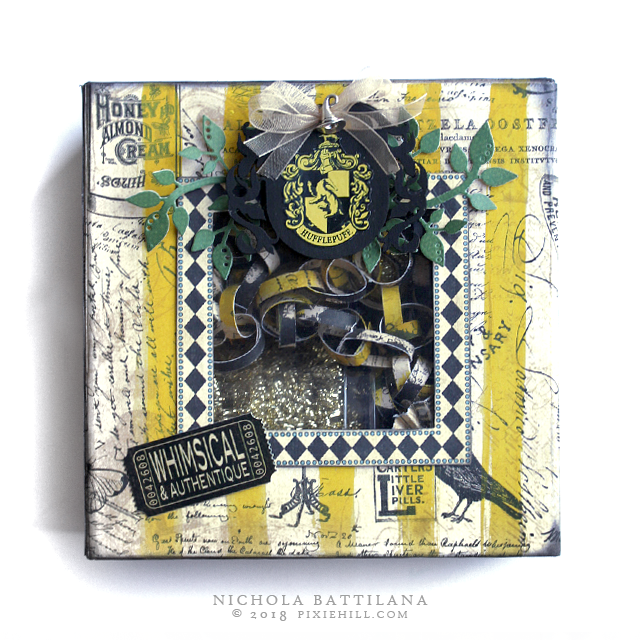
Mr Pixie gave me a little broom ornament with my Hufflepuff house colours. It immediately sparked a need to create a Hufflepuff themed Christmas tree. So I did!!!!

Hufflepuff Christmas Tree - Nichola Battilana

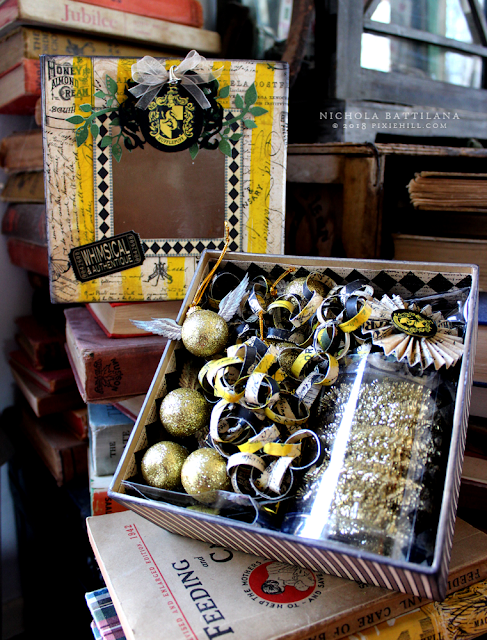
I created a set of decorations and embellished a Deep Square Matchbook Box to store them in.

Hufflepuff Christmas Tree - Nichola Battilana

I've used various Olde Curiosity Shoppe—Deluxe Collector's Edition papers for all the bits of this project. To inject a bit of Hufflepuff pride to the exterior, I've simply painted some yellow stripes with washes of acrylic paint.

Hufflepuff Christmas Tree - Nichola Battilana

Check out that wee wizard hat charm *swoon!* How perfect!?!

Hufflepuff Christmas Tree - Nichola Battilana

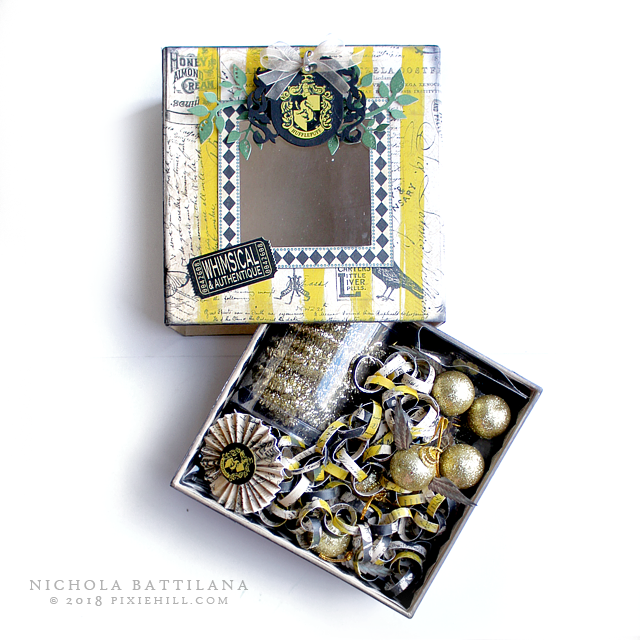
Inside is chocked full of decorations! 

Note: The window of my box is covered with a square of plastic cut from a used food container. I glued to the outside of the box and created a paper frame. I did this on the outside so that it didn't catch when sliding the inner box in/out.

Hufflepuff Christmas Tree - Nichola Battilana

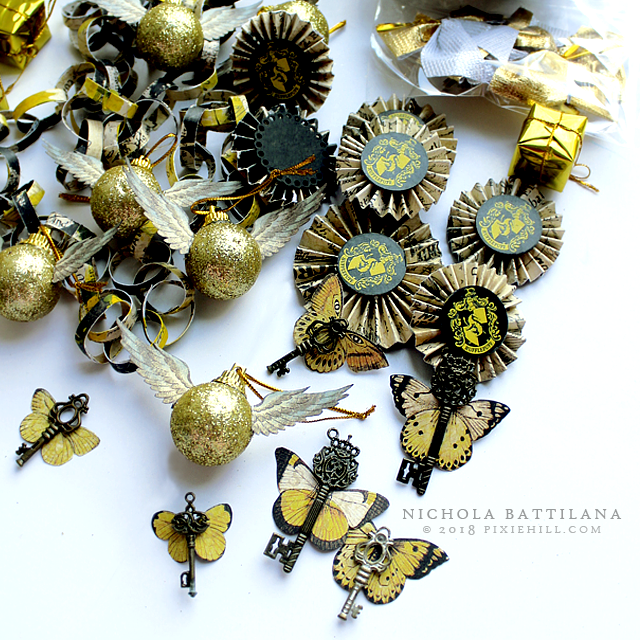
Antique Brass Ornate Metal Keys with Old Curiosity Shoppe butterfly wings added are sweet and simple. (I know, I know... the winged keys were bird wings in the books but I'm sure this is an acceptable compromise since they perfectly reflect my house colours.)

Hufflepuff Christmas Tree - Nichola Battilana

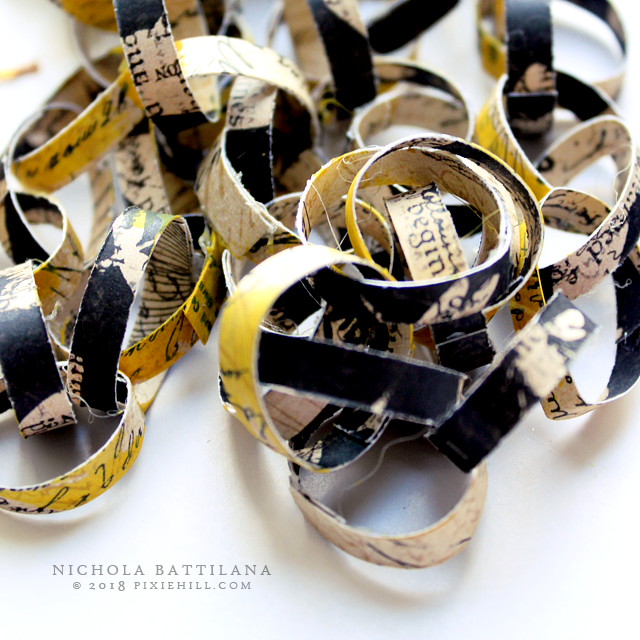
There's a good old fashioned paper chain. I applied a few sploshes of yellow just as I did to the exterior box.

Hufflepuff Christmas Tree - Nichola Battilana

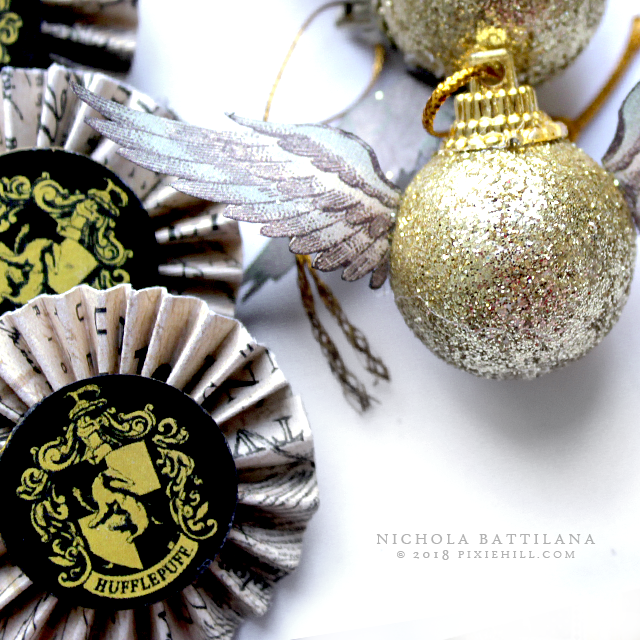
Paper rosettes and, of course....

Hufflepuff Christmas Tree - Nichola Battilana

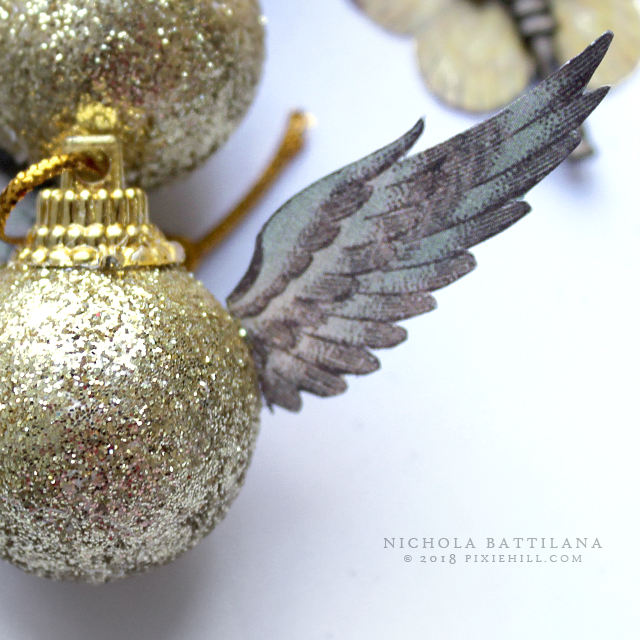
GOLDEN SNITCHES! These are made with flying pig wings from Olde Curiosity Shoppe which have been applied to little glittery baubles.

Hufflepuff Christmas Tree - Nichola Battilana

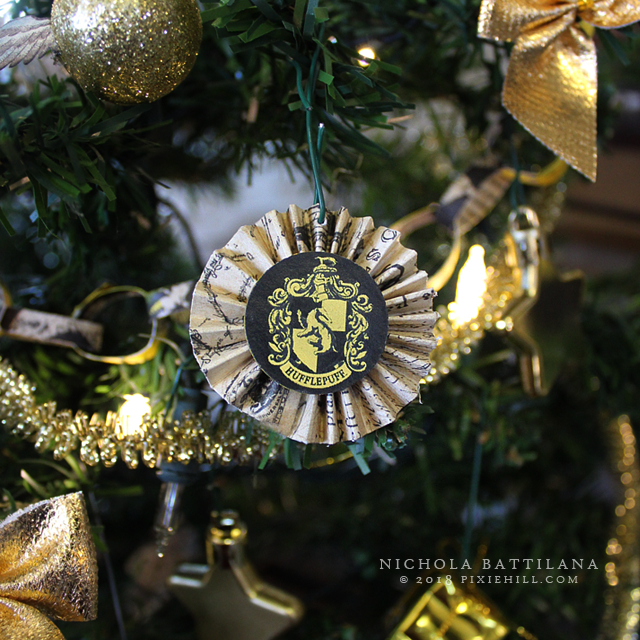
To fill out the tree I've added some gold stars, bows, and glittery garland and how stinkin' cute is the result?!

Hufflepuff Christmas Tree - Nichola Battilana

All the bits? Here's the list!
Deep Square Matchbook Box—Kraft
Olde Curiosity Shoppe—Deluxe Collector's Edition
Large Tag, ATC Tag and Flower Dies
Antique Brass Ornate Metal Keys
Organza ribbon
Yellow acrylic paint
Glitter baubles

I'm so pleased with this set and I've got loads of ideas floating around for additional ornaments! Perhaps I'll have to make a set for each Hogwarts House.

Hufflepuff Christmas Tree - Nichola Battilana


WARNING: Extra blabbity stuff below!!!!

Speaking of being a Potterhead... I've got a couple related pics from my London trip. 

I only had a couple of days in London and an insane itinerary. The very first thing I wanted to do was visit Platform 9 3/4 at King's Cross Station. Seeing this as soon as I arrived was a good sign!


Now, King's Cross looks nothing like the film version of King's Cross. Nevertheless, there is a faux Platform 9 3/4 set up near the Potter shop in the station for photo ops.  

Platform 9 3/4

I didn't get a snap pretending to smash through the wall as it was absolute madness there. Seriously, the lineup was CRAZY, as was the shop. I did of course buy a few little Potter bits in the shop and managed the pic above with no one in the way. Huzzah!

Leadenhall Market

I also made my way to Leadenhall Market, which was the inspiration for Diagon Alley. It was very pretty, but much smaller than I expected. I drank a very nice pint of cider, had terrible fish and chips and bought a book there. The book store being the closest thing to a magic shop there.

Saint Pancras London

The very last spot I made of point of gawking at in London was Saint Pancras, which plays the role of King's Cross in the Potter films.


London was absolutely amazing and inspiring and I still have so much to share. I also feel like I'm not nearly done with that city and want to visit again one day.

What would you do with a day in London?

Thursday, November 29, 2018

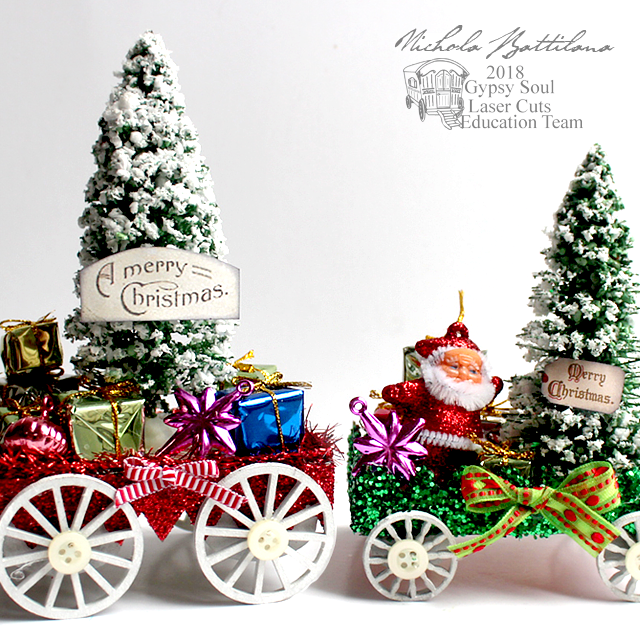
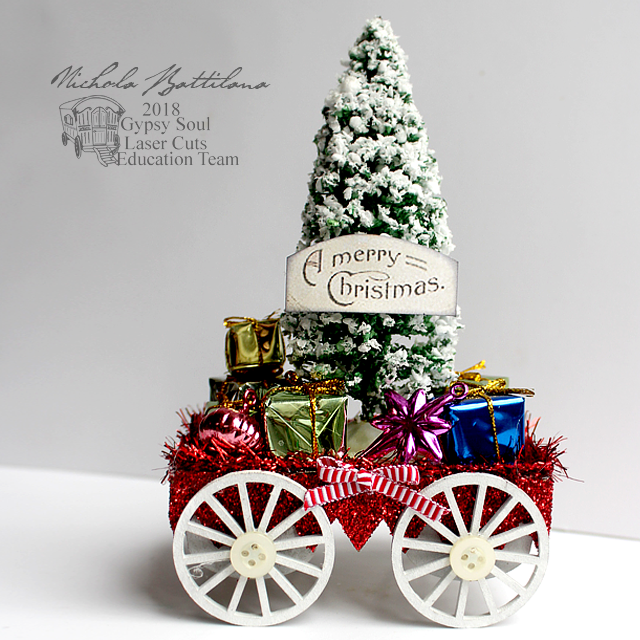
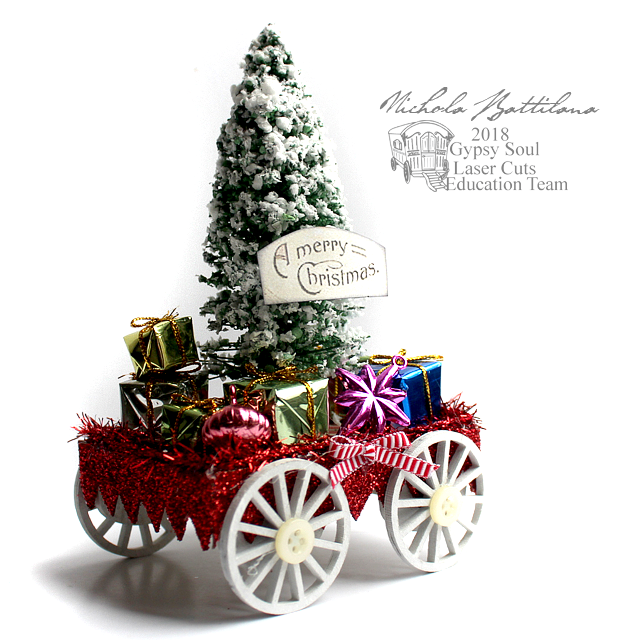
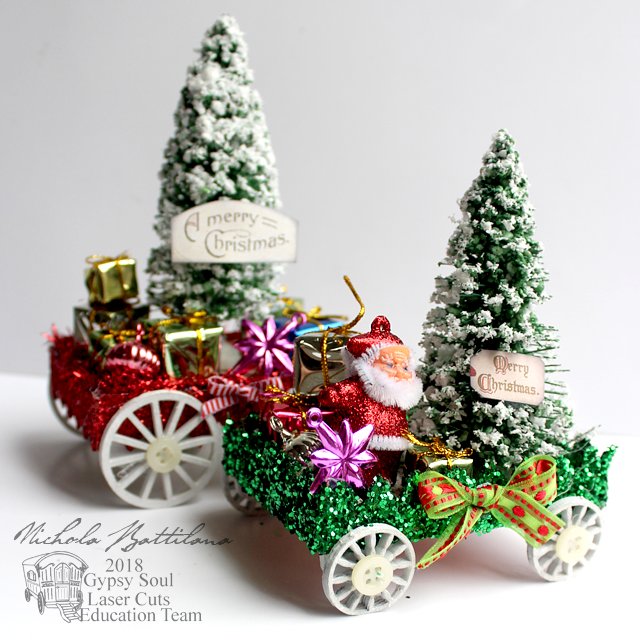
Jolly Little Christmas Floats with tutorial

My kid decided he was too old for trick-or-treating this year, but not too old for a Christmas parade. Before moving here I was never really into parades. Standing around in questionable weather? Nah, thanks. Discovering night parades swayed my grinchy mind. The lights! The magic! *swoon*

Little Christmas Floats - Nichola Battilana for gslcuts.com

And while these wee things aren't all lit up (although you could absolutely add lights!) I'm smitten with the bright sparkly cheeriness of these wee floats.

Little Christmas Floats - Nichola Battilana for gslcuts.com

To make these little floats I simply added Wheels 1 inch Fancy and Wheels 1.5 inch Straight to Chunky ATC Blanks.

Little Christmas Floats - Nichola Battilana for gslcuts.com

Glittered Chipboard Shingles - Pointed added around the edges complete the base.

Little Christmas Floats - Nichola Battilana for gslcuts.com

Then it's just a matter of filling up those floats! I've used bottlebrush trees, miniature packages and decorations and a vintage looking Santa. All of those bits were bought in the holiday aisle at the discount shop.

Little Christmas Floats - Nichola Battilana for gslcuts.com

Cute. Easy. Inexpensive. Yes please!

Little Christmas Floats - Nichola Battilana for gslcuts.com

I have a little video to show you exactly how to put these pretty things together right HERE.

Little Christmas Floats - Nichola Battilana for gslcuts.com

I need to make a slew of these to create an entire holiday parade for my mantle!

Little Christmas Floats - Nichola Battilana for gslcuts.com

Want to make your own too? Here are the supplies I used:

Ribbon
Glitter
Holiday paper
Buttons
Bottlebrush trees
Tiny gift and ornament baubles
Plastic vintage looking Santas
White glue
Hot glue
Acrylic paint
Thin dowling or bamboo sticks

Monday, November 19, 2018

Big Fat Christmas Greeting Matchbox

I think my forced break from crafting while I was on my trip kind of reinforced the notion that crafting helps to keep me sane. It quietens the world around me. Although I do feel like I'm playing catch up with laundry and dishes and cleaning... I've been thoroughly enjoying making things, and savouring the 'stillness' creating brings.


But enough deep thoughts! Can we talk about the Christmas Vintage 12×12 Paper Pad? It's from Stamperia and it is full of old Christmas charm. Here I've used some sweet chickadees and cut out a rustic winter scene. I've fussy cut loads of holly and berries too (fyi there's some great Christmas puddings and cakes in the collection too.)


In addition to the background sky, I've added some clear glitter to the edges of the buildings and on the tops of the hills. It think it catches the light just right.


The top corner has a nice grouping of chickadees and holly and baubles. 

On a side note, the chickadees are out in full force here! They peck at the feeders and make a huge mess on the ground below. It's all good though the snowbirds prefer to forage and clean up after them. The whole while we have blue jays who swoop in and squawk like maniacs. Seriously, you'd link such handsome fellows would have a beautiful strong whistle. Nope!


But back to beautiful things!

This scene is set in a nice fat  Big Chunky Matchbox with Window and topped with a wired bow.

Want to make your own? Here's the list of making!

Big Chunky Matchbox with Window
Christmas Vintage 12×12 Paper Pad
Christmas In The Village Tiny Houses (background)
Wired ribbon
Clear Glitter

*I am an absolute stinker and have no idea which holly paper was used on the exterior of the box but I CAN say that it can be found in the Christmas Paper section at AlphaStamps

Wednesday, November 14, 2018

Santa's Helper Holiday Cards

I found a set of card blanks and envelopes at the DollarTree and thought I'd whip up some sweet holiday cards. So I grabbed some Christmas Magic and set to work.


I say I whipped up this set, but I began by spending a night fussy cutting an entire sheet of "Santa's Little Helpers" from the 12" Collection Pack. (I was watching Filmworker which was a really great documentary btw).


Next I added some wee transparent wings to the little dudes. I can just picture these little fellas fluttering about, switching out burnt out christmas lights, taking care of all the tiny chores that go unnoticed.


A band of gold embossing power backdrops a length of holly from Christmas Magic "Gifting Gala". An iridescent acrylic snowflake is added and a sentiment from Christmas Magic "Gifting Gala" or the Christmas Magic Ephemera pack.


Finally, those sweet little winged helpers!


I mean, how cute! Right?!


Some of the cards have a bit of jute twine added and a smidge of stickles sparkle because... well... glitter!


Want to make your own sweet wee cards? Here's the list of all the bits I used:

Christmas Magic 12" Collection Pack
Christmas Magic Patterns & Solids Pad
Christmas Magic Ephemera pack
Wee Wings Transparency Sheet
(or Wee Wings PDF Download to print your own)
Gold embossing powder
Acrylic snowflakes
Jute twine
Stickles
Card blanks


And I've still got a load of these cuties hopping around the work table. They might be making appearances until Easter!


Saturday, November 10, 2018

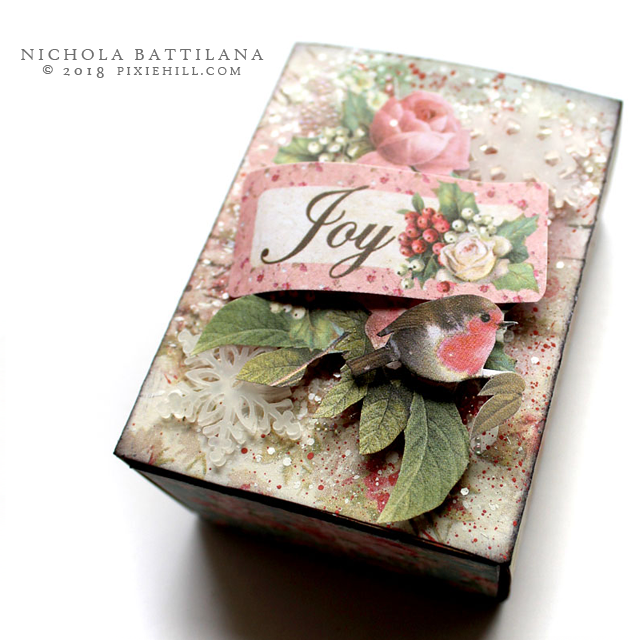
Pretty Pink Christmas Things

A few years ago I would have laughed if you told me I'd be all about pink Christmas. This year I'm all about the pink Christmas.

AlphaStamps.net Pretty Pink Christmas - Nichola Battilana

I've used two paper collections: Pink Christmas 12x12 Paper Pad and Christmas Vintage 12x12 Paper Pad for the following projects and I'm loving the way they work together.
AlphaStamps.net Pretty Pink Christmas - Nichola Battilana

Add some faux snow and a Gold Dresden Christmas Tree swoon!

AlphaStamps.net Pretty Pink Christmas - Nichola Battilana

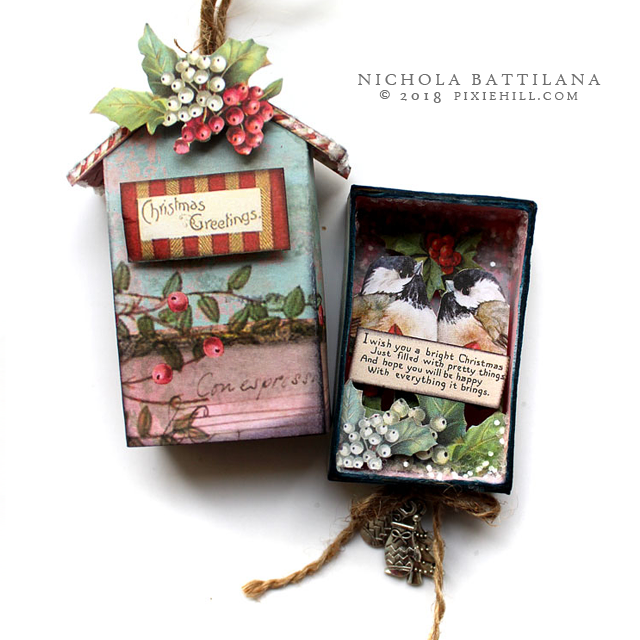
There was a quite a bit of fussy cutting involved in these projects, but the results are terribly sweet. Just look at this Peaked Roof Matchbox...

AlphaStamps.net Pretty Pink Christmas - Nichola Battilana

...and those little birds and inside. 

AlphaStamps.net Pretty Pink Christmas - Nichola Battilana

What a lovely holiday treat for someone nice.

AlphaStamps.net Pretty Pink Christmas - Nichola Battilana

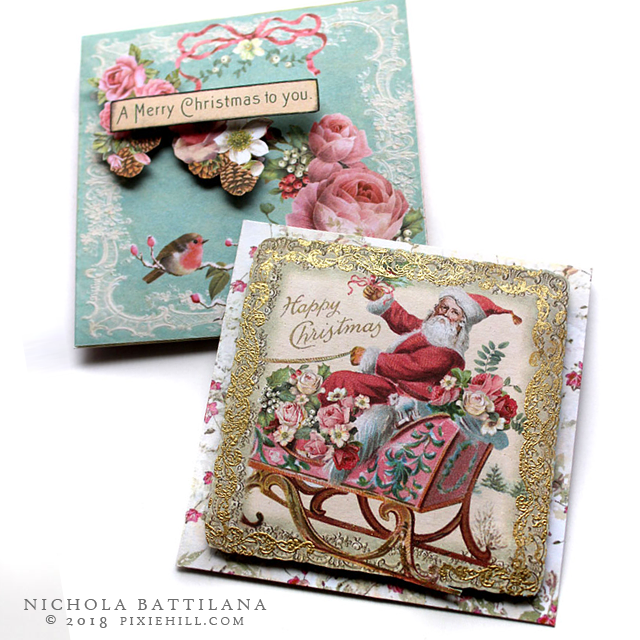
It's totally worth mentioning that the Pink Christmas 12x12 Paper Pad has a super cute tag, envelope, ephemera elements that come together really, really swiftly. 

AlphaStamps.net Pretty Pink Christmas - Nichola Battilana

I did some gold embossing around the edge of the vintage Santa image and it looks so authentically old timey. And while old envelopes probably would have been plain white, the envelope element is the perfect compliment. Swoon!

AlphaStamps.net Pretty Pink Christmas - Nichola Battilana

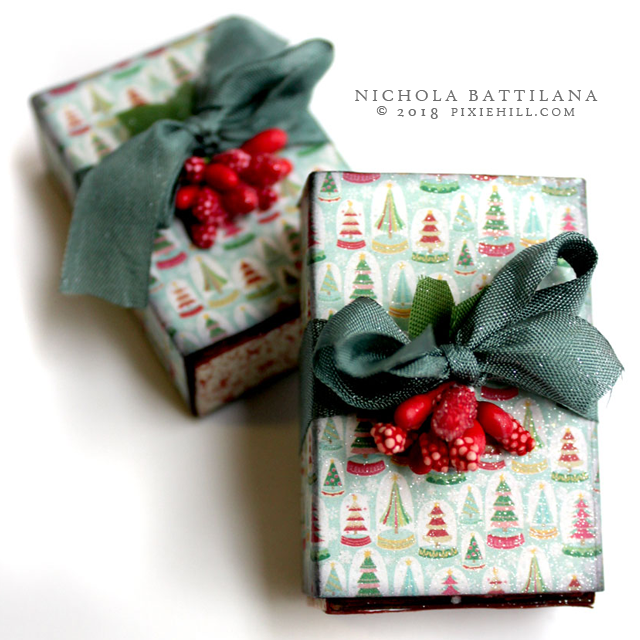
The final two pieces (yes there's more!) are more of a kitchy rather than antique vintage. Still totally cute though.

AlphaStamps.net Pretty Vintage Christmas - Nichola Battilana

Here I've used Jingle 6x6 Paper Pad and Tree Ornament Matchboxes. I'm thinking that i might pop these on top of presents instead of a standard bow. Afterall, what could be nicer than a gift topped with another wee surprise?!

AlphaStamps.net Pretty Vintage Christmas - Nichola Battilana

I usually start Christmas crafting in September so this is a very late start for me, but I gotta admit, I'm really enjoying it this year. It's far less work and much more pleasure this time around. I hope you're enjoying holiday creating too.

NOW, if you want to make your own slew of pretty pink Christmas things, here's the supply list:

Wednesday, November 29, 2017

A Plethora of Presents

I absolutely love Christmas and gift giving. If I could, I'd buy something lovely for every single person I know. Alas, my bank account is firmly against this.


BUT I had a nice little idea! I saw the Set of Pre-Cut Drawers intended for the Advent Calendar Shadowbox and thought that they'd make a sweet little base for tiny tokens of holiday cheer. Super simple to assemble and sold as a set of 25 they just lend themselves for en masse making.


AND!!! AND!!! A strip cut from a 6" sheet will wrap around the boxes just so, with just a sliver needed to be trimmed. So, you only need a 6" scrapbook pad to cover these cute wee things. These boxes have all been covered with papers from Authentique's Vintage Christmas. The items I've used are all inexpensive but festive.


Covering the boxes with different papers and embellishments, like Miniature Bookplates or decorative brads, make the tiny gifts feel personalized and not mass produced. Filling the boxes with a variety of dodads and treats makes each little box feel like a unique present.


The items I've chosen to fill the boxes are all inexpensive but festive. I think they're rather sweet.


Some ARE filled with sweets! Then a bit of celophane and a simple tie. If you want to be extra fancy, you might place a single gourmet truffle inside. 

Pieces from the Snowflake Shape Set or Winter Shape Set also make sweet little embellishments.


Or perhaps you'd like to top your box with Christmas fairies or angels.


Or send a little holiday message.


While these little tokens have a decidedly Yuletide feel, these could easily be adapted to any theme as party or wedding favours. 


While these are super simple to create, I do have a video tutorial for you. You can pop over HERE to see just how easy they are!

The list of bits I've used:

Snowflake Shape Set
Winter Shape Set
Victorian Corners 2
Banner Border Strips


Authentique's Vintage Christmas
Wrapped Gift Box Ornaments
Tiny Wrapped Gift Box Ornament
Retro Bottle Brush Tree
Fancy Scalloped Gold Dresden Borders
Little Sweeties Collage Sheet
Angel Wings Collage Sheet
Brads
Fake snow
Moss
Candy
Tissue Paper
Cellophane
Ribbon