Friday, November 17, 2017

A tiny dancer

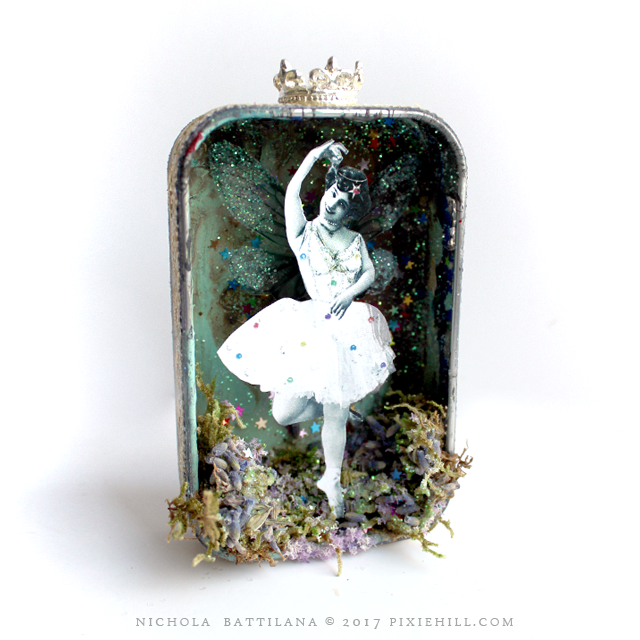
I'm not sure what happened to this Altoid tin. It seems, at some point, it had become a pallet, encrusted with a lovely shade of aqua paint. I'm not one to argue with fairies and what sort of objects they want to take up residence in soooo....

Tiny Dancer Altered Altoid - Nichola Battilana

A tiny winged dancer has moved in and seems quite happy in her crown topped tin. And really, there's no reason not to be happy with those tiny Multicolor Star Sequins in the background.

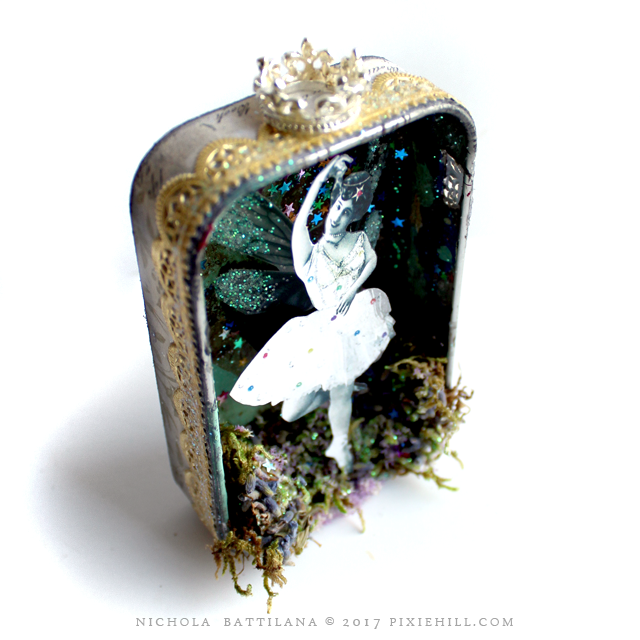
Tiny Dancer Altered Altoid - Nichola Battilana
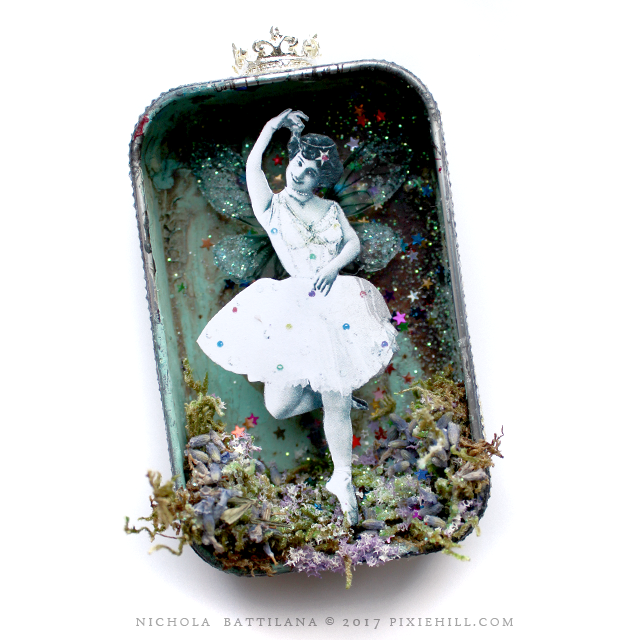
The tin is edged with Gold Half-Round Dresden Border, filled with moss, a sprinkling of Flowersoft and natural lavender buds.

Tiny Dancer Altered Altoid - Nichola Battilana

Need a wee dancer who delights in mess and glitter? She is available HERE.

Tuesday, November 14, 2017

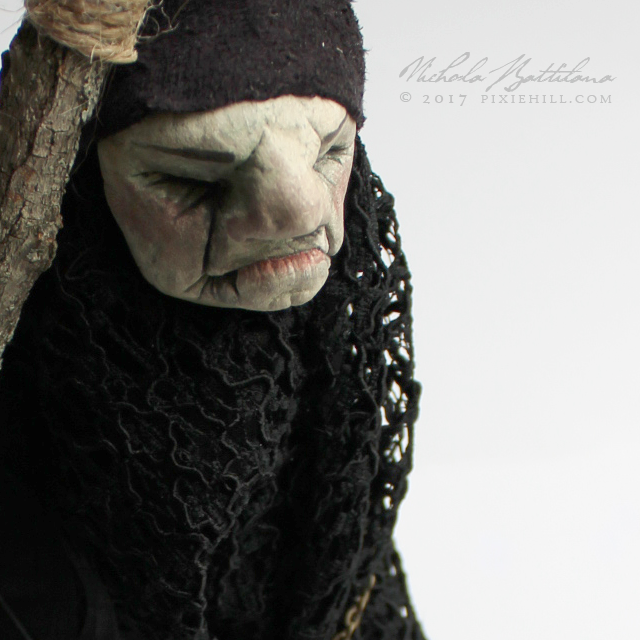
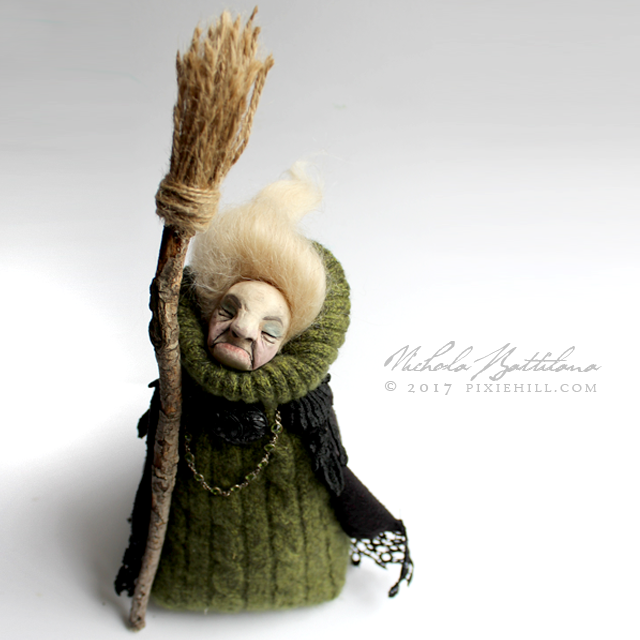
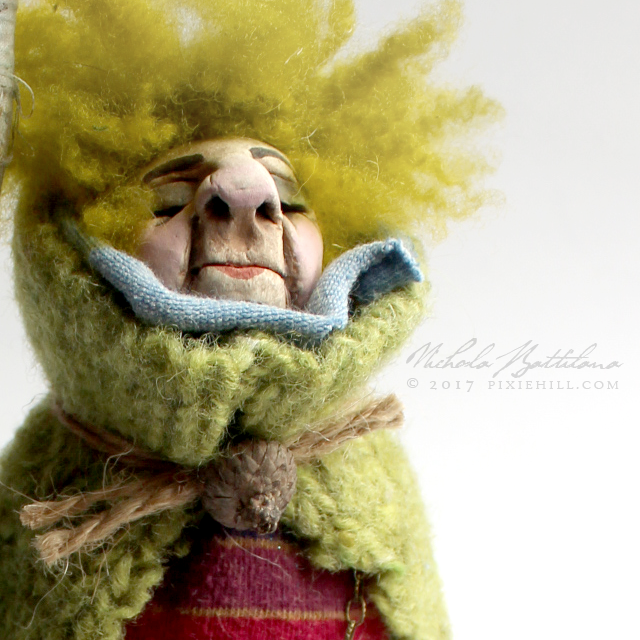
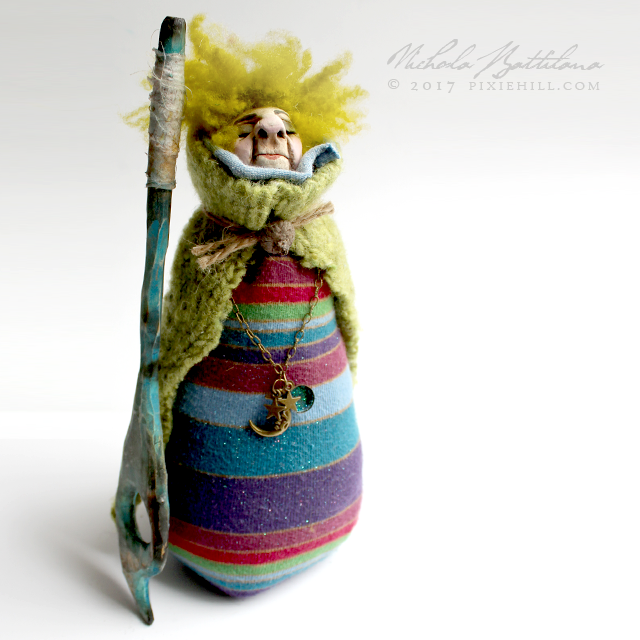
Witchy Poos Nos. 9, 10 and 11

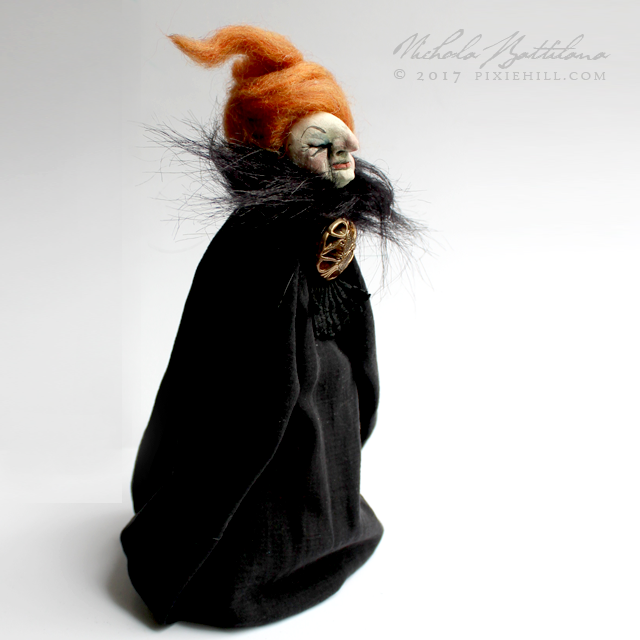
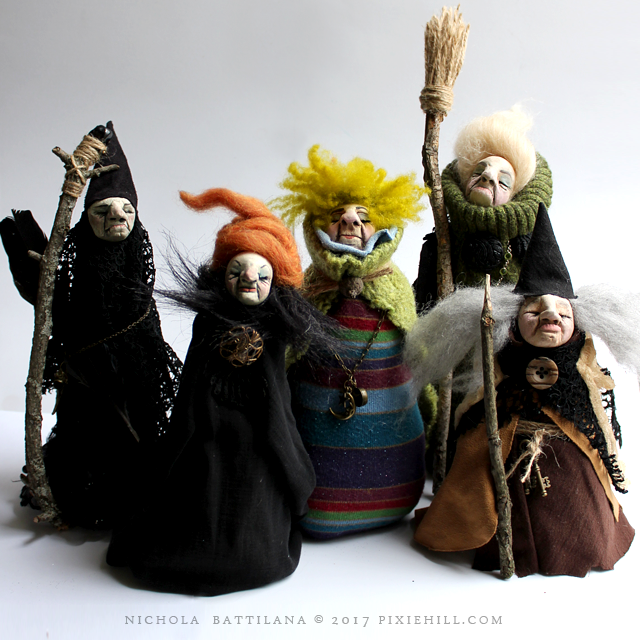
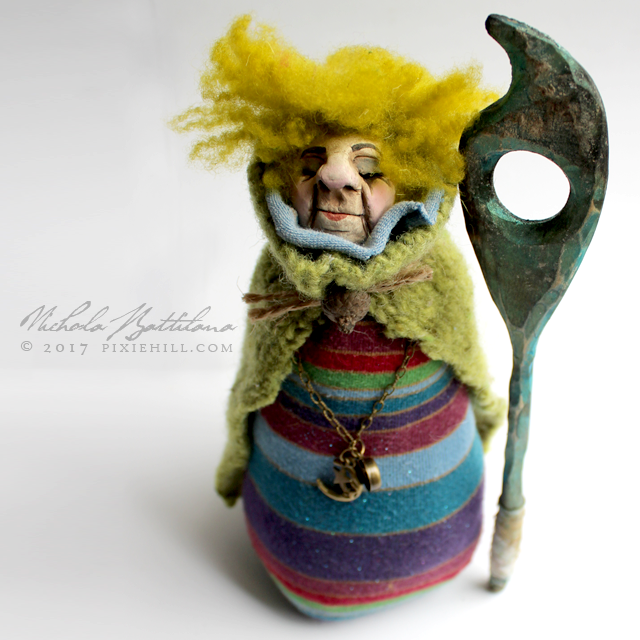
Nearing the last of the wee witchy coven. Three more ladies today.

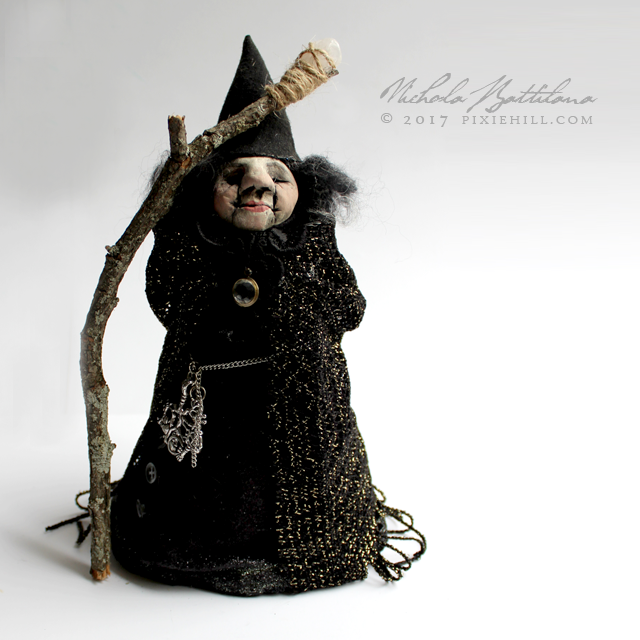
Witch Doll - Nichola Battilana


Witch Doll - Nichola Battilana

Witch Doll - Nichola Battilana


Witch Doll - Nichola Battilana

Witch Doll - Nichola Battilana


Witch Doll - Nichola Battilana

Witch Doll - Nichola Battilana

All of the witchy poos are is made with a free sculpted paperclay face. Their base is cotton muslin stuffed with fibre and weighted with mung beans. The hair is created with wool roving. They are embellished with scrap fabrics, bits and bobs.

Monday, November 13, 2017

New Full Moon Shrine

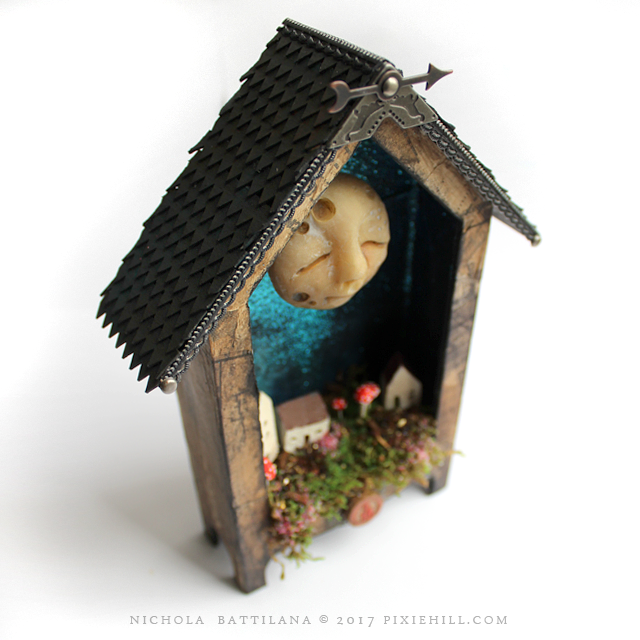
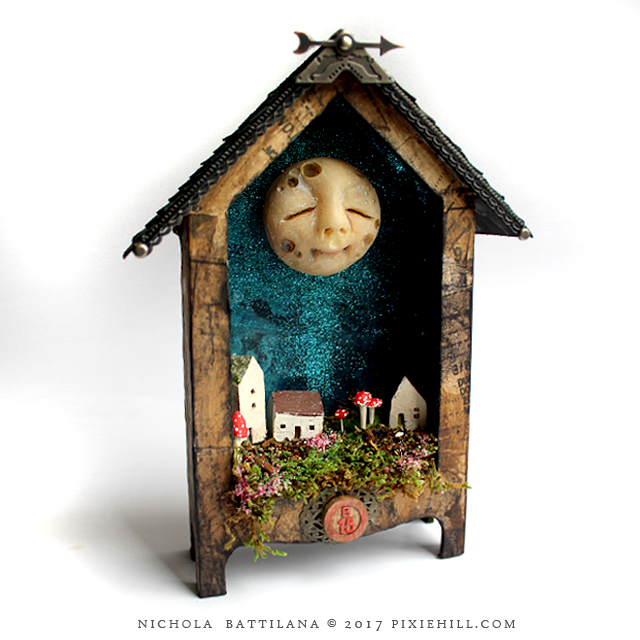
I've really been churning out the projects over the past couple of weeks. It's nice to get back to work and it's nicer still to work with glittery things and happy moons.

Happy Moon Shrine - Nichola Battilana

Usually my moony faces are made with paperclay, but this fellow is made with polymer clay.

Happy Moon Shrine - Nichola Battilana

The base is a House Shrine Box, the exterior covered with sewing pattern tissue.
Happy Moon Shrine - Nichola Battilana

Inside there are pit fired clay houses and handmade toadstools atop a mossy lawn.

Happy Moon Shrine - Nichola Battilana

Moss, moons and mushrooms make for a happy messy maker.

Happy Moon Shrine - Nichola Battilana

This piece is available in the etsy shop HERE

Sunday, November 12, 2017

Witchy Poos Nos. 6, 7 and 8

More coven bitties today!

Witch Dolls - Nichola Battilana

I'm entertaining so this will be a word lite and image heavy post today!

Witch Doll - Nichola Battilana


Witch Doll - Nichola Battilana


Witch Doll - Nichola Battilana

No. 7 - Mabel (who is one of my very favourites and I am seriously thinking of keeping for myself)

Witch Doll - Nichola Battilana

Witch Doll - Nichola Battilana

Witch Doll - Nichola Battilana


Witch Doll - Nichola Battilana

Witch Doll - Nichola Battilana

Witch Doll - Nichola Battilana

Like all of the witchy poos,these are is made with a free sculpted paperclay face. Their base is cotton muslin stuffed with fibre and weighted with mung beans. The hair is created with wool roving. They are embellished with scrap fabrics, bits and bobs.
All available dolls are available HERE

Saturday, November 11, 2017

Vintage Christmas Box

We had a teeny bit of snow, the temperatures are flipping cold as heck, and so it's time for the fat dude to make an appearance.


This piece is made using the Tiny Diorama Box from alphastamps.com. The box is quite sturdy and it's a fun size to work with. It's not itty bitty so those who don't work in miniature will undoutedly find it relatively easy to work with.


Some Wired Pine Needle Stem accents the opening of the frame. For some added chilly winter effect I applied some Twinklets Diamond Dust to these berries.

The paper used on the box is Vintage Christmas Snowglobes Scrapbook Paper and the Santa image is from the Snug In Their Beds collage Sheet.


A tiny bit of organza ribbon and addtional glitter to finish it off, and I'm ready to tackle winter (not really... but lets just pretend I've got it together).

Thursday, November 09, 2017

MOTHER EFFIN' SNOWBALLS! with tutorial

Today was supposed to be the first snow of the season. Because it's daylight savings and now dark at 2 in the afternoon (not really, but it feels like it) I have no idea if it actually did snow today BUT there's these dudes. The yearly Cheeky Snowballs.

Cheeky Snowball Ornaments with Tutorial - Nichola Battilana

I've been making these guys for nearly 10 years. TEN FREAKING YEARS! They started out as emotional snowballs and transformed into the cheeky variety.

Cheeky Snowball Ornaments with Tutorial - Nichola Battilana

This year I've decided to do a tutorial so people can create their own. The video is available HERE on my YouTube channel. If you create your own, please share on social media and tag me. Seriously, it's appreciated and I totally want to see what you make.

Cheeky Snowball Ornaments with Tutorial - Nichola Battilana

A couple of things I KNOW are going to come up.

1. Can I use a different clay?  
I REALLY recommend you use Creative Paperclay for this project. It's super light weight so your ornament won't drag down the Xmas tree branches. It gives a beautiful finish. There may be a bit of a learning curve if you're used to other materials... but  In my opinion it's absolutely worth $ and time. 

2. It's taking SOOO LONG! Can I speed up the drying?
I prefer to let things dry naturally. There seems to be less warping, and cracking when I let things take their course. Plus, do you really want to put styrofoam in the oven? Nah.

3. Clear glitter?
Never mind fancy stuff, head over to the kids aisle in Micheal's and grab a big ole jar of Creatology "Crystal Clear" glitter. It looks like this...
What is most important is that your glitter of choice is NOT SOLID WHITE. The flecks in this product are transparent. This is important. You want a product that will allow the underlying paint colour to show through. Just look for something transparent or translucent.

4. I can't find tiny eye hooks!
I use teeny tiny eye hooks for hanging on my snowballs. If you can't find any small enough, try the jewellry section of the craft store and look for findings like these Tiny Silver Eye Pins*. Poke a hole with a straight pin, add a dab of glue, and slide it in. They'll work in a pinch.

5. What kind of glue do you use?
I'm using Elmer's School Glue in the tutorial. The better the quality glue you use (i.e. Aleene's Tacky Glue) the more glitter will remain on your snowballs in the long run.

6. Can I (insert other subsitution/method/madness)?
Part of the joy of creating is experimentation. Have an idea? Give it a try! Maybe it'll turn out a bazillion times better than my snow dudes!


Cheeky Snowball Ornaments with Tutorial - Nichola Battilana

THE LIST OF SUPPLIES!
- styrofoam balls (2" - 2.5" makes a nice size)
- Creative Paperclay
- white glue
- clear/transparent/translucent glitter
- pink, black paint
- mini eyehooks
- fake snow
- clear gloss medium like Diamond Glaze, Glossy Accents or Dimensional Magic

Witchy Poos Nos. 4 and 5 - Birch and Plum

Two more witchy poos today. First, Birch.

Witchy Poo: Birch - Nichola Battilana

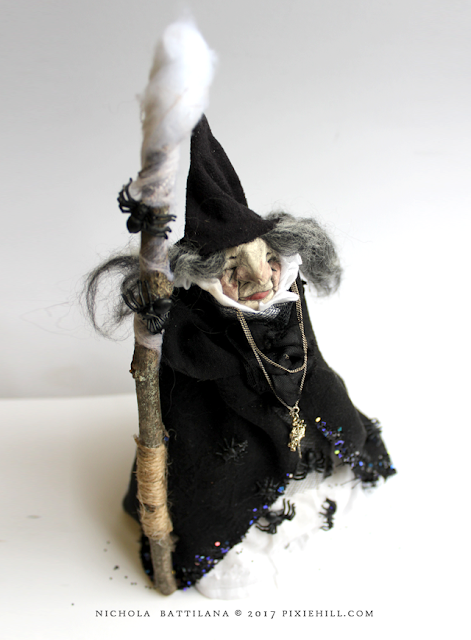
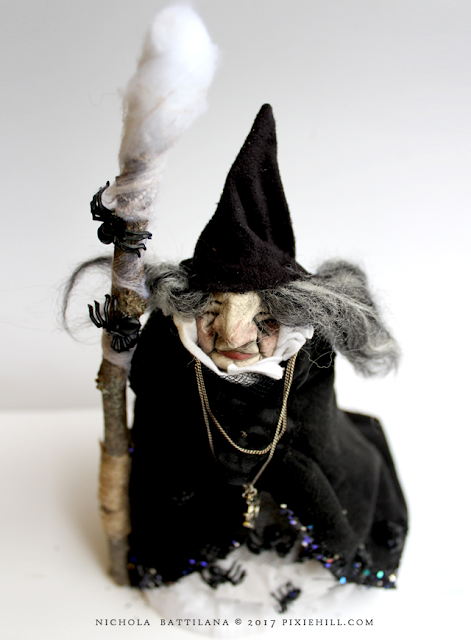
She sort of reminds me of Aunt Clara from Bewitched (if Aunt Clara preferred spider covered cloaks over beflowered hats). She's a lover of creepy crawly things and recognises the might in little things. 

Witchy Poo: Birch - Nichola Battilana

Her frock is crawling with creepies and her staff topped with a spider webby nest.

Witchy Poo: Birch - Nichola Battilana

Next is Plum.

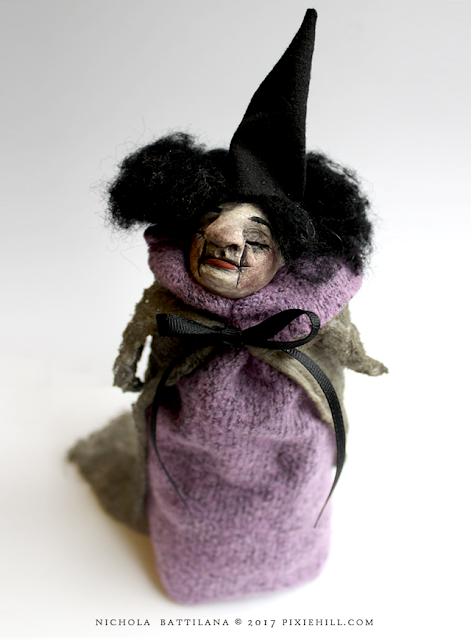
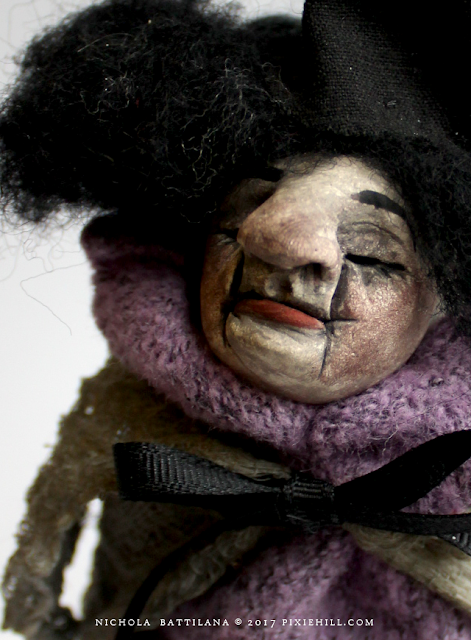
Witchy Poo: Plum - Nichola Battilana

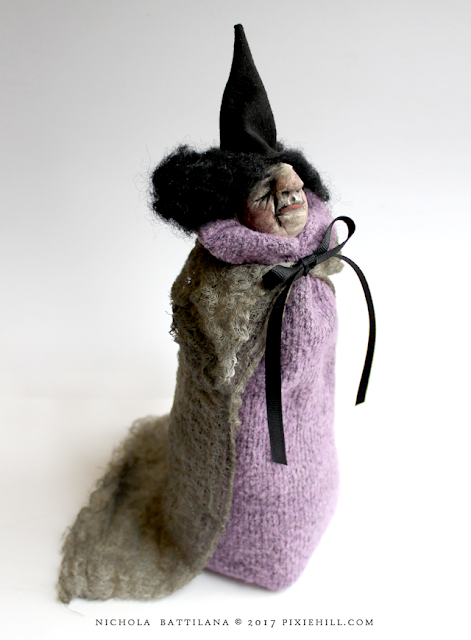
She is strong and calm and soft. 

Witchy Poo: Plum - Nichola Battilana

I'm pretty sure her puff of black hair is magical. I asked her but she just gave me a knowing smile in return.

Witchy Poo: Plum - Nichola Battilana

Like all of the witchy poos, Birch and Plum are is made with a free sculpted paperclay face. Their base is cotton muslin stuffed with fibre and weighted with mung beans. The hair is created with wool roving. They are embellished with scrap fabrics, bits and bobs.
Witchy Poo: Plum - Nichola Battilana

Birch is available HERE

Plum is waiting for her new home HERE