Friday, December 21, 2018

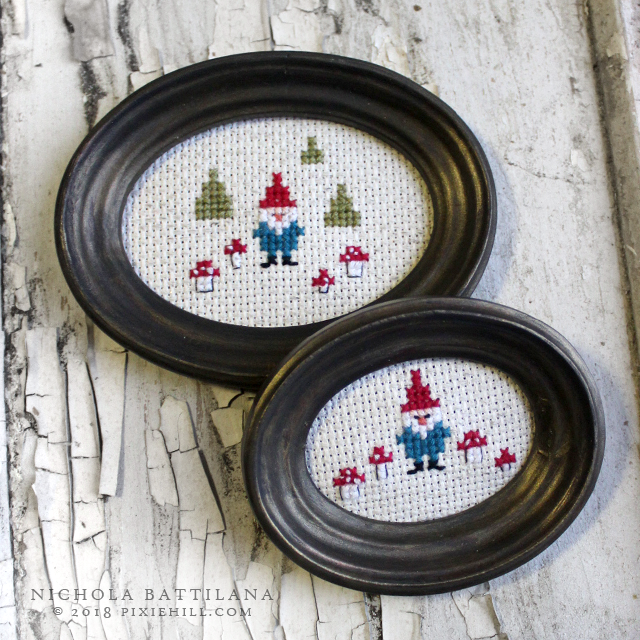
Teeny Tiny Gnome Cross Stitched Goodness

Happy Yule!!!! Merry solstice!

Today I have something kinda super adorable...

Mini Gnome Cross Stitch with Free Pattern Download - Nichola Battilana pixiehill.com

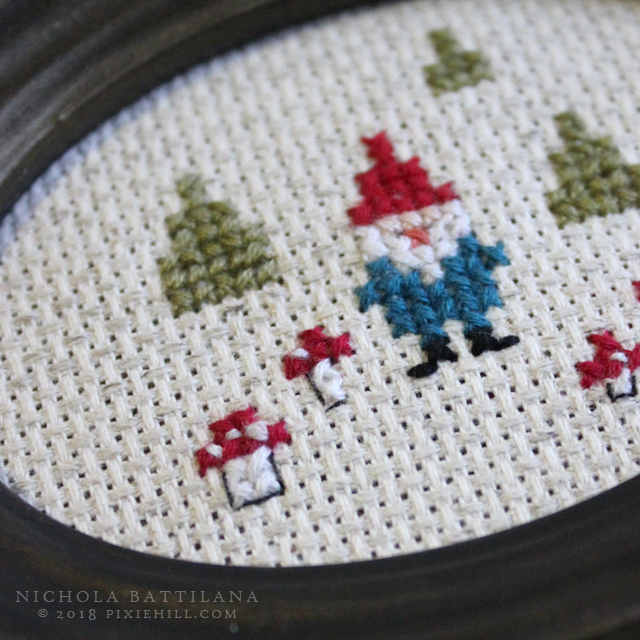
Teeny tiny gnomey cross stitched goodness!

Mini Gnome Cross Stitch with Free Pattern Download - Nichola Battilana pixiehill.com

 This is the largest of the bunch with a slightly larger gnome dude.

Mini Gnome Cross Stitch with Free Pattern Download - Nichola Battilana pixiehill.com

But it's these wee tiny guys that I'm most pleased with

Mini Gnome Cross Stitch with Free Pattern Download - Nichola Battilana pixiehill.com

How stinkin' cute!?!

Mini Gnome Cross Stitch with Free Pattern Download - Nichola Battilana pixiehill.com

They're so wee and precious.

Mini Gnome Cross Stitch with Free Pattern Download - Nichola Battilana pixiehill.com

I've created a download of all of the elements used in the tiniest frames for you to create your own stitchy goodness. You can simply download the graphic below, OR if you'd like to send a little something my way, you can purchase the file for just $1.50 HERE

Mini Gnome Cross Stitch with Free Pattern Download - Nichola Battilana pixiehill.com

Whichever option you choose, have fun!

Mini Gnome Cross Stitch with Free Pattern Download - Nichola Battilana pixiehill.com

Make something small and sweet for someone nice.

Mini Gnome Cross Stitch with Free Pattern Download - Nichola Battilana pixiehill.com

Or maybe something for yourself ;)

Mini Gnome Cross Stitch with Free Pattern Download - Nichola Battilana pixiehill.com

Have a beautiful yuletide season, my friends. Bright blessings to each and every one of you.


Monday, December 17, 2018

Goblins of the Wifi variety

I've been having massive problems with my Wifi over the past couple of months. It's been particularly bad over the last few weeks. These guys started out as elf heads (tis the season and all that) but I then they decided they to manifest as strange little goblin-sorts instead.


Thinking of them as the little jerks who have been messing with my Wifi makes me feel zero remorse for mounting their heads.


Each wifi dinkus is made with paperclay and has wool hair, whiskers and eyebrows.


This guy has fur bristles poking out of his ears and nose... of course!


They are each mounted on a wooden plaque measuring approximately 3" x 5".

They are each smelly and terrible nuisances and I will be glad when they find new homes.

If you're feel like you need more chaos in your life they are listed HERE.


P.S. No word of a lie, just as I was finishing up this post my internet provider called to ask if I've been experiencing issues. They said they've noticed weirdness and aren't sure what the problem is. IT'S WIFI GOBLINS YOU FOOLS!!!!


Sweet and Simple #G45Tags

As much as I adore bright and colourful Christmas wrap, there’s something lovely about “brown paper packages tied up with string”. They really are one of my favourite things!


I’ve made some sweet and simple #G45tags as a perfect finishing touch to those packages.


I’ve used papers from the Christmas Magic Patterns & Solids Pad with flower and leaf dies from the Large Tag, ATC Tag and Flower Dies Set


I added paper leaf sprigs and a single assembled flower (made with the two smallest flower dies) to Artist Trading Tags–Kraft along with a few faux berries.


If I had beautiful handwriting I’d add pretty writing to the tags… alas I have a decidedly messy scrawl so I opted for a simple stamped initial in gold embossing powder.


A length of twine, a touch pine (or maybe a candycane or two!) these sweet wee tags add such a nice homey handmade touch.


To show you just how easy these are to put together I have a quick little video to show you exactly how I made them.

And here are all of the supplies you’ll need:

Graphic 45 Supplies:
Christmas Magic Patterns & Solids Pad
Large Tag, ATC Tag and Flower Dies Set
Artist Trading Tags–Kraft

Other Supplies:
Faux berries
Hot glue
Embossing powder
Twine

Happy Papercrafting!

Saturday, December 15, 2018

Retro and Victorian Vintage Shadowboxes

A few more holiday boxes today. They're just such a pleasure to make! Not too difficult and they're pretty as can be.


There are a number of shadowbox size options available at AlphaStamps. I've made three different sizes here from 2" to 3.5" wide. The bases have been paired with lids with the openings trimmed with Larger Green Leaf Garland*, and Mini Holly Leaf Garland.

I've made both retro and victorian vintage feel pieces here. I think this intimate Santa image from the Santa's Toys Collage Sheet is just perfect for inside the box. It almost makes the interior look illuminated.


You can just make out the interior background of the box here. I kept things super simple and just painted the inside white and added... surprise surprise... glittahhh!


The two smaller boxes I've kept very similar, with just subtle differences. The papers from the Nostalgia 6x6 Paper Pad are the same colour but have a different pattern. The cutout framed lids are different shapes. But they match as a pair.


Both of these cuties are from the Victorian Angels Collage Sheet


Total aside here... I LOVE tartan patterned things at Christmas. I know this technically a check, but it has a very tartan feel.


ANYWAY!  Below you will find ALL THE BITS used for creating these cute boxy things. Or, you can find everything in one place HERE.

Larger Green Leaf Garland*
Larger Miniature Candy Canes
Christmas Stockings Printed Twill Tape 
Mini Holly Leaf Garland 
Mini Shadowbox Lid - Oval 
Mini Shadowbox - 2.5x4 
Mini Shadowbox Lid - Round Top Frame 
Mini Shadowbox - 2x3 
Mini Shadowbox - 3.5x5.5
Mini Shadowbox Lid - Arched
Nostalgia 6x6 Paper Pad
Frosted Berry Picks - Single Stems 
White Dresden Border Sampler Set
Thin Looped Dresden Borders - Red
Victorian Angels Collage Sheet
Santa's Toys Collage Sheet 
*Christmas Nostalgia Kit - December 2018

How are your holiday makings going? Are you breathing? YOU CAN DO IT!

Thursday, December 13, 2018

The Baker's Box

Another pink and vintage holiday piece to show off today.


This sweet jolly thing is made using a  3x5 Big Chunky Matchbox as a base.


Loads of fussy cut bits from the gorgeous Christmas Vintage 12x12 Papers from Stamperia (currently sold out at AlphaStamps... no wonder, they're gorgeous!) adorn the front and interior. The pink is the very pretty Carousel Christmas Peppermint Wishes Scrapbook Paper


I've also make loads of little baked goods with silicone molds and Creative Paperclay including:
Silicone Mold - Ramekin Baking Dish
Silicone Mold - Small Round Bread Loaf
Mini Silicone Mold - Cookie or Biscuit with Filling
Mini Candy Canes

This piece is making it's way to a local baker to spread some holiday cheer as soon as I can drag myself away from my regular sized Christmas baking.


Finally, a little post script, a few people have asked about a winter open house and so I'll be opening my doors for last minute shoppers on December 22nd. If you're near, pop in and say 'hiya!'. And if you can only make it in spirit, I'll have a sip of mulled wine just for you and more jolly than is decent.

Sunday, December 09, 2018

The Hufflepuff Tree (with extra Potter blabbing!)

Mr Pixie gave me a little broom ornament with my Hufflepuff house colours. It immediately sparked a need to create a Hufflepuff themed Christmas tree. So I did!!!!

Hufflepuff Christmas Tree - Nichola Battilana

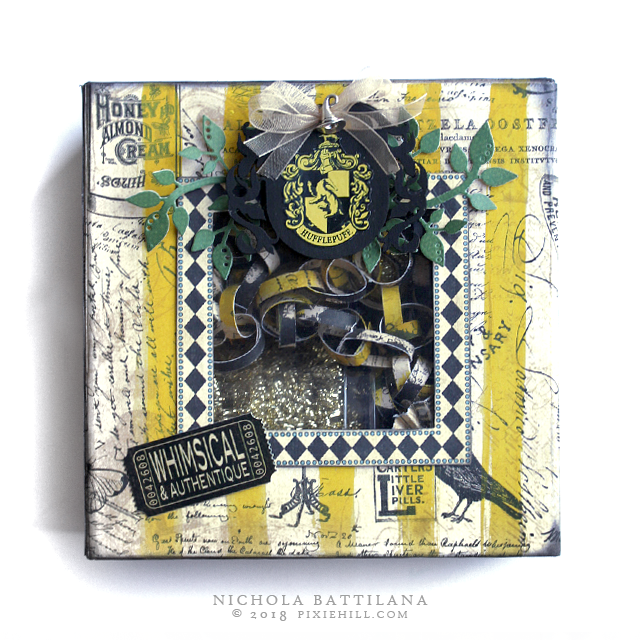
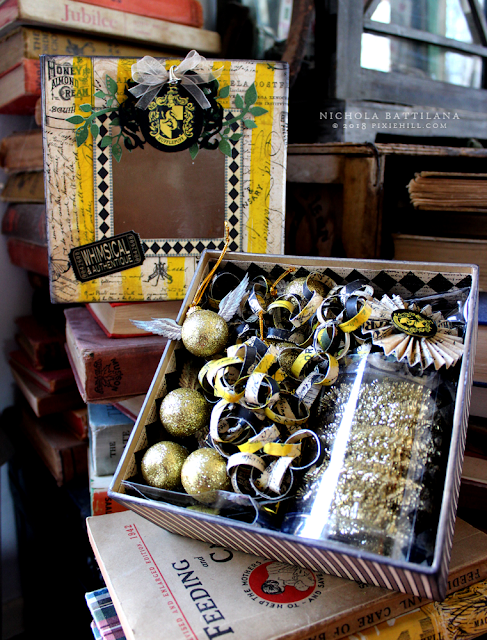
I created a set of decorations and embellished a Deep Square Matchbook Box to store them in.

Hufflepuff Christmas Tree - Nichola Battilana

I've used various Olde Curiosity Shoppe—Deluxe Collector's Edition papers for all the bits of this project. To inject a bit of Hufflepuff pride to the exterior, I've simply painted some yellow stripes with washes of acrylic paint.

Hufflepuff Christmas Tree - Nichola Battilana

Check out that wee wizard hat charm *swoon!* How perfect!?!

Hufflepuff Christmas Tree - Nichola Battilana

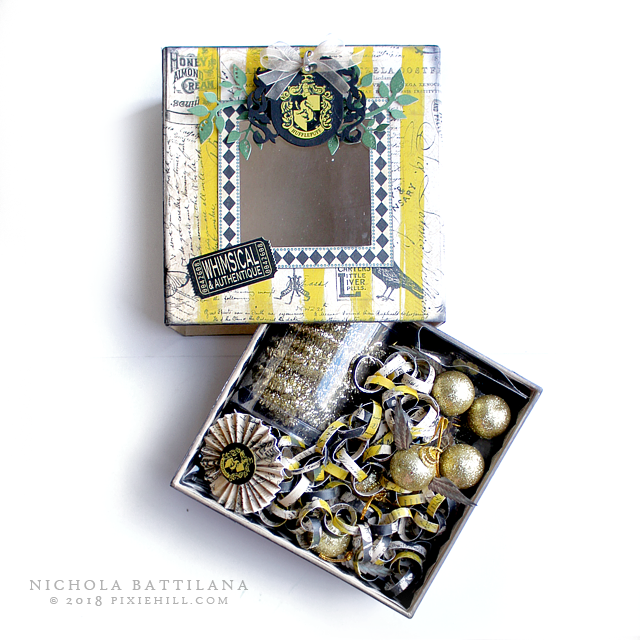
Inside is chocked full of decorations! 

Note: The window of my box is covered with a square of plastic cut from a used food container. I glued to the outside of the box and created a paper frame. I did this on the outside so that it didn't catch when sliding the inner box in/out.

Hufflepuff Christmas Tree - Nichola Battilana

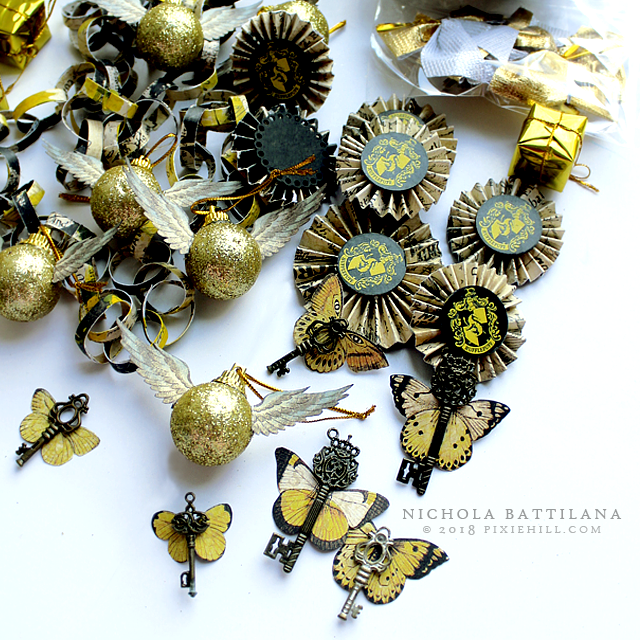
Antique Brass Ornate Metal Keys with Old Curiosity Shoppe butterfly wings added are sweet and simple. (I know, I know... the winged keys were bird wings in the books but I'm sure this is an acceptable compromise since they perfectly reflect my house colours.)

Hufflepuff Christmas Tree - Nichola Battilana

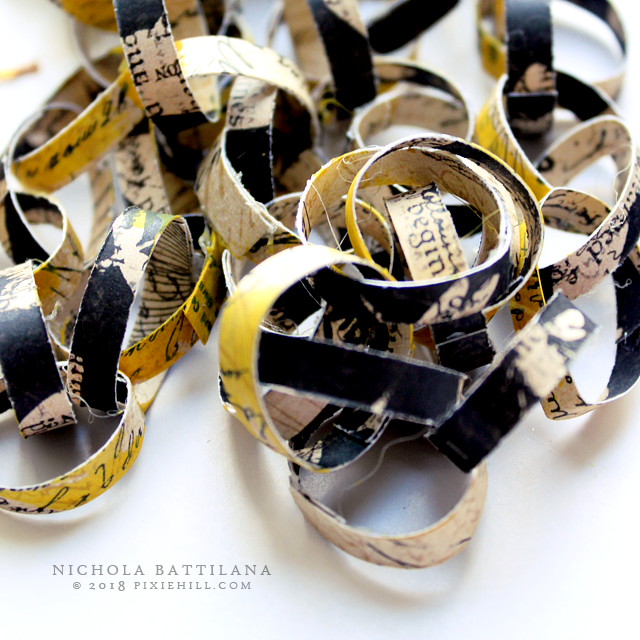
There's a good old fashioned paper chain. I applied a few sploshes of yellow just as I did to the exterior box.

Hufflepuff Christmas Tree - Nichola Battilana

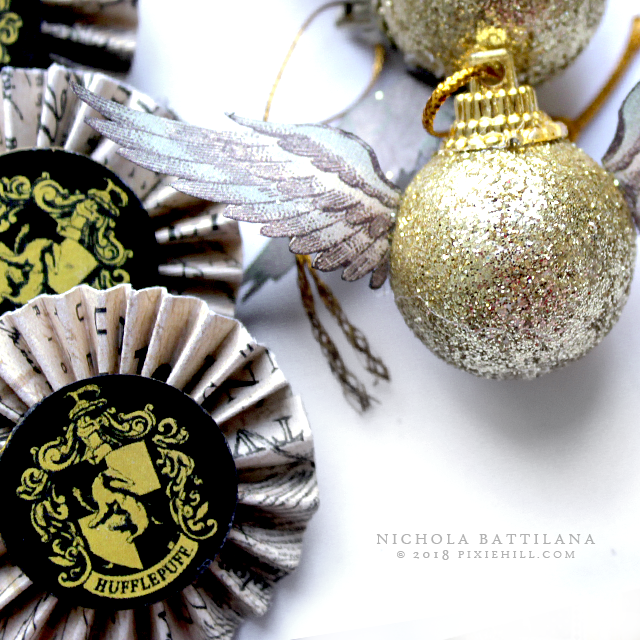
Paper rosettes and, of course....

Hufflepuff Christmas Tree - Nichola Battilana

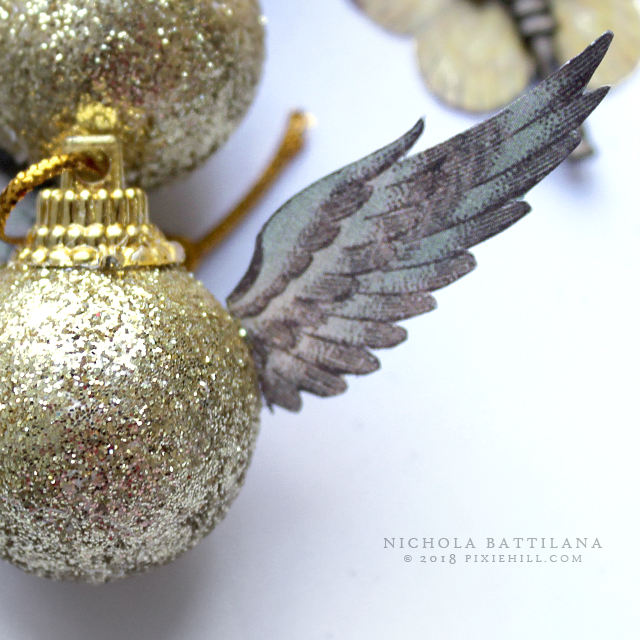
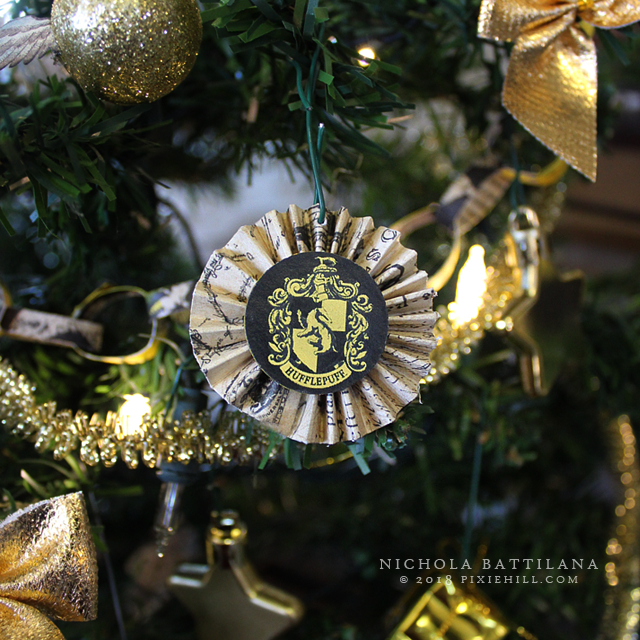
GOLDEN SNITCHES! These are made with flying pig wings from Olde Curiosity Shoppe which have been applied to little glittery baubles.

Hufflepuff Christmas Tree - Nichola Battilana

To fill out the tree I've added some gold stars, bows, and glittery garland and how stinkin' cute is the result?!

Hufflepuff Christmas Tree - Nichola Battilana

All the bits? Here's the list!
Deep Square Matchbook Box—Kraft
Olde Curiosity Shoppe—Deluxe Collector's Edition
Large Tag, ATC Tag and Flower Dies
Antique Brass Ornate Metal Keys
Organza ribbon
Yellow acrylic paint
Glitter baubles

I'm so pleased with this set and I've got loads of ideas floating around for additional ornaments! Perhaps I'll have to make a set for each Hogwarts House.

Hufflepuff Christmas Tree - Nichola Battilana


WARNING: Extra blabbity stuff below!!!!

Speaking of being a Potterhead... I've got a couple related pics from my London trip. 

I only had a couple of days in London and an insane itinerary. The very first thing I wanted to do was visit Platform 9 3/4 at King's Cross Station. Seeing this as soon as I arrived was a good sign!


Now, King's Cross looks nothing like the film version of King's Cross. Nevertheless, there is a faux Platform 9 3/4 set up near the Potter shop in the station for photo ops.  

Platform 9 3/4

I didn't get a snap pretending to smash through the wall as it was absolute madness there. Seriously, the lineup was CRAZY, as was the shop. I did of course buy a few little Potter bits in the shop and managed the pic above with no one in the way. Huzzah!

Leadenhall Market

I also made my way to Leadenhall Market, which was the inspiration for Diagon Alley. It was very pretty, but much smaller than I expected. I drank a very nice pint of cider, had terrible fish and chips and bought a book there. The book store being the closest thing to a magic shop there.

Saint Pancras London

The very last spot I made of point of gawking at in London was Saint Pancras, which plays the role of King's Cross in the Potter films.


London was absolutely amazing and inspiring and I still have so much to share. I also feel like I'm not nearly done with that city and want to visit again one day.

What would you do with a day in London?

Friday, December 07, 2018

The Magic Hut

This is the last of my little fairy stump cottages. A wee herb hut filled with magical items for a cunning little person. (I use the term cunning here as in 'one who knows', not as one who is sly).

Fairy Magic Hut

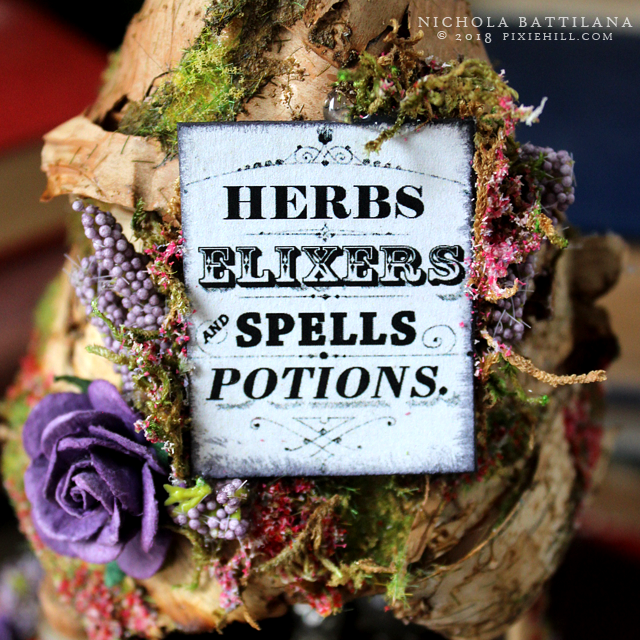
I'm sort of in love with the signage on this one.

Fairy Magic Hut

And this little places does indeed have it all! Crystal balls, incense, tarot cards, a besom, true love herbs, books and scrolls and more!

Fairy Magic Hut

I sort of like that this place has items that are both light and grim. I mean that's what fairies are all about. Fairies aren't all light and love, they're mischievous and magic too.

Fairy Magic Hut

The Magic Hut is listed HERE.

Have you ever encountered fairy mischief or magic? I've been quite lucky to be on the good side of the fair folk... although they do love to hide things on me. 
Cheeky wee things.