Monday, November 19, 2018

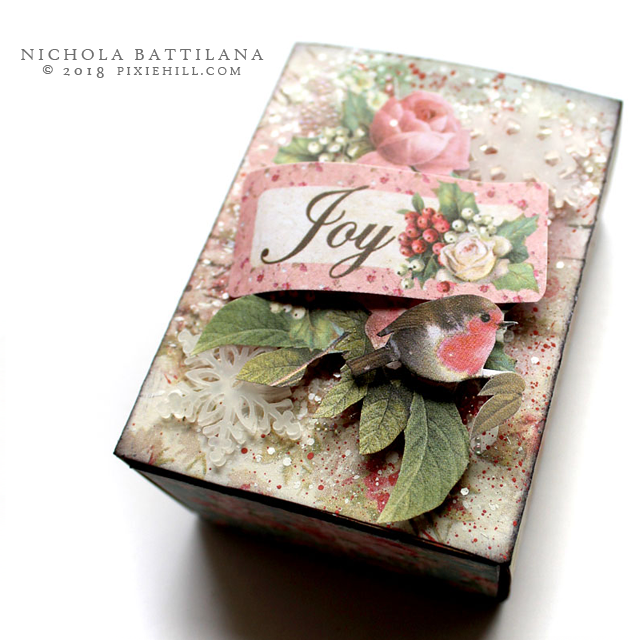
Big Fat Christmas Greeting Matchbox

I think my forced break from crafting while I was on my trip kind of reinforced the notion that crafting helps to keep me sane. It quietens the world around me. Although I do feel like I'm playing catch up with laundry and dishes and cleaning... I've been thoroughly enjoying making things, and savouring the 'stillness' creating brings.


But enough deep thoughts! Can we talk about the Christmas Vintage 12×12 Paper Pad? It's from Stamperia and it is full of old Christmas charm. Here I've used some sweet chickadees and cut out a rustic winter scene. I've fussy cut loads of holly and berries too (fyi there's some great Christmas puddings and cakes in the collection too.)


In addition to the background sky, I've added some clear glitter to the edges of the buildings and on the tops of the hills. It think it catches the light just right.


The top corner has a nice grouping of chickadees and holly and baubles. 

On a side note, the chickadees are out in full force here! They peck at the feeders and make a huge mess on the ground below. It's all good though the snowbirds prefer to forage and clean up after them. The whole while we have blue jays who swoop in and squawk like maniacs. Seriously, you'd link such handsome fellows would have a beautiful strong whistle. Nope!


But back to beautiful things!

This scene is set in a nice fat  Big Chunky Matchbox with Window and topped with a wired bow.

Want to make your own? Here's the list of making!

Big Chunky Matchbox with Window
Christmas Vintage 12×12 Paper Pad
Christmas In The Village Tiny Houses (background)
Wired ribbon
Clear Glitter

*I am an absolute stinker and have no idea which holly paper was used on the exterior of the box but I CAN say that it can be found in the Christmas Paper section at AlphaStamps

Friday, November 16, 2018

Flutter Cards with 60 Second Tutorial for Graphic 45

The holidays are coming up so fast, and for many people that means Christmas, winter celebrations, and Thanksgiving, but I couldn't help but make a big batch of beautiful general purpose cards with "Flutter"

Flutter Cards with 60 Second #g45videotutorial - Nichola Battilana


Flutter Cards with 60 Second #g45videotutorial - Nichola Battilana

Because even with all those holidays peering around the corner, there always seems to be a thank-you that needs to be sent, or someone who could use a pick-me-up 'thinking of you' card. I am absolutely certain that these will not go to waste!

Flutter Cards with 60 Second #g45videotutorial - Nichola Battilana

These cards are simple. There's a bit of fussy cutting, but that's about as difficult as it gets . No fancy cutting or folding with these beauties. They are so easy that you'll whip up a big batch in no time at all.

Flutter Cards with 60 Second #g45videotutorial - Nichola Battilana

I've made a 60 second video to show you just how quickly they'll come together.

Easy as pie!! So grab a mug of something warm (or a glass of something tasty) and create a big beautiful stash of cards for those unexpected important moments that happen year round… even when the holidays are looming.
Flutter Cards with 60 Second #g45videotutorial - Nichola Battilana

Here are all the supplies you’ll need to create your own collection of “Flutter” cards:

G45 Supplies
Flutter 12 x 12 Collection Pack
Flutter Ephemera Card (back in stock!) Clearsnap Decades Dye Pad Venetian Lace


Other Supplies:
Adhesive foam squares
Floral Stamp
Gold embossing powder
Corner punch (optional)
White paper
Glue Stick

Thursday, November 15, 2018

Holiday Shadow Pillow Boxes

Do you ever wake up with an idea? I do, then immediately forget what it is. But not this time! This time I an idea struck me as soon as I awoke and by george I made sure it stayed in there. Not only did I make it stick, I followed through and made the thing I thunk up!


I'm sure it's all the matchboxes I've been working on that inspired these shadow-pillow-boxes. Using the pillowbox template found on the inside cover of Graphic 45's 8" paper pads, I traced and cut out pieces from Christmas Magic, then simply cut a window from one side of the box before assembly.


You could put all sorts inside... a wintery scene, a photo of this years visit with Santa, a picture of your cat. I've opted for a simple sentiment cut from Christmas Magic, and more of the winged Santa's Little Helpers that are fluttering all over my studio.


I seriously love these wee fellows. They are utterly charming and delightful!


**SHAMELESS PLUG ALERT: The wing transparency is available HERE. A download to print at home can be purchased HERE.**


I mean... come on... my teeth hurt from all the sweetness!


A paper sprig of greenery, some red holiday berries, a bow...


... and tah  da! You're all set!


Oh! I added a very sensible amount of glitter too.


NOW you're done.

Here's the list of goods I used to make these cute shadow-pillow-boxes.

Christmas Magic
I used the 8" pad for the boxes, the wee fellas were fussy cut from the 12" Santa's Helpers sheet
Wee Wings Transparency Sheet
Fancy Red Holly Berries Mix
1/4 Inch Red Holly Berry Stems
Green Ribbon
Waterfall Stickles
Clear glitter

Wednesday, November 14, 2018

Santa's Helper Holiday Cards

I found a set of card blanks and envelopes at the DollarTree and thought I'd whip up some sweet holiday cards. So I grabbed some Christmas Magic and set to work.


I say I whipped up this set, but I began by spending a night fussy cutting an entire sheet of "Santa's Little Helpers" from the 12" Collection Pack. (I was watching Filmworker which was a really great documentary btw).


Next I added some wee transparent wings to the little dudes. I can just picture these little fellas fluttering about, switching out burnt out christmas lights, taking care of all the tiny chores that go unnoticed.


A band of gold embossing power backdrops a length of holly from Christmas Magic "Gifting Gala". An iridescent acrylic snowflake is added and a sentiment from Christmas Magic "Gifting Gala" or the Christmas Magic Ephemera pack.


Finally, those sweet little winged helpers!


I mean, how cute! Right?!


Some of the cards have a bit of jute twine added and a smidge of stickles sparkle because... well... glitter!


Want to make your own sweet wee cards? Here's the list of all the bits I used:

Christmas Magic 12" Collection Pack
Christmas Magic Patterns & Solids Pad
Christmas Magic Ephemera pack
Wee Wings Transparency Sheet
(or Wee Wings PDF Download to print your own)
Gold embossing powder
Acrylic snowflakes
Jute twine
Stickles
Card blanks


And I've still got a load of these cuties hopping around the work table. They might be making appearances until Easter!


Saturday, November 10, 2018

Pretty Pink Christmas Things

A few years ago I would have laughed if you told me I'd be all about pink Christmas. This year I'm all about the pink Christmas.

AlphaStamps.net Pretty Pink Christmas - Nichola Battilana

I've used two paper collections: Pink Christmas 12x12 Paper Pad and Christmas Vintage 12x12 Paper Pad for the following projects and I'm loving the way they work together.
AlphaStamps.net Pretty Pink Christmas - Nichola Battilana

Add some faux snow and a Gold Dresden Christmas Tree swoon!

AlphaStamps.net Pretty Pink Christmas - Nichola Battilana

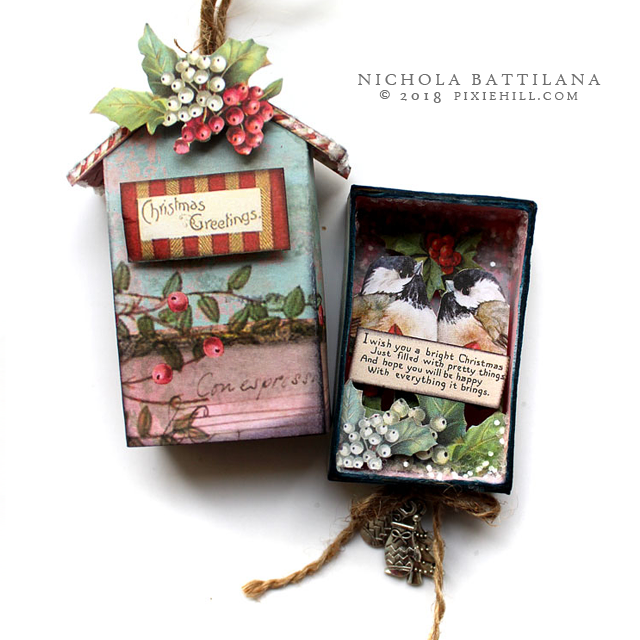
There was a quite a bit of fussy cutting involved in these projects, but the results are terribly sweet. Just look at this Peaked Roof Matchbox...

AlphaStamps.net Pretty Pink Christmas - Nichola Battilana

...and those little birds and inside. 

AlphaStamps.net Pretty Pink Christmas - Nichola Battilana

What a lovely holiday treat for someone nice.

AlphaStamps.net Pretty Pink Christmas - Nichola Battilana

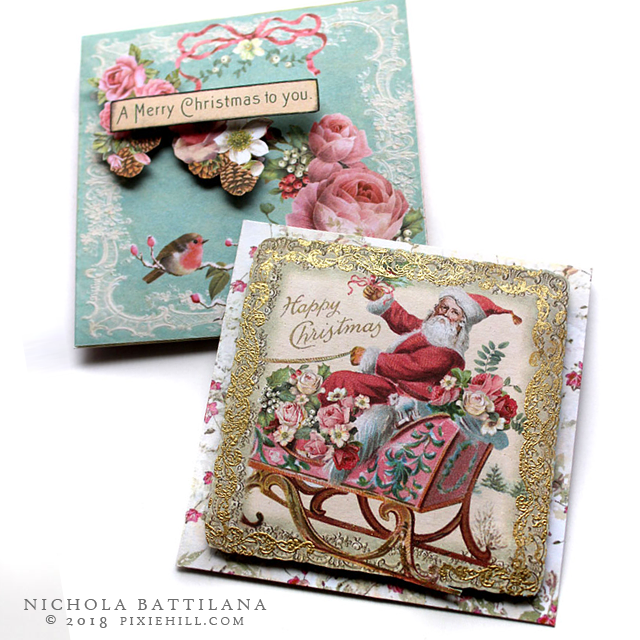
It's totally worth mentioning that the Pink Christmas 12x12 Paper Pad has a super cute tag, envelope, ephemera elements that come together really, really swiftly. 

AlphaStamps.net Pretty Pink Christmas - Nichola Battilana

I did some gold embossing around the edge of the vintage Santa image and it looks so authentically old timey. And while old envelopes probably would have been plain white, the envelope element is the perfect compliment. Swoon!

AlphaStamps.net Pretty Pink Christmas - Nichola Battilana

The final two pieces (yes there's more!) are more of a kitchy rather than antique vintage. Still totally cute though.

AlphaStamps.net Pretty Vintage Christmas - Nichola Battilana

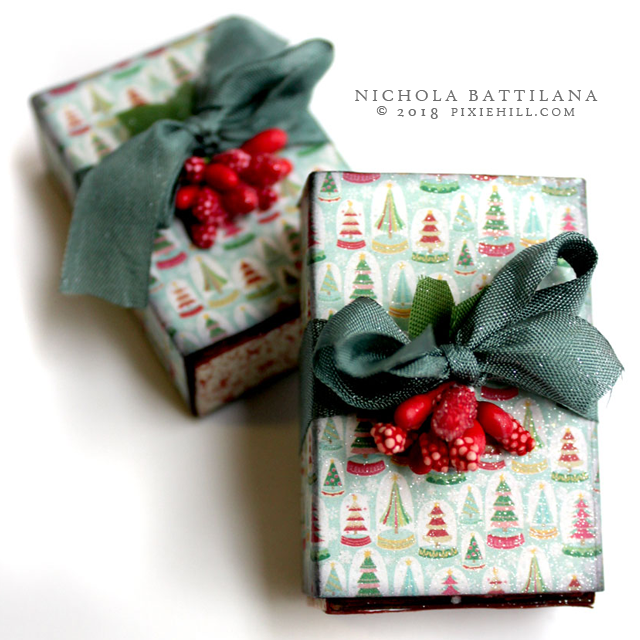
Here I've used Jingle 6x6 Paper Pad and Tree Ornament Matchboxes. I'm thinking that i might pop these on top of presents instead of a standard bow. Afterall, what could be nicer than a gift topped with another wee surprise?!

AlphaStamps.net Pretty Vintage Christmas - Nichola Battilana

I usually start Christmas crafting in September so this is a very late start for me, but I gotta admit, I'm really enjoying it this year. It's far less work and much more pleasure this time around. I hope you're enjoying holiday creating too.

NOW, if you want to make your own slew of pretty pink Christmas things, here's the supply list:

Monday, October 29, 2018

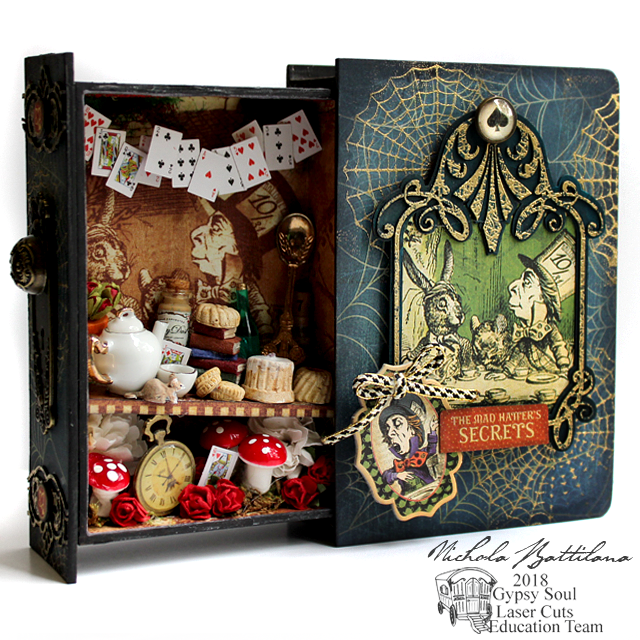
"The Mad Hatter's Secrets" Hidden Drawer Book Box with Tutorial

This is one of those projects that just kind of sprouted. All the supplies just kind of jumped up and shouted "ME! ME!". I'm glad they did because I'm smitten with this project.

Mad Hatters Secrets Hidden Drawer Book - Nichola Battilana


I've used the 6" Hidden Drawer Book Box as my base and then ran with the Mad Hatter theme from the Hallowe'en in Wonderland Deluxe Collectors Edition from Graphic 45.

I've repeated the cobweb theme of the scrapbook paper with a wed stamp and gold embossing powder.

Mad Hatters Secrets Hidden Drawer Book - Nichola Battilana

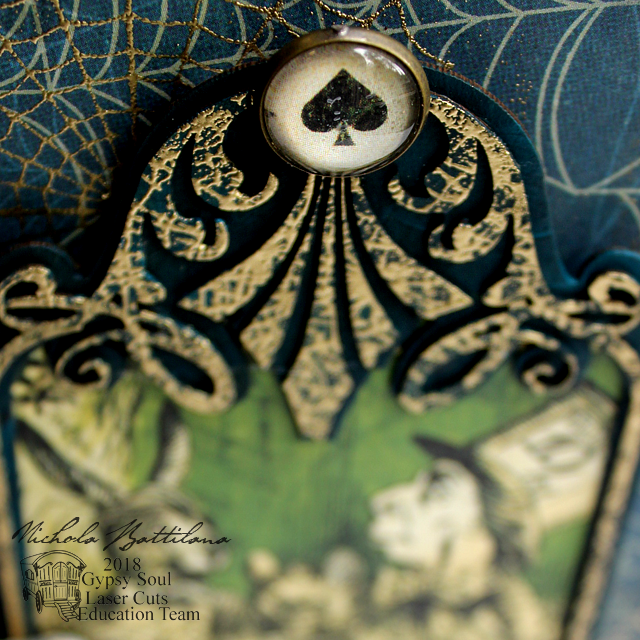
I used that same stamp, repeatedly, on a Layered Frame Aria then added a spade charm to the tippy top for some added interest.
Mad Hatters Secrets Hidden Drawer Book - Nichola Battilana

I used the same stamping and embossing technique for the top and bottom elements on the spine. I used a Deco Frame, then trimmed the elements I wanted to use.

Mad Hatters Secrets Hidden Drawer Book - Nichola Battilana

Also on the spine and cover, I've used more elements from Hallowe'en in Wonderland Deluxe Collectors Edition and added a Metal Door Plate and Knob.

Mad Hatters Secrets Hidden Drawer Book - Nichola Battilana

Inside, the Hatter's Tea Party! I really just sort went to town and filled the interior with suitable miniatures already in my stash including: a pocketwatch pendantminiature wine bottle, a dormouse, playing cards, cakes and cookies and more. 

Mad Hatters Secrets Hidden Drawer Book - Nichola Battilana

If you'd like to see the process of making this piece, take a gander over HERE for the video walkthrough.

And here is the list of supplies I used:
6" Hidden Drawer Book Box
Layered Frame Aria
Deco Frame
Web Stamp (available soon!)
Embossing powder
Acrylic paint
Hot glue and white glue
Foam squares
Bits and pieces for the interior

Saturday, October 27, 2018

AlphaStamps Spooky Hallowe'en Candy Dish

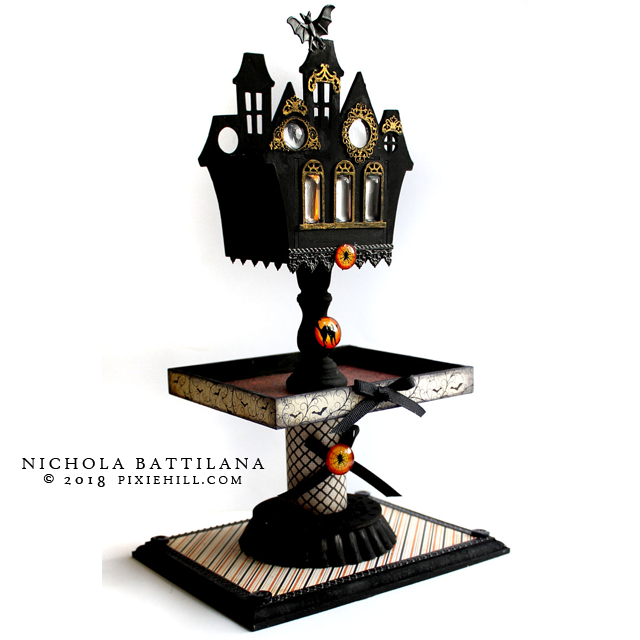
First of all, how cute is this candy dish?

AlphaStamps Spooky Candy Dish - Nichola Battilana
So cute, right?!

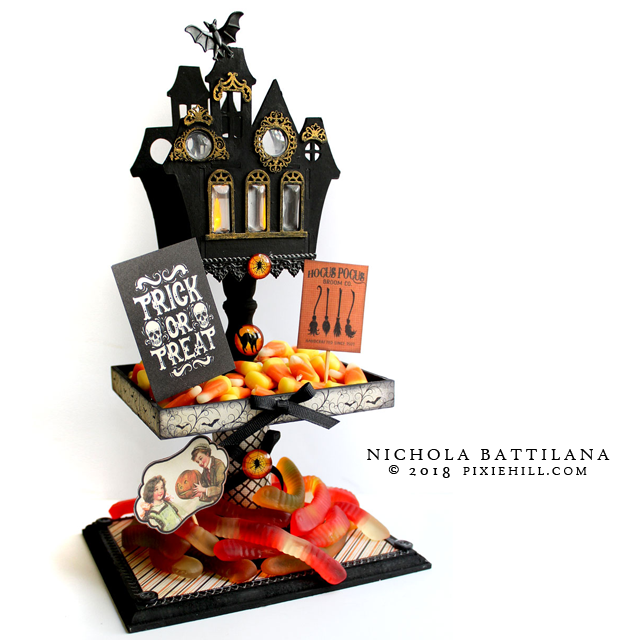
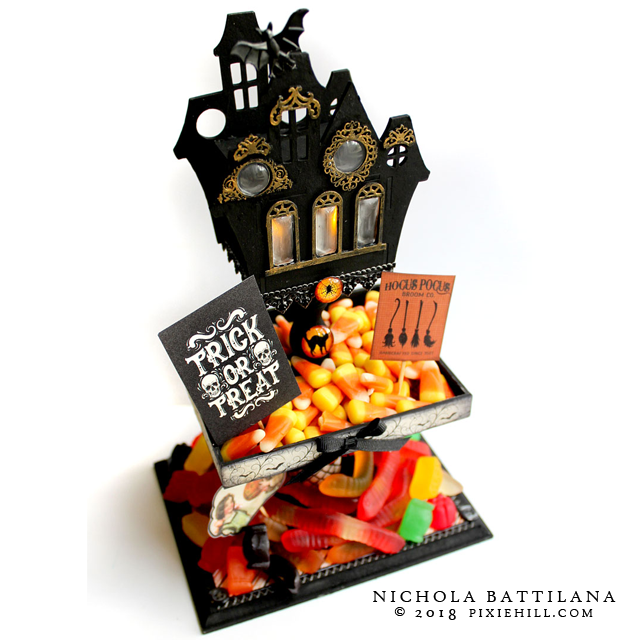
I made it using the Tealight Haunted House Kit with Base from AlphaStamps. Only I didn't use the base as a base, I used it upside down for something more important... candy corn (do not even try to debate me on the goodness of candy corn).

AlphaStamps Spooky Candy Dish - Nichola Battilana
Not only is this project cute, but came together pretty quickly. Quick, easy and cute = extra awesome in my books.

I didn't fiddle around with the house at all. I assembled it, added the window frames, applied a good coat of acrylic paint, then highlighted the frames in gold. To finish it off I added dresden trim, glass cabochon windows and wee plastic bat.

AlphaStamps Spooky Candy Dish - Nichola Battilana

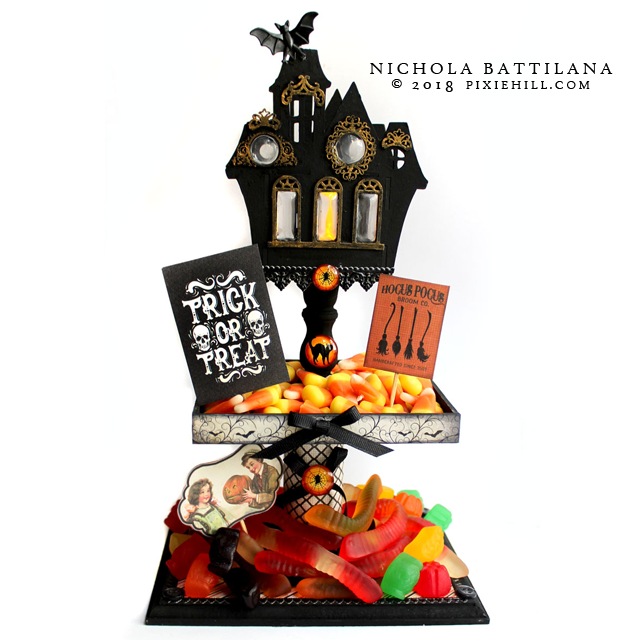
What elements did I use for the rest of the piece? From bottom to top: wooden plaque, tart tin, child's building block, House Base3 Inch Tall Candlestick HolderTealight Haunted House

AlphaStamps Spooky Candy Dish - Nichola Battilana
Painting everything black and sticking with papers from the Nightfall 6x6 Paper Pad, everything comes together to create a cohesive look.

AlphaStamps Spooky Candy Dish - Nichola Battilana

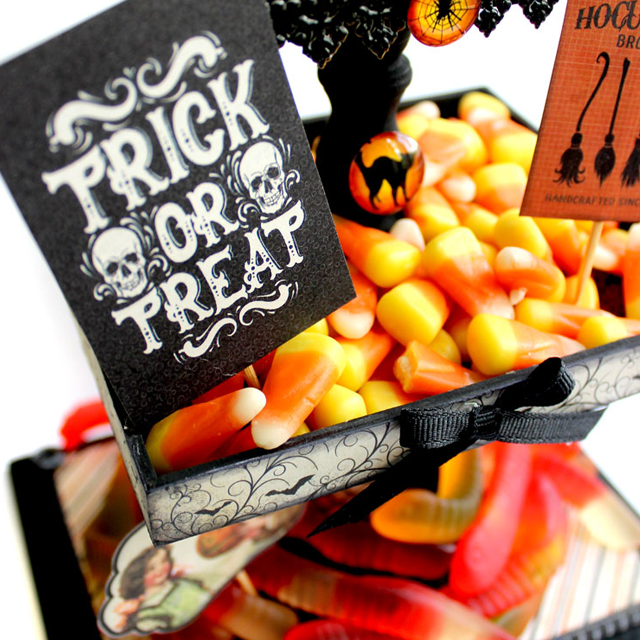
A few cute black ribbon bows, spooky cabochon, trim. I also created some little signs by gluing toothpicks to the sentiments snipped from the  Nightfall Pad as a finishing touch, but I was told candy is the best finishing touch.

AlphaStamps Spooky Candy Dish - Nichola Battilana

Ready to make your own? 


And here is the list of goodies:
10x25mm Mini Glass Rectangular Cabochon
14mm Round Glass Cabochons
18mm Round Glass Cabochons
Rectangular Frames for 10x25mm Cabs
Round Frames for 14mm Cabs
Black Cat Glass Cabochon - 18mm
Spider Web Glass Cabochon - 18mmSpider Web Glass Cabochon - 14mm
Nightfall 6x6 Paper Pad
Black Dresden Border Sampler Set 

Wooden plaque
Building blocks
Ribbon
Toothpicks
Glue
Acrylic paint
Plastic bat
CANDY!!!!